The Vintage Accessory That Makes Cleaning Stairs So Much Easier
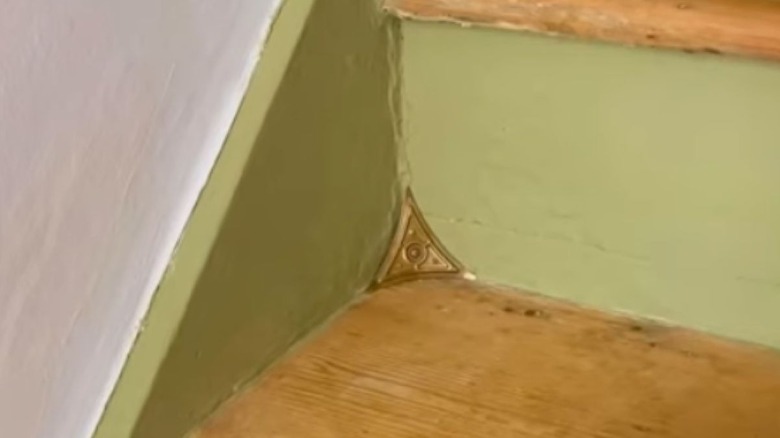
Did you know there's a vintage accessory made to help keep your stair corners dust-free? And if you're wondering why this should be a concern, then you clearly don't live in a home with stairs. After all, anyone who cleans a multi-level home knows how those tiny, hard-to-reach corners where a stair's tread meets the riser are exactly where dust loves to hide. Victorian-era homes solved this problem with a tiny but brilliant detail: A curved metal insert placed in that junction to smooth the corner and give a broom or vacuum something to sweep against. Stair dust corners make cleaning easier by allowing the sweep or nozzle to actually move debris out of the nook instead of pushing it deeper into the seam, a small mechanical change that significantly speeds up regular upkeep. Of course, this doesn't forgo learning how to properly clean each kind of staircase, but adding dust corners is a smart, practical layer on top of the basics.
The benefits are practical and aesthetic. Stair dust corners made from solid metal, like brass, help create a consistent sweep line along dozens of steps. That's why manufacturers and restoration specialists still sell reproductions of these items. Historically, stair corners were added to make sweeping faster for housekeepers. Today, they do the same while also offering vintage detail. As for the science behind why corners collect so much dust in the first place, airflow and human traffic patterns make corners low-disturbance zones where particles settle more readily. Physically removing that trap point helps reduce buildup between cleanings.
How to install and use stair dust corners
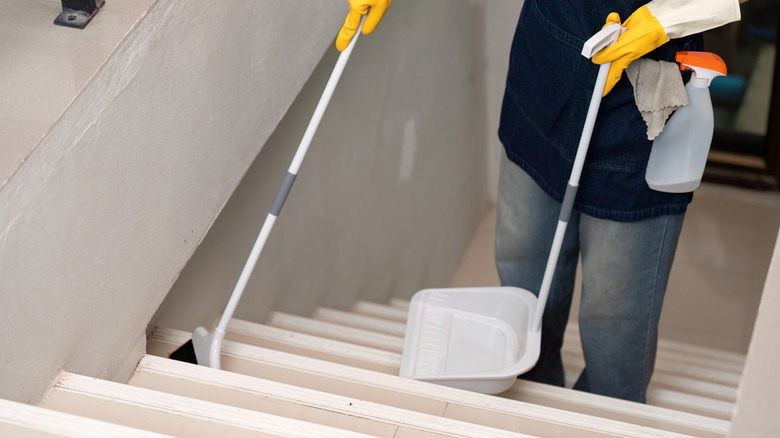
While there are several places in your home that you might forget to dust, you can avoid a common vacuuming mistake by not skipping stairs and corners during routine vacuuming. Thankfully, these dust corners make that chore a lot easier. To keep the corners of your stairs dust-free, start by buying a set of stair dust corners, with brass being the common vintage option, although there are also plastic ones available. Make sure you have the tiny finish nails that usually come with them, along with a small hammer and a soft cloth for final cleaning. Clear any debris from the stairs, press the dust corner into place so that it sits snug against the tread, riser, and stringer, and gently tap the supplied nail through the pre-punched hole into the wood. Be gentle, as these dust corners can easily bend when dented. For stairs made with very hard wood, pre-drill a pilot hole to make it easier to drive the nail in.
After installation, run a broom or vacuum along the sweep line to test them out. Ideally, they should make it easier to funnel dirt into the path of your tool. Once they're in place, you can sweep or vacuum toward the corners without worrying about trapped debris. As for stair corner upkeep, brass ones will patina over time. If you want the bright look, polish them gently with a nonabrasive brass polish and a soft cloth. If you prefer the antique-worn look, leave the patina and just wipe them during your regular cleaning. For plastic ones, you can clean them with an all-purpose cleaner, then dry with a clean cloth.