The Backsplash Alternative That Can Easily Add Character To A Dull Kitchen
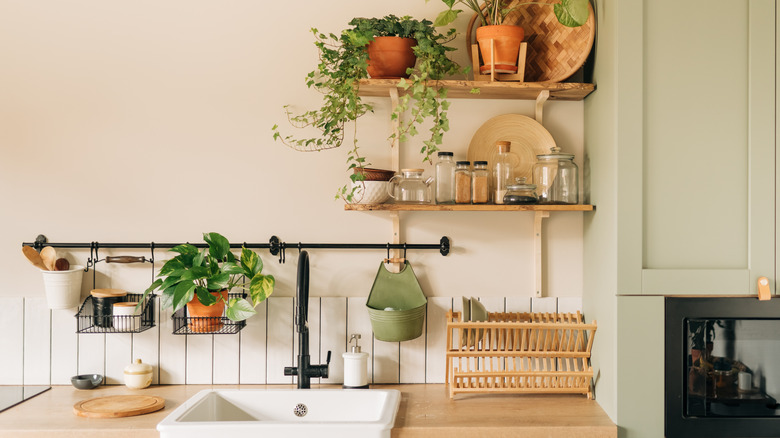
If your kitchen has started to feel dull or in need of a style refresh, your mind might jump directly to big renovation projects. However, not every person has the means to start knocking down walls or ripping up the floor in their kitchen. But that doesn't mean you have to live with an outdated design. One no-demo option that can easily add character to a dull kitchen is using peel-and-stick tiles as a backsplash alternative. These tiles are straightforward to install, require few tools, and are much easier to remove than normal tile, all of which makes them a practical choice for both homeowners and renters.
One question DIY enthusiasts might have when it comes to peel-and-stick tiles is how they differ from standard tiles you find in kitchens. One of the most prominent factors is that they have their own self-adhesive backing, while a ceramic tile installation requires laying the mortar and tiles before grouting and sealing. Installing a traditional ceramic tile floor can be challenging for beginners, which is why it's not uncommon for people to hire a tile professional for help. Overall, opting for peel-and-stick tiles is a kitchen upgrade that wouldn't involve remodeling, and most varieties have no need for grout.
Tips for peel-and-stick tile application to add character
There are some tips you have to follow before starting this affordable tile alternative project to make the installation process as seamless as possible. For example, it's necessary to spend time prepping the base material to make sure it's smooth. Any texture or chips in the surface may show through and affect the backsplash's final appearance. Work on the base you'll be attaching the tiles to by either spackling and sanding damaged areas, priming for optimal adhesion, or simply cleaning and wiping down the surface.
Another important preparation step is to measure the space several times to make sure you have enough tiles to cover the area. Also, it might be tempting to just dive in and rip the backing off each piece before sticking them to the wall. The bad news is that this makes it harder to fix any mistakes you might make and can lead to tiles being incorrectly positioned. Remove the backing bit by bit during installation to give room for corrections.
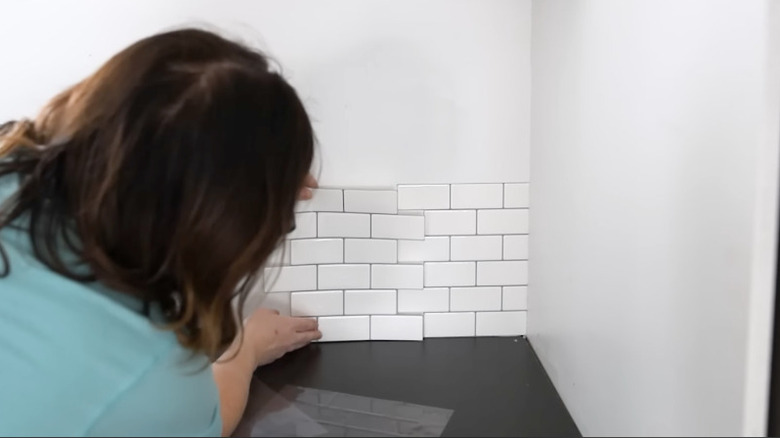
Typically, the tools you'll need on hand to complete your peel-and-stick backsplash installation include a level to ensure the tiles are installed in a straight line, a utility knife to make precise cuts, a measuring tape, and a pencil. The process itself is straightforward. Simply mark the spot where the tiles will stay on your wall with the level and pencil, then cut the tiles to size with the utility knife. Peel off the backing and stick the tiles in place, pressing firmly to secure.
Common peel-and-stick tile mistakes to avoid
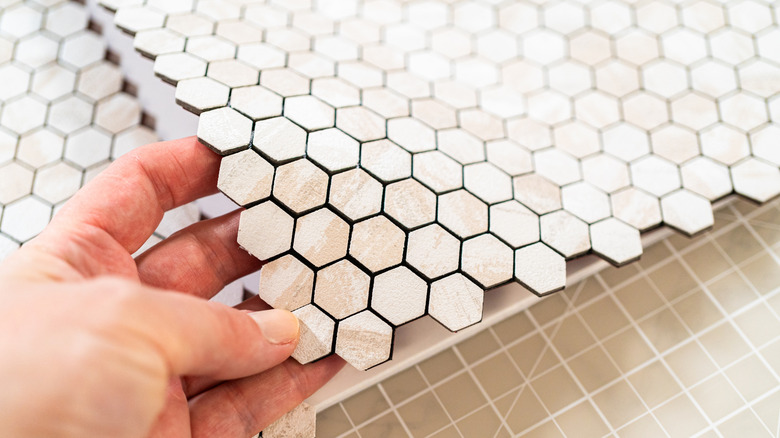
Even simple kitchen tile backsplash alternatives like peel-and-stick materials are prone to common pitfalls if you don't research and gain insight into the process. One common issue DIYers face is not taking the time to dry-fit the tile pieces before starting. While measuring is important to get enough materials, dry fitting, or creating a dry layout, means placing the different tile sections together just the way they will sit on the wall, but before removing the backing. This is the best way to account for awkward cuts around outlets and help the actual install go smoothly.
Another common mistake with peel-and-stick kitchen tiles is stretching each piece too much when applying it to the wall. It can feel instinctual to want to stretch or use excessive force to make sure they stay in place, but this can lead to issues with the design not lining up correctly. Peel-and-stick tile sections that have been stretched or bent may also break or come loose more easily than correctly installed materials. In short, you just need to work through each step with care.