Save Closet Space And Show Off Your Handbags With An Easy Dollar Tree DIY
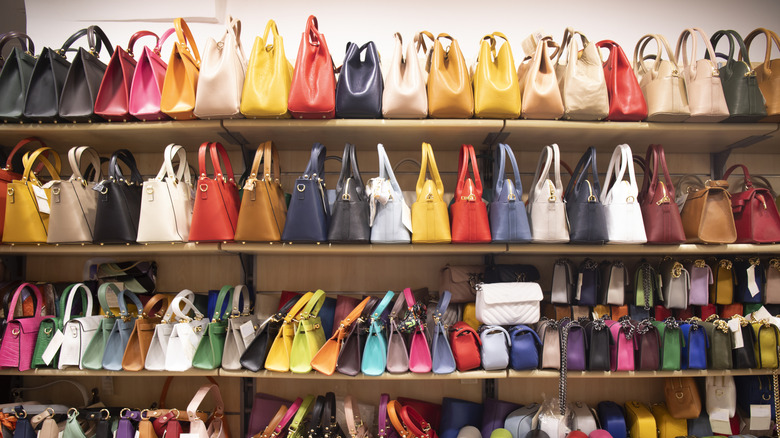
You don't have to be a fashionista or a handbag collector to enjoy a good purse — you just have to know what you love. However, once you purchase that bag that speaks to you, the decision of how to display it might become a big question. Sure, you can relegate your babies to the closet, but what if you want to enjoy them when you're not using them outside the house? There's nothing wrong with admiring those gorgeous handbags you snag. Or maybe your closet is too small to accommodate all of your bags. If you've been trying to come up with a way to store your purses and don't want to just loop them over a hook, there's a clever trick that lets you create a shelf storage on a budget. Just by decorating and stacking cardboard boxes, you can build a shelving unit for your purses. Your supplies are simple to source, too, and you really only need some boxes, wrapping paper, Mod Podge, and foam board to build your unit. You can stack the boxes or hang them to show off your bags anywhere.
You can find most items at Dollar Tree, including Mod Podge, wrapping paper, and foam board. Anything else can be sourced from local craft stores and even grocery stores. Your cardboard boxes could be obtained from a store that no longer needs them or from Home Depot if you want clean boxes that are all the same size. The size will depend on how much space you have and how you want to display it — to hang the boxes on a wall, it's often easier to use a small size. It's an easy purse storage solution you can DIY from cardboard boxes that helps you get creative and save a little money.
Decorate your boxes

Make sure your boxes are in good condition, with straight sides and sturdy cardboard, as these do need to hold your items and give a clean finish. To get started, cut off the flaps of each box so that you don't have any extra cardboard. You can use wrapping paper, decoupage napkins or paper, wallpaper, or even cuttings from magazines and collected prints to cover your cardboard — just make sure you have enough for the inside and out. Other ideas for your wrapping include faux wood paper or brick-themed paper with a different pattern on the inside. Get creative when covering the boxes as they will show while displaying your bags. Start on the outside and cover the box in Mod Podge, cutting out pieces that fit each side and then adding more of the glue to help seal it.
@modpodgecrafts Every girl needs a place to show off her purses! 💃👜✨ Watch @Bianca Octavia create a DIY decorative purse shelf with only supplies from @Dollar Tree. Follow us for more Mod Podge Dollar DIY inspo! #PlaidCrafts #ModPodge #DollarTree #DollarTreeFinds #PurseTok #DIY
You want to wrap all the sides or cover them in your chosen decor, although you don't necessarily need to do the exterior bottom of the box, as it will be propped up against a wall. You also want to do the inside of the box, including the bottom and all the sides. Before reaching for your wrapping paper for the interior, layer the inner sides and bottom with foam board. This will help secure the shelves so that the box doesn't bend under the purses' weight. You can also use a couple layers of cardboard from the leftover flaps if you prefer. If you have the time, you could also cut up your boxes and make them into new shapes before wrapping them, creating your own customized units.
Add accessories to elevate your shelves

Once you've covered the interior and exterior of your box and added a layer of Mod Podge to seal everything, allow it to dry, then decide how you want to hang it or stack it. If you're going with a hanging method, you could nail these into the wall, however, you want to make sure that you are not putting too much weight on the boxes as it could pull the soft material off of the metal. You could also try Command strips, but consider using several to really help keep the boxes on the wall.
One really clever element to add is tap lights to illuminate each bag. You can attach them to the inner top of the box and in the back. Secure the lights with double-sided tape and opt for either remote controlled or just a simple tap control so that they're easy to turn on. Instead of tap lights, adding twinkle lights is another idea — attach a roll to each box all around the interior. Not only are these purse shelves a great way to make the most of vertical space, but they also add interest to any room and give you an inexpensive way to keep handbags organized. Because you can make these from scratch, you can design them and decorate them anyway you want to suit any room, too!