Add Ambience With A Cozy Light You Can DIY From An Item At The Thrift Store
We may receive a commission on purchases made from links.
Lighting can be one of the most difficult interior design challenges, especially considering the high price point for large lamps and fixtures. Thrifting is often a great solution for that, though perhaps not in the way you might be thinking. Even if you can't find a normal lamp, almost anything could become a custom light with a little creativity and a drill, including that CD rack that hardly anyone needs nowadays. While you might not have your own CD collection to fill it, TikTok creator lonefoxhome proves you should still snatch it up, because you can transform it into a beautiful and cozy floor lamp with only a few inexpensive materials like built-in LEDs and light-diffusing covers.
Look for a wooden floor-standing CD tower. Wood is ideal, since it's easy to paint, stain, cut, drill, and add onto. If wood options aren't available, you may also turn metal CD towers into unique light sculptures. Many of these have open sides and backs, allowing you to easily snake in some lighting. As CD towers often flanked audio and TV consoles, you may even be lucky enough to find a matching set. Since they tend to be tall and narrow, they almost always supply the right lamp size for your space, and they're a great conversation piece for when you have guests over. Trends tend to be cyclical, so you might find a CD tower with a mid-century vibe that will fit well in your home without much alteration, but if not, it's easy to DIY one-of-a-kind decor to fit your style, whether you have a Japandi layout or a boho chic interior.
What you'll need for your thrifted CD tower light
Bring your CD tower (or towers) home and give it a good cleaning, especially since you'll often have to remove bad smells from vintage furniture that it might have picked up in its previous home or in the thrift store. To make a chic lamp out of the tower, invest in some linen fabric and plug-in under-cabinet lighting, like the ASOKO Under Cabinet LED Light. Many under-cabinet lighting solutions are wireless, but you should choose one that plugs in because the light will be installed inside the CD tower and will be unreachable once you're done.
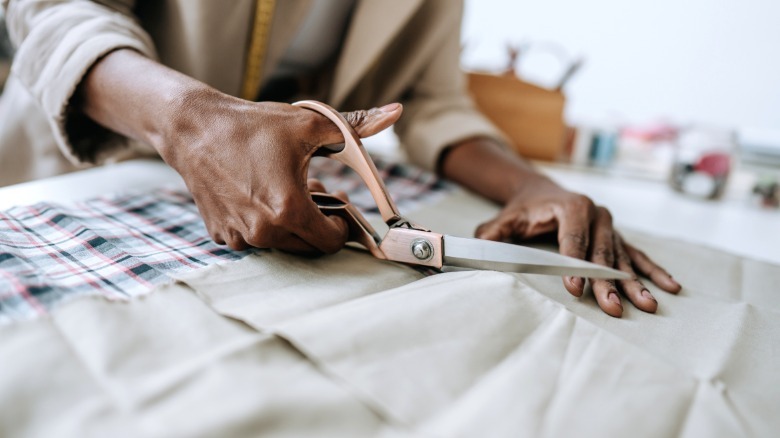
Select a fabric or paper covering that matches the finish of your TV tower and is sheer enough to allow light through. Upholstery fabric, for example, would be too thick. Since you're about to put the cover near electrical components, consider treating the linen with a flame retardant spray, like ForceField FireGuard, which will reduce the chances of the fabric catching fire in the event of an accident. For tools, you'll need a drill and, if your desired look calls for it, a stapler, hot glue gun, and sewing machine.
Let there be light: How to build your DIY CD lamp
If working with a wooden CD tower, begin by drilling a hole in the back of the CD tower toward the tower's bottom. This is where you will thread the light cord, so make sure it's large enough to accommodate your particular under-cabinet lighting selection. Make sure to drill from the outside in to reduce visible blowout, especially if you're retaining the piece's original finish. Start your hole with an awl or other sharp implement. Depending on what the back of the CD tower is made of and how it's secured, you may be able to pry it off and reattach it later, which will make the project easier.
Once you have your hole drilled, thread the cord through it and secure your cabinet lighting at equal, centered intervals along the tower's back. You can attach it with a strong double-sided mounting tape or hot glue. Make sure the lights work before moving on. Then, cut one or two strips of linen (depending on how much light diffusion you want) to fit the tower's front, leaving extra fabric on the top, bottom, and sides. If you removed the CD rack's back, staple the two fabric pieces (which should be pressed back-to-back) to the interior of the tower. If you could not remove the back, either fold the loose fabric edges in to hide them or sew them together, creating a solid piece to thread behind the rungs that would have held CDs. While hot gluing is more approachable, stapling allows for a cleaner finish since you can pull the fabric taut.