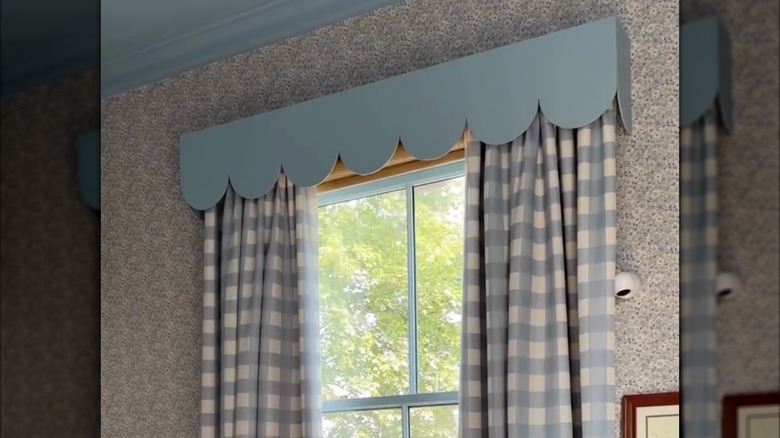
Add Some Whimsy To Your Windows With DIY Scalloped Pelmets
Windows do a lot more than just let the sunshine in. They take up a lot of space in a room, frame your view, and set the mood for the whole space. When left bare, though, they often feel a bit boring and plain, and giving them a stylish upgrade can sound like a seriously complicated and expensive undertaking. Well, there is a charming and budget-friendly DIY that might just be the answer. Scalloped pelmets are a wonderful way to add some whimsy to your windows. With just a few tools and a bit of patience, you'll be upgrading your home into the playful space you've always wanted.
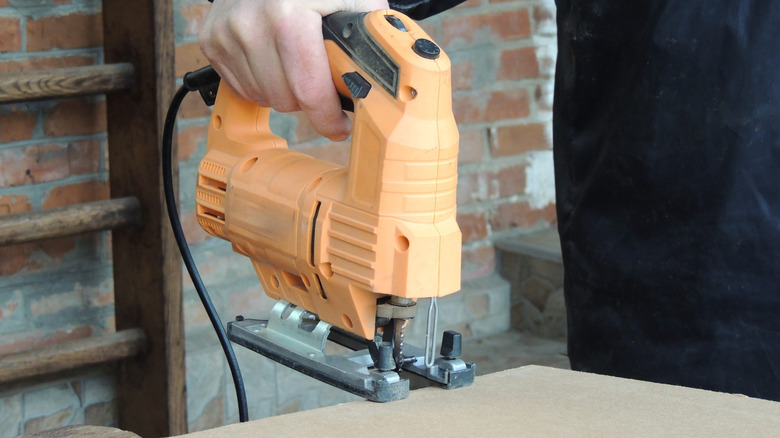
The idea is to cut scalloped edges into pieces of plywood with a jigsaw. Then, using a nail gun or drill, you'll attach the pieces of plywood together to create a half-box that attaches nicely over the top of your windows. It's a fun and easy DIY that you can customize using paint, fabric, or painted-on details to add personality to your space and fully match your interior design.
And sure, pelmets were a once-popular curtain trend that some people have decided to ditch for more modern interiors. But not all pelmets have to look like your grandmother's; some are actually modern and stylish. In addition, this is a great DIY if you can't give your house a seamless look with hidden curtain tracks but need something without exposed rods creating visual clutter.
How to DIY scalloped pelmets to upgrade your windows
This DIY starts with careful measuring. You'll need a long piece of plywood that's at least a foot longer than the width of the window to allow the curtains to fit within the pelmet on both sides when open. Then, you'll need two smaller pieces for the sides and one longer rectangular board on top (same length as the main piece).
To create the scalloped edges, draw half-circles on your plywood with whatever round guide you've got handy that matches your desired scallop size (e.g., a Tupperware lid, plate, or pot lid). The key is to make sure that the pelmet has enough plain wood above the scalloped edges (about twice the height of your scallop shape) to give it that balanced look. Repeat the same step with the two identical side pieces, keeping in mind that there will only be room for a section of scallop rather than a full one.
Next, carefully cut the scalloped edges with your jigsaw, and then smooth the edges with fine-grit sandpaper. Assemble the plywood pieces using either a nail gun and wood glue (select the right type of nail gun and the gauge needed based on the thickness of the plywood) or screws and a drill. Finish it with a coat of spray paint or water-based acrylic paint. If you want texture and pattern, stretch a fabric that matches your room's scheme over the pelmet and secure it with fabric glue and a nail gun. When it's all done and dry, simply hang the pelmet over the top of the window using L brackets.