Transform Dollar Tree Paper Bags Into Stunning Fall Garland With An Easy DIY

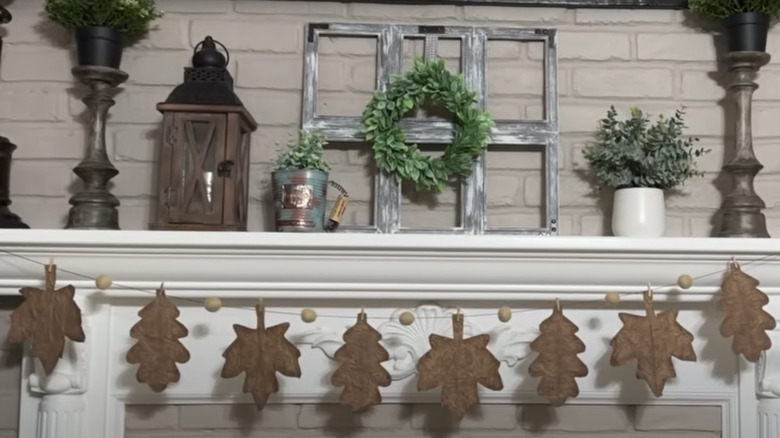
In the autumn, crisp leaves of red, green, brown, and gold blanket the ground and usher in the cool fall nights. While mischievous neighborhood kids may look at the leaf piles as something to frolic in, the clever crafter sees leaves as inspiration for a stunning fall garland to string across the fireplace mantel. However, to keep the garland from disintegrating due to the ravages of time, brown paper lunch bags will be transformed and stand in for the leaves. It's a creative way to use fall leaves in your decor that lasts long after the trees' branches are covered with snow.
If you don't live in an area like Oregon, where brown paper grocery bags have become commonplace in stores, turn to the crafter's favorite store, the Dollar Tree, and get some brown paper lunch bags. The DT package comes with 40 bags –- enough to make the eight or so leaves you'll need for this garland. This craft also requires embroidery thread to string the garland on. If your home features a more rustic decor style, swap out the embroidery thread for twine. To make the pieces of the garland look uniform, you'll first draw some patterns on paper. For that, you'll need paper, a pencil, and some scissors.
Your faux leaves will have a crackled look. This effect comes thanks to a couple of tools: A spray bottle filled with water, some foam daubers, the Tim Holtz Ranger distress oxide ink bundle, and a heat source, like a blow dryer. The final items on your list are some mini crafters' clothes pins from the Dollar Tree, a needle, and some 1-inch felt crafters' beads.
Designing the leaf garland
Kick things off by drawing two different leaf outlines on your paper. Oak and maple leaves are simple to draw and represent common leaves you'll find on the ground in the fall. Cut the patterns out and put them aside. Next, take apart the bags by cutting off the glued bottoms and then cut the bags open along one of the folded seams. Next, spray spritzes of water on the bags until they're very damp, but not soaking. Crinkle them up, being careful not to tear them apart. Flatten them out to dry some. Using a hair dryer makes the process go faster, though they don't need to be completely crisp and dry.
Pin the patterns onto the bags and cut out the leaves. If you wind up with noticeable holes in the bag, cut a small patch from another bag and glue it onto the backs of the affected leaves. Fold the leaves in half to mark the vein down the middle. Apply the stain with Bowitzki finger sponge foam daubers, which you'll put on the tip of your finger. Work in a circular motion. Use a couple of different colors of stain to give each leaf a distressed look.
String some PATIKIL wool felt ball beads onto the embroidery yarn with a needle. If you're using twine for this, you'll need a bigger needle, like a Chenille one, which features a big eye and a very sharp point. Finally, clip the leaves onto the string with the pegs, alternating the shapes of leaves, and hang the garland up on the mantel or in a doorway.
Personalizing your craft even more
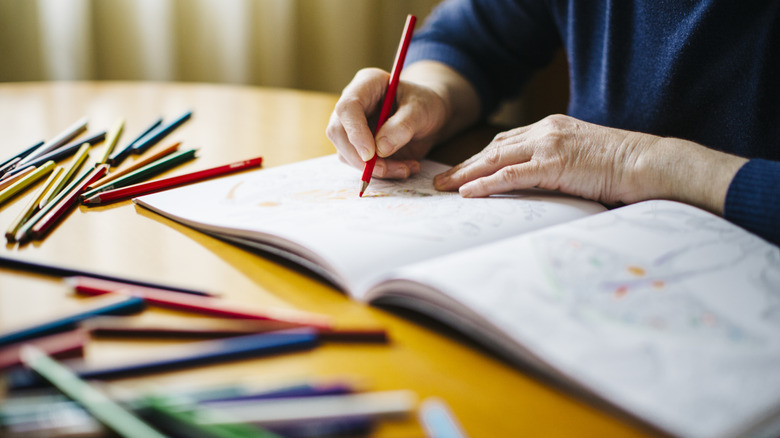
Despite being a simple project, there are a number of ways to make this leaf garland DIY really unique. If you're good at free-hand drawing, draw in the veins of the leaves with colored pencils. If you don't keep colored pencils in your craft stash, you can get a basic set of colored pencils from the KALOUR Store for less than $10. The veins can be as simple or elaborate –- and colorful –- as you wish. The colored pencils would also work if you'd like to add a bit of visual texture to the leaves. Use them to lightly add shading to areas on the leaves to replicate the leathery look of them.
Additionally, if you'd like to really mimic the brilliant leaf colors of fall, don't use brown paper bags for the craft. Instead, try using something like colored paper party favor bags from the TOMNK Store. These come in fall colors, like orange, red, and yellow. You can still feature brown leaves, but this option gives you a bit more variety. It's a particularly fun way to replicate the color drench paint trend into your decorative scheme if you've become a fan of this decorating technique.
Finally, it'd be fun to substitute some JULBEAR orange and brown artificial acorns for the felt craft beads. To do this, glue one of the mini clothespins onto a few acorns. You'll need seven to nine of them. Hang the garland up as usual when the glue on the acorns dries.