Give A Cheap Vase A Luxurious Look On A Dime With This Elegant Upgrade
We may receive a commission on purchases made from links.
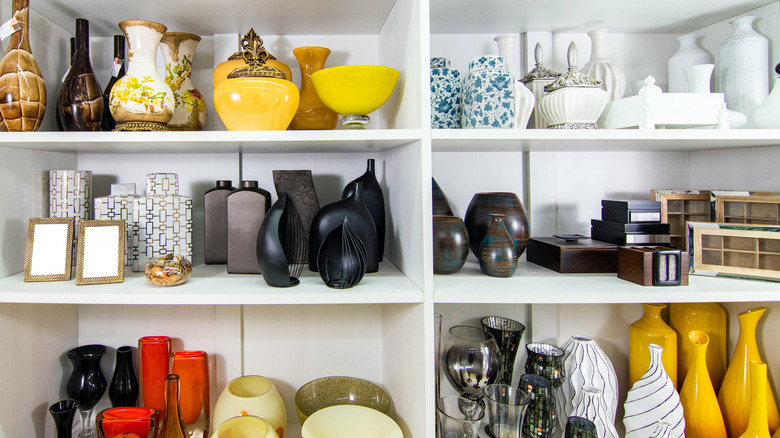
The handcrafted shapes and unique textures of ceramic vases add dimension to any indoor space. As such, they have been popular in interior decorating for thousands of years. However, purchasing a new handmade ceramic vase can come with a hefty price tag. And if you already have a vase on hand, you risk adding clutter. Fortunately, this clever DIY gives you a fun way to repurpose a vase around your house by giving this essential piece of décor a timeless elegance.
You can find a vase to upcycle at a thrift store, use a vase you already have on hand, or even choose another option: buying a low-cost vase with a smooth surface from a big-box retailer. Regardless of how you source your vase, it's essential to look for one made from oven-safe materials, such as borosilicate glass or ceramic. You'll also need heat-safe spray paint; a strong adhesive like Gorilla Super Glue Gel XL for under $8; finishing paint in your preferred color; and some polymer clay. Don't worry if you have leftover clay after this project. There are plenty of projects you can make from it, like these adorable DIY coasters that look good enough to eat.
How to improve a cheap vase using polymer clay
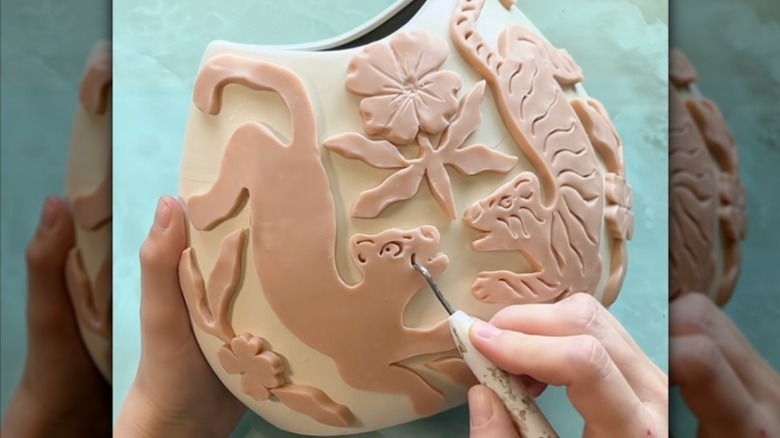
Begin by spraying your vase with primer. You can freehand or sketch your designs onto paper, or you can use printable templates or cutters if you aren't great at drawing or want something more precise. Either way, this is where you can really showcase your creativity and create designs that fit your personal style and existing décor. Roll your polymer clay into a thin slab with a rolling pin or long glass bottle. Place your paper templates or stencils onto the slab of clay and cut out your designs. Press the clay pieces gently into place on the vase.
There's no need to worry about adhesives at this point as you place your vase, clay and all, into a cold oven to bake. This step is important as it ensures your polymer clay designs mold to the shape of your vase. Baking times and temperatures may vary depending on your brand of clay, so make sure to follow the manufacturer's instructions. Once your vase is out of the oven and has cooled to the touch, you can use the adhesive. Gently pull up each clay appliqué one at a time so you don't lose its location. Apply adhesive to the underside and press it back onto the vase. Give the glue on all the pieces time to dry — Gorilla super glue gel takes 10 to 15 seconds to dry and 24 hours to cure — before applying a coat of paint.
Make textured paint for a ceramic-like finish on your vase
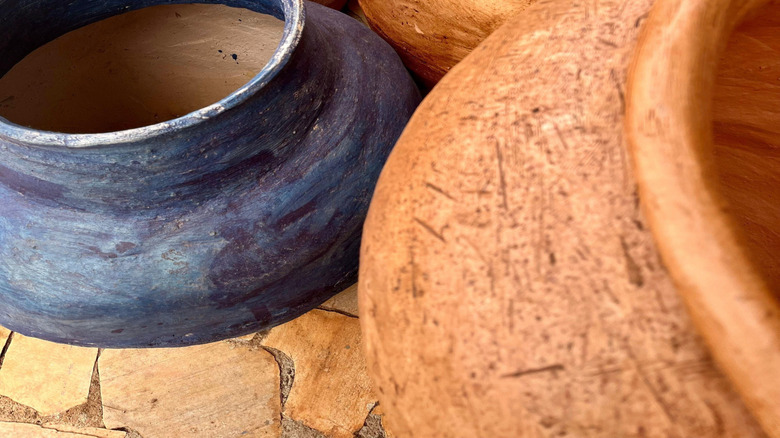
When you look at raw clay ceramic vases, the surface isn't perfectly smooth. Many clays include some amount of grog, which gives texture to the material. While you may not be able to replicate these effects with polymer clay, you can still give your vase a natural look using DIY textured paint. To make your own textured paint, simply add baking soda to acrylic paint and mix thoroughly. How textured the paint becomes is determined by the amount of baking soda you add. More baking soda equals more texture. To start, use about 1 cup of acrylic paint to 1 tablespoon of baking soda.
Apply your DIY texture paint to the surface of your vase as you usually would. The baking soda can stop the paint from flowing freely, so you may need a small brush to get it into the grooves and crevices created by your clay appliqué. You also have other options for your final coat. Use a heavy-body acrylic paint in any color or finish to tailor the vase to your space. To keep your vase looking new and reduce the likelihood of paint flaking off over time, you may want to consider sealing your vase with a clay-safe varnish. Then, with the project complete, all that's left is to style the vase in your home!