Why You Should Prune Irises In Fall For A Healthier Plant With More Blooms
If you want your irises (Iridaceae spp.) to put on a real show next spring, don't reach for the clippers too soon. It's easy to get impatient when the flower stalks start to flop in midsummer, but chopping them back early cuts off photosynthesis right when the rhizomes need it most. The plant's leaves might look rough around this time, but they're busy sending energy underground. Let them fade naturally at the end of the growing season, and you'll give the rhizomes the reserves they need to survive winter and fuel next year's flowers.
One big reason your iris plants are having trouble flowering could be because you've neglected fall cleanup. Iris borers, the biggest pest these plants face, like to lay eggs in dying foliage. Leave the leaves in place, and you're basically giving them free lodging until spring. Fungal spores and bacteria also thrive in dead leaves, especially once fall rains set in. Clearing out the mess in fall shuts down those hiding places and keeps your beds healthier with a lot less effort later.
The payoff is stronger plants and better blooms. Rhizomes that go into winter with full energy stores and no pests waiting in the wings are set up for success. When spring rolls around, your plants won't have to waste time fighting disease or borer damage; they will push out new growth and more flowers. Fall pruning is a simple, once-a-year move that sets the stage for a big spring performance.
Pruning your irises the right way
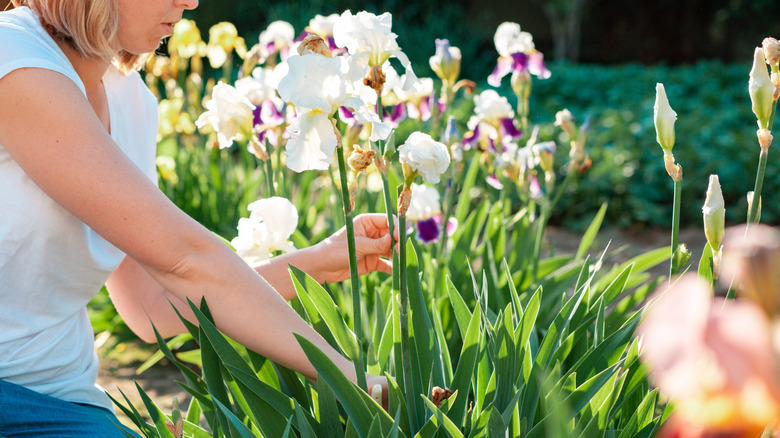
Grab a pair of sharp, clean garden shears or hand pruners and a sturdy bag for debris. Start in the middle of each clump of irises and snip the foliage with a downward-slanting cut, following the natural line of the leaf; leaving about 4 to 5 inches for the tallest leaves, and tapering to 2 to 3 inches for leaves on the edges of each clump. This keeps the center of the plant from trapping moisture while still letting the rhizome soak up the last bit of energy. Remove any yellowed, mushy, or diseased leaves as you go; these won't survive winter and can spread rot if left behind. Once the pruning is done, sweep up the leaves and old flower stalks, then compost or discard them far from your garden beds.
After cleanup, check the soil. Unlike a few irises, like Japanese (Iris ensata) or Louisiana varieties such as Dixie iris (Iris hexagona), most prefer well-draining soil (soggy rhizomes are a fast track to rot). It's always a good idea to look up the care information for your particular variety to make sure you're catering to its preferences. If your bed tends to hold water, consider adding a bit of sand or organic matter to improve drainage. A light layer of mulch can protect rhizomes from extreme cold, but keep it shallow around the crown so air can circulate. In colder conditions, a slightly thicker mulch or temporary cover can help rhizomes survive harsh winters, but make sure mulch isn't trapping moisture against the rhizome. Come early spring, remove the winter mulch and any leftover leaves or stems to give your perennials a clean start and make sure new growth isn't smothered.
Native to regions across North America, Europe, Africa, and Asia, most common garden irises thrive in USDA Hardiness Zones 5 through 9. These perennials respond well to neutral to alkaline soils, but local conditions play a big role in how your plants perform. Give them the right setup, and they'll reward you with stronger blooms next spring while adding reliable color and structure to your pollinator garden.