Tuck Away Home Eyesores With A Clever IKEA Hack That's Easy To DIY
We may receive a commission on purchases made from links.
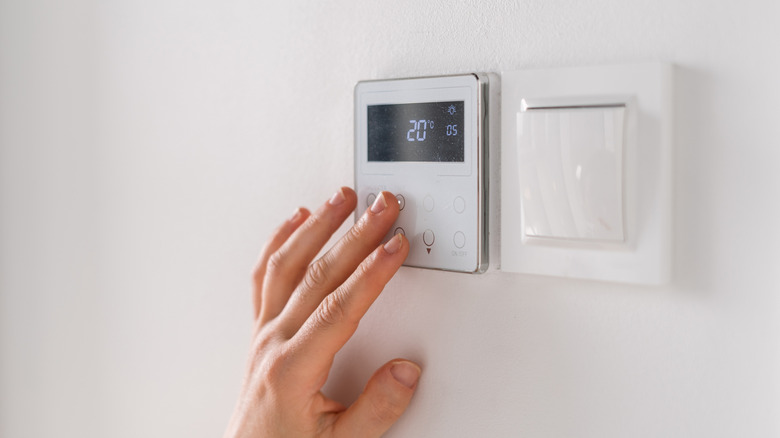
You know those random little eyesores around your house that you just can't stand but have to get used to? Whether it's a thermostat, an awkwardly placed light switch, a necessary but ugly alarm panel, or an unattractive outlet, this DIY could be the solution to keeping them out of sight. This is an easy hack that uses simple IKEA supplies to hide eyesores behind a picture frame that you can easily open and close. So it not only hides the ugly stuff but also keeps your space fully functional.
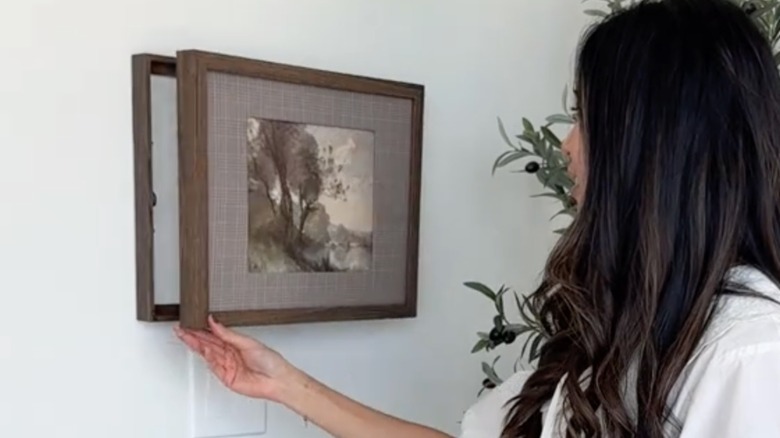
The idea for this hack is to attach two picture frames to each other using hinges. Thanks to those hinges, the two-in-one picture frame can open and close like a door, allowing you to easily access whatever is hiding behind it. You can find plenty of ways to customize this hack, for example, by attaching small nails behind them to hang keys. You can also adapt this hack to your particular needs and interior design palette by choosing different sizes and colors of frames, or even painting them.
For this DIY, you'll need two identical IKEA picture frames. For example, grab two 12-by-16-inch black RÖDALM frames, each retailing for $9.99. You'll also need small hinges like these Piutouyar stainless steel hinges for $5.99. Finally, choose one picture or image that you like to fill the frame. You can also use some decorative paper or fabric to cover the standard white mat that comes with the IKEA frame, too. For example, you could create a DIY linen picture mat to add some texture to your wall.
How to DIY a functional eyesore-cover with two frames
Hiding your thermostat with a cute DIY has never been easier. Start by removing the backing, glass, and mat from both frames and lay them flat on a table, one on top of the other. Using a screwdriver, add two hinges to one side of the frames to connect them. The hinges need to be on the side of the frames, so whether you attach them to the long or short sides depends on how you plan to position the DIY on the wall. For a landscape setup, attach the frames by the short 12-inch side, and for a portrait setting, go for the 16-inch side. Once this is done, you should have two frames you can open and close like a book.
Only place the glass, your preferred picture, and backing onto one of the frames, and leave the other one empty. If you'd like to transform a boring picture frame into a statement piece, consider using some wallpaper or fabric to cover the mat, or creating your own. On all sides of the bottom picture frame (the empty one), place command strips so you can attach it directly to the wall. Make sure the command strips are not visible from outside the frame, then press the DIY project onto the wall to cover the eyesore you're trying to conceal, and you're done. Now, you can open the picture frame, access what's behind it, and close it back up.