Say Goodbye To Your Painted Popcorn Ceiling - The Easy Way
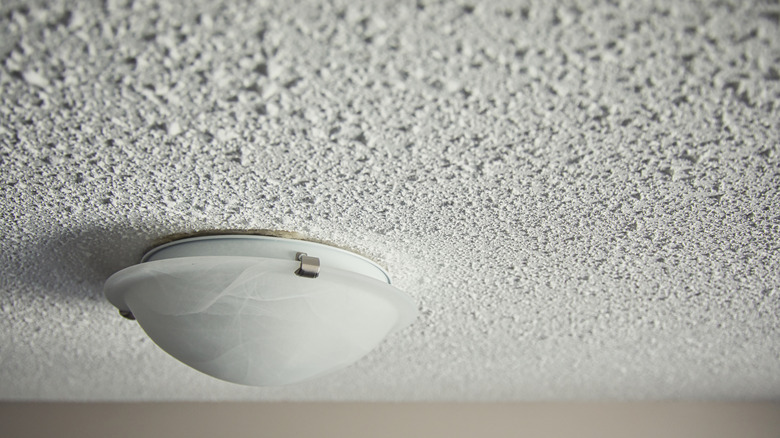
If you own an older home, chances are you've looked up at a popcorn ceiling and wished it would just disappear. This textured look was once considered stylish, but now it mostly makes a room feel outdated and dingy. Beyond looks, popcorn ceilings can trap dust and cobwebs, making cleaning harder than it needs to be. Maybe you thought about transforming your dated popcorn ceilings by covering them with insulation and drywall, but would rather just remove them altogether. Before you dive in, the most important step is to confirm that your ceiling does not contain asbestos. If it does, leave it to a licensed professional (It's not a DIY worth risking your health for.)
However, if your ceiling is asbestos-free, you can actually tackle this project yourself over a weekend with some basic supplies. Here's what you'll need: a ladder, a drywall knife, a floor blade scrapper, paper or plastic sheeting to cover the floors, painter's tape, trash bags, and a shop vacuum to keep dust under control. For safety, grab a protective mask, safety goggles, and a disposable jumpsuit or old clothes you don't mind tossing afterward. Some homeowners like using a pump water sprayer or even a hose and container for easier coverage. With the right prep work and equipment, this is a surprisingly manageable project that can instantly refresh your space. But, if you'd rather not put in the work, here are 7 ways to cover dated popcorn ceilings without the hassle of scraping.
Removing your popcorn ceiling with water and a floor blade scraper
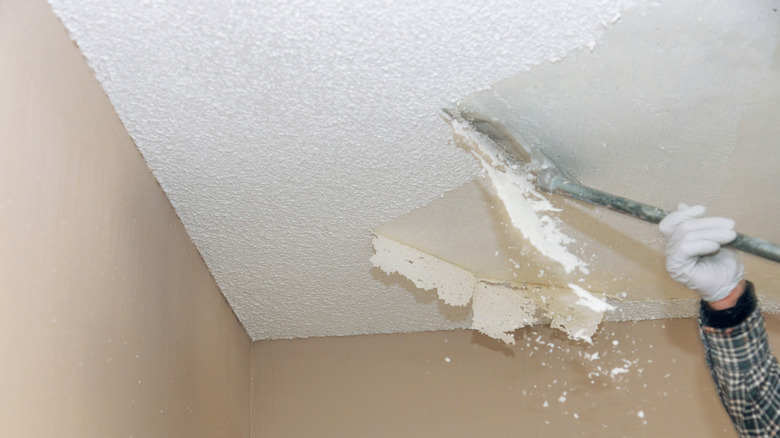
If your popcorn ceiling hasn't been painted, you're in luck. All you need to do is mist the ceiling with water, wait a few minutes, and scrape the texture off. But, if your ceiling has a painted surface, the job requires a little more effort and three levels of scraping. The paint acts as a seal, so you'll want to scrape it dry first to break through, then mist it and let the water sit for several minutes, so it can soak in. Depending on how many layers of paint are present, you may need to repeat this a few times. After you've completed the dry and wet scrapes, you'll want to wet your ceiling again and wait for 10 or more minutes to really let the water seep into the popcorn ceiling. Then, you'll start your final scrape.
To keep cleanup easier, make sure your protective paper is well-taped down along the edges of the room, creating a catch-all for debris. It's also wise to prepare your home by turning off all heating and air conditioning, and removing furniture. Take your time working in small sections, spraying, waiting, and scraping until the ceiling is smooth. Once you've finished, you can customize your ceiling however you'd like. Some homeowners choose to sand and repaint for a clean, modern finish. If you find that scraping is too much work, you can cover your popcorn ceiling with a chic shiplap-inspired DIY. Removing popcorn ceilings will not only modernize your home, but also make the space feel smoother and brighter. A little sweat now pays off in long-term value.