DIY A Spooky Wall Of Bones For A Bold Accent Wall Piece Using Dollar Tree Items
We may receive a commission on purchases made from links.
Halloween is about pulling out all the stops when it comes to spooky decorations. You can find creatures everywhere — including blood-sucking vampires, werewolves, and zombies. One of the most classic symbols of the holiday is a skeleton. Interestingly, they aren't scary figures when it comes to the Day of the Dead (Día de Muertos), and they're sometimes playful around Halloween, too. But skeletons can be downright terrifying if given the right touches. If you're looking to really boost your haunted house décor, you can do so by crafting an accent wall of bones. This isn't a DIY project for the faint of heart, as the results are incredibly creepy — a reason why it's perfect for giving your guests chills.
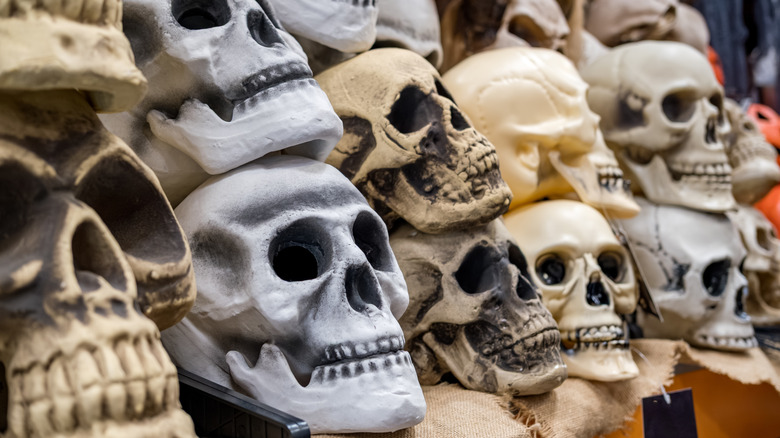
TikTok user @lauren.took.an.art.class shared how to make this piece of wall art. The main supplies are plastic skulls and bones, but the amount you need depends on how big you'd like it to be. Although you might be able to find random ones at the thrift store, Dollar Tree sells Halloween skulls and bones for a low price. They even have items to help you make DIY skeleton décor with a wood pallet. Dollar Tree's Plastic Skulls are $1.50 each, and their 18-piece bag of Plastic Bones is $1.50 as well. You're also going to need cardboard, paint, and spray foam — like this Great Stuff Gap Filler, which is less than $6 at Home Depot.
Follow these steps to stir up the screams
Begin by laying a long piece of cardboard down at your work station. It will be your base, so it's up to you what size to use. Next, carefully slice the backs of the skulls off using a sharp instrument, and toss them aside. Add glue to the back of the skulls and attach them all around the cardboard. Do the same with the bones, mixing them together for lots of creepiness. Put on gloves, then start filling in the open areas in between the skulls and bones with the gap filler. It's a material that really ties it together, and it's used in a variety of Halloween DIYs.
@lauren.took.an.art.class Replying to @Alexis Camarillo One of my favorite pieces I've made this Halloween season! A great @Dollar Tree Halloween DIY. #halloweentok #halloween2025 #halloweencrafts #halloweendecor #halloweendiy
Let the foam dry before moving onto the next step. Once it is, spray paint the entire piece black. You can then add accents to the skulls and bones using several layers of paint. With a brush, paint on a mixture of brown and yellow first, followed by a layer of brown, yellow, and white. Finally, blend yellow and white together to highlight the skulls and bones. After it's fully dry, it will be ready to hang on the wall.
This bone-covered decoration looks like it's straight out of a horror movie. It would be an amazing addition to a Halloween party or can be used as a haunted house prop. Create multiple pieces to fill up a hallway so that partygoers feel like they're walking through a catacomb. Consider covering the walls with other black material for more of a flawless look. Pair it with a fog machine, moans, and a showstopping witch tree and it'll surely be the talk of the town.

