Save Valuable Garage Space With This Clever Tip For Your Recycle Bins
If your garage floor feels less like a place to park your car and more like a cluttered obstacle course, chances are your bulky recycling bins are one of the biggest space-eating culprits. Even though they are essential, these bins can take up an absurd amount of prime floor space. Stacking them on top of each other to save space does not work, either, as that becomes an unstable eyesore of a tower. And laid side-by-side, they claim valuable square footage that could be put to better use. However, this common clutter issue is easily solved: by mounting your recycling bins on the wall as a DIY project that will maximize the storage space in your garage.
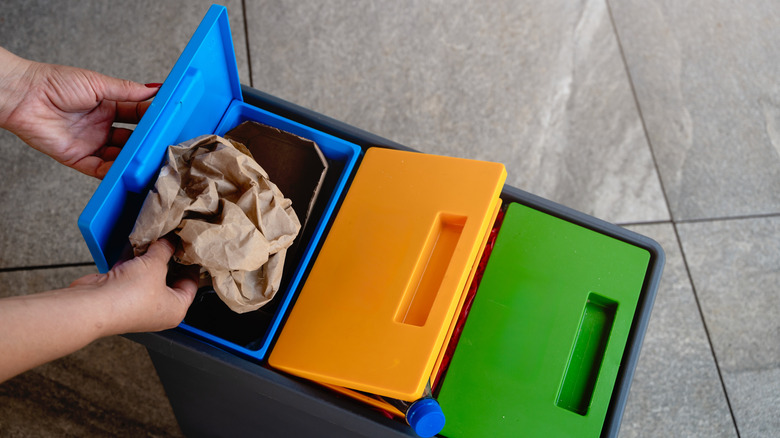
This clever hack is all about quantifying the gain. A commonplace blue recycling tote bin can take up over 2 square feet of floor space. And if you have multiple bins, you could instantly reclaim 6 or more square feet of floor (for recycling cardboard, aluminum, glass, or plastic items — excluding common items you shouldn't be putting in the recycling bin), which could be the difference between being able to comfortably open your car door and having to squeeze out.
Beyond just the physical space, your garage organization gets a major boost by wall mounting the bins. Separating your bins onto their own easy-to-access mounts gets rid of a frustrating stack and unstack routine. Furthermore, elevating the bins off the ground helps keep them clean, reduces the amount of dust and dampness they might gather, prevents them from attracting pests, and makes it super easy to sweep or hose down the floor underneath for an ultra clean garage.
How to mount your recycling bins
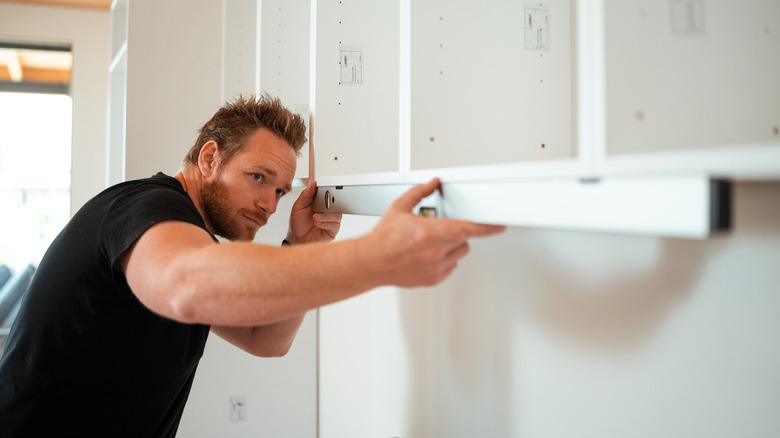
Getting this space-saving setup installed and ready to use is easier than you might think. And don't worry: you do not need a custom build here. Readily available hardware will do the trick. Look for heavy-duty utility shelving brackets. Or, if you are handy and love a good DIY project, craft a cleat frame built from lumber to securely hold each bin. Either way, the most important step in execution here is safety: remember to mount the rack into sturdy wall studs or use high-grade toggle bolts to ensure the structure you are mounting to can safely support the weight of full bins (especially when dealing with heavy materials like glass). For the cleanest aesthetic, select matching bins for your setup.
The true reward of this project is what you can now do with all the newly available floor space. Place your garbage bins underneath to create a streamlined spot for outgoing trash and recyclables. That reclaimed area can also give you the dedicated workbench you have always wanted, a proper storage locker for seasonal gear, space for a second car, or a versatile open area you can use for anything. If you opt to install the racks near your main garage entrance, you end up creating a designated drop-off zone that gives your family an easy, streamlined way to toss out recyclables on their way in or out of the house. There are even ways to disguise your recycling bins for a neater aesthetic. This minor installation offers up huge organizational impact, turning cluttered garage space into a model of efficiency.