The Sleek And Simple IKEA Hack That'll Keep Your Small Entryway Neat And Clutter-Free
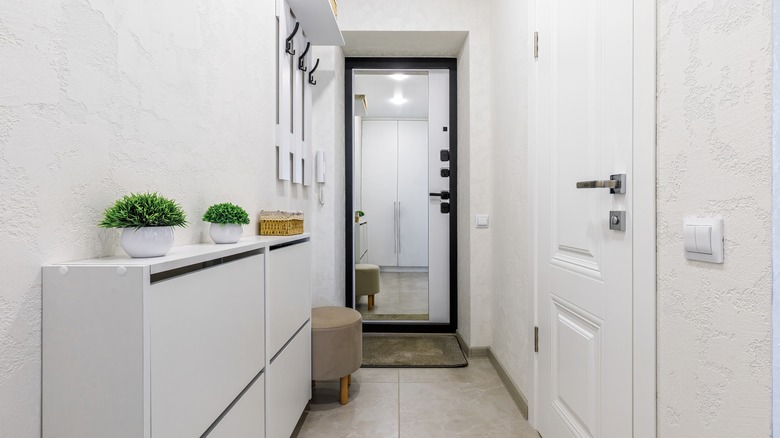
If there's one spot in any home that seems to collect clutter on its own, it's definitely the entryway. When you walk through the door in a rush, carrying all sorts of things in your arms, you reach for any flat surface to drop things onto and empty your pockets on. Whether it's keys, wallets, bags, or mail, an entryway quickly turns into a chaos catch-all. Having a dedicated storage solution near the door is a game-changer, but that can be a challenge if you're dealing with tight spaces. Well, IKEA has the perfect solution for you with its HAVBÄCK wall cabinet.
The HAVBÄCK is a very thin wall cabinet, which makes it a wonderful choice for a narrow entryway. It only takes up six inches of space against the wall, so you won't risk bumping into it as you rush inside. By placing it low, you can use the top of the cabinet to drop things off when coming through the door. And by adding a simple wooden plank on top of it, you can completely transform the look of the cabinet and make it seem like a unique piece of furniture designed specifically for that purpose.
For this hack, you'll need the HAVBÄCK wall cabinet, which retails for $139 and is available in black, white, and beige. You'll also need a 6-by-18-inch plank of wood — make it 36 inches long if you're using two HAVBÄCK cabinets. Feel free to cut a custom piece from a larger plank. Depending on the kind of wood plank you choose, you can use different types of saws for this, including a universal hand saw, a circular saw, or a jigsaw.
How to turn the HAVBÄCK cabinet into an entryway organizer
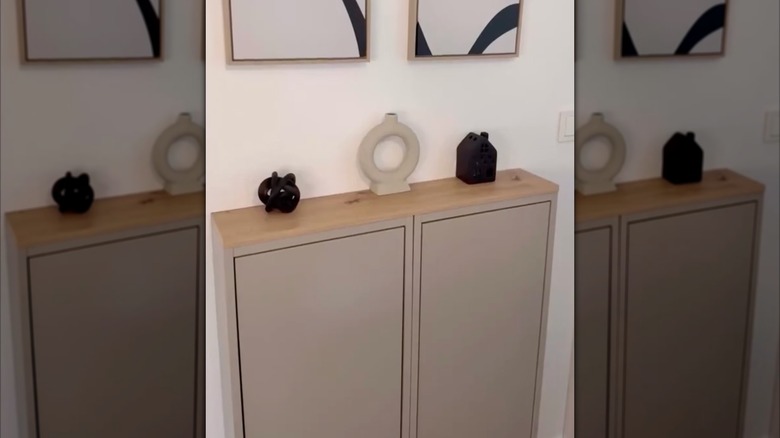
Like most IKEA cabinets, the HAVBÄCK comes with everything you need to attach it to the wall, including a suspension rail. The great thing about this cabinet is that you can mount it so the door opens on the right or left. This is particularly helpful if you're dealing with a tight entryway and want the door to open toward the room, rather than toward the front door. Either way, be sure to place it on the lower half of the wall so that the top of the cabinet serves as a table of sorts.
To customize this DIY even more, consider painting the wood plank to make it match your interior design style. You could play with colors and use something bright. Or, use wood stain to give it a darker hue while keeping the wood aspect. Once the cabinet is set up on the wall and the wood is ready and dry, it's time to assemble. To make sure the plank is secure on top of the cabinet and doesn't fall off, add two small Command strips on both ends. Strong double-sided mounting tape works too, which will be enough to prevent the plank from sliding.
On top of the cabinet, place a small bowl to hold loose change and keys, along with some decorations. Inside the cabinet, you'll be able to leave the rest of the clutter: small umbrellas, wallets, phone chargers, mail, and coupons. In the winter, use it to store gloves and hats, and in the summer, it can be your dedicated spot for sunglasses.