Reuse A Common Kitchen Throwaway To DIY Sleek And Simple Wall Sconces
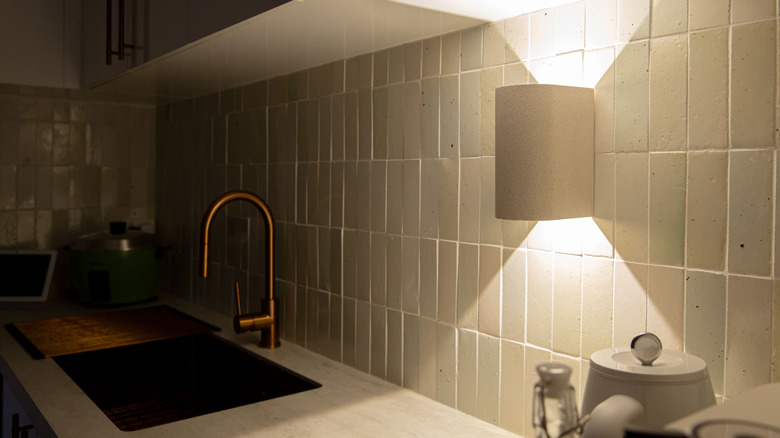
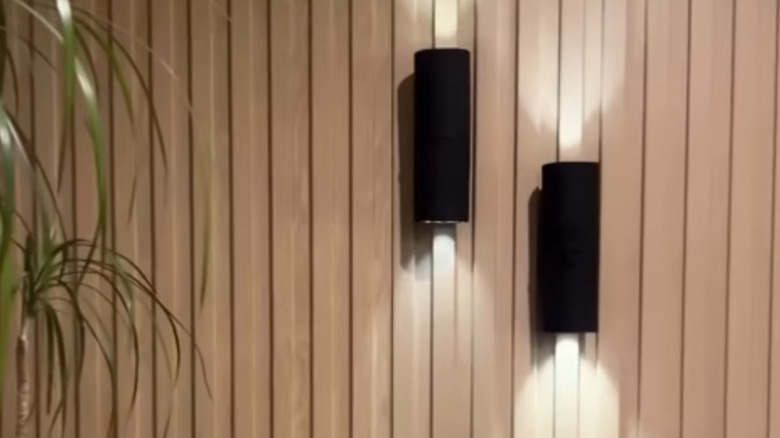
It's difficult not to marvel at the genius of a Pringles can. It's designed so that all those form-fitted tater chips can snuggle neatly one on top of the other in that cylindrical can. And as it turns out, the cans are good for more than just holding saddle-shaped chips. With a few nips and some clever use of LED lights and magnets, your average Pringles can becomes a simple, cordless DIY wall sconce that allows you to fake a high-end, luxury home – plus, you can reuse an item that you would usually throw away.
The body of this budget-friendly wall sconce will be built from a plain Pringles can. It doesn't matter what kind (from a flavor perspective), but it does need to be completely round and intact. As far as the size goes, go with the 10-inch version. Additionally, the project does require you to make minor changes to the structure of the can, though. For this, you'll need either a pair of scissors or a utility knife, a measuring tape, and a pen or pencil.
After deconstructing the Pringles can, you're going to rebuild it and embellish it. For that, get some qxayxa Unfinished 1-inch by 3.9-inch Wooden Blocks, some double-sided tape, like Large Picture-Hanging Command Strips, and a glue gun. You'll also need some round LED tap lights and some round button magnets. Finally, you'll need to hide the can's exterior with a good coat of paint. You can either use brush-on acrylic paint and a brush for this, or you can give it a blast with the spray paint color of your choosing.
Lighting up the Pringles can
You're going to cut the can in half for this cordless wall sconce. Use the tape measure to find the halfway mark of the can. Mark this spot with a pencil. Next, cut the can in half. Next, remove the metal ring at the top of the can. You may need the help of an Xacto Knife blade or your scissors to make a clean cut. You won't cut off the can's metal bottom.
Once the can is cut in half, you'll have one piece that has the metal bottom and one piece that is open on both ends. Glue the piece with open ends to what used to be the bottom of the original can. If you've done this correctly, you'll have a reconstructed Pringles can. However, the metal bottom will now be in the center of the two halves. Next, glue one of the craft blocks onto the reconstructed Pringles can so that it runs longways down the side of the can. This becomes the mount for the light. Paint the can and the mount.
The inner diameter of the Pringles can is just slightly less than 3 inches. STAR-SPANGLED 2.8-inch Push Tap Lights will fit inside these measurements. Glue one button magnet to the bottom of each of the lights. Slide the lights, magnet-side down, into the reconstructed can. They should attach to the can's original metal bottom. Next, attach a Command strip to the wooden block mount. Hang the light on the wall. To turn on the lights, use the eraser end of a pencil if you can't reach down into the can to push the lights on.
Making improvements to the Pringles light
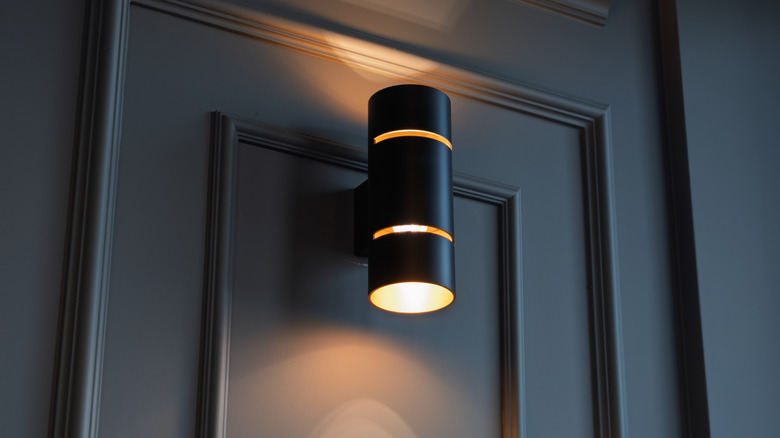
As is, this cordless wall lighting idea will be just one color. However, there are a couple of ways to add more visual appeal to the light if you want something a bit fancier. One of the simplest ways to accomplish this is to create vertical or horizontal stripes on the light using D-NYX Color Vinyl Electrical Tape. For example, make a black and red sconce by first painting the Pringles can black, and then making red vertical lines with the electrical tape.
Additionally, since the tape comes in multiple colors, it's possible to make a tri-colored (or more) sconce as well. Or, if you'd like a little more bling, substitute the electrical tape for a shiny tape. Trimold Store's Peel-and-Stick Gold Metalized Polyester Mylar Film Craft Tape would be a fun option for this.
The other option you have is stencils. Most stencils are flexible. As such, you can wrap something like CIATBYYJ Reuseable Border Stencils to create an interesting geometric pattern on the top and the bottom of the sconce. To keep the stencil steady, you'll want to tape it onto the can with some architect's tape. To get full coverage with the stencil, use a triangular sponge to dab some acrylic paint into the stencil's patterns. Doing this gives you more even coverage on something that's not completely flat, like the can. Once your taping or painting tasks are done, hang the sconce as usual. Finally, as you did with the Mylar tape, you have the option to create sparkle with the stencils, too. Just use a metallic paint.


