The Budget Friendly Way To Customize Vintage Thrifted Furniture
We may receive a commission on purchases made from links.
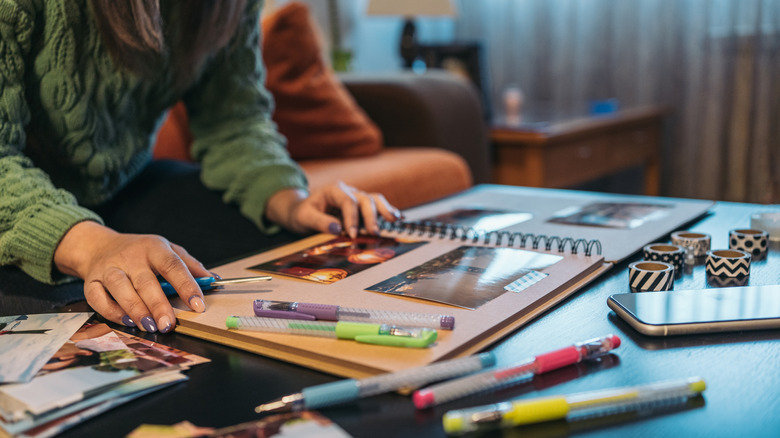
So that thrifted vintage table you found at the second-hand store was practically a steal. The only issue is that it could use some customizing, but only if it's within your budget. And while using washi tape as decor may not have been the first thing you thought of as far as personalizing your furniture goes, maybe it should be. Washi tape is like masking tape, only with a little more class and a lot more visual appeal. The crafty types among us often tap this paper tape for fun DIYs, like scrapbooking. However, this inexpensive tape has adhesive just like any other tape, so it works on furniture, too.
There are lots of pretty colors and patterns of washi tape to choose from, like the Joysoong Oil Painting Style Flowers Washi Tape Set, featuring sunflowers reminiscent of those painted by Van Gogh. Sticking this on your vintage furniture's edges, legs, and even around features like cupboard doors, can easily dress up second-hand thrifted finds. Aside from giving your pieces a more bespoke look, washi tape can also play a role in your overall decorating theme. For example, if vintage pattern drenching has become a thing in your bedroom, adding a Paperblanks Morris Pink Honeysuckle Washi Tape to your side table offers you a subtle way to introduce more patterns into the mix.
Aside from the washi tape, your DIY toolbox should also be equipped with a pair of scissors and a measuring tape. And, if your vintage find looks really, really retro (and not in a good way), you may also need items like a sander, stain or paint, paint brushes, and other furniture repair tools.
Working with the washi tape

With this project, you'll be adding your decorative flair to a vintage piece. That being the case, you'll want to make sure that the furniture you're working on has been cleaned up, sanded (if necessary), and painted or stained, if you're going this route. Once the paint or stain has set and dried, measure the areas you'll cover with the washi tape. Doing this ensures that you've purchased enough tape to complete your project.
For neatness's sake, you may want to find a way to do a lot of smaller sections instead of one big one because it'll be easier to handle the tape. For example, if you're doing a border around the edges of your table, measure and cut the washi tape for only one side, apply it to that side, and then move on to the next side. If you go this route, you'll need to ensure that you cut the washi tape straight on each of the corners to keep it looking neat. If, on the other hand, you feel confident in your taping skills, it's possible to stretch one long piece of tape around the table or bookcase you're working on.
If you're feeling extra bold, don't limit your washi tape decorations to the edges of bookcases and tables. Use it to create a diagonal pattern across the top of an end table or coffee table. You can also use the washi tape as a unifier by applying it not only to the furniture piece, but also to accessories like your DIY thrifted lamps or flower pots.