Say Goodbye To Popcorn Ceilings With A Solution That's Easy To Install
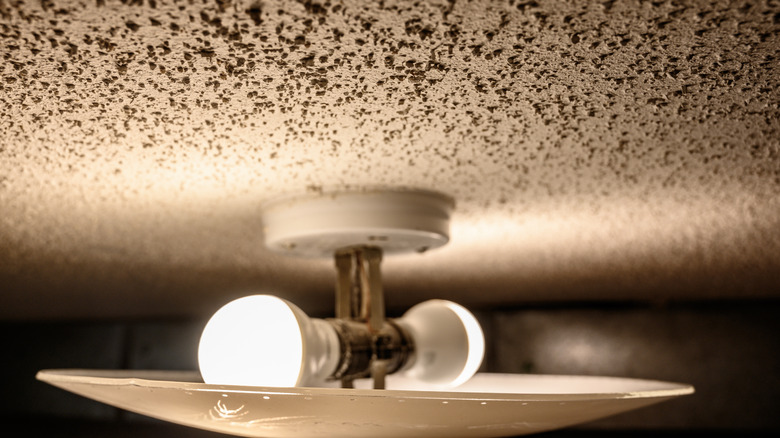
Whether you prefer a modern or vintage design in your home, pretty much everyone agrees that popcorn ceilings are not the way to go. The universally despised ceiling format strikes many homeowners as outdated and unfinished. Between their subpar appearance and the hidden downsides of popcorn ceilings (like the fact that they may contain asbestos), switching them out for something different is probably the best way to go. Instead of removing your popcorn ceiling completely, however, you may find it easier to cover the surface with a new material. One solution is a grid track system.
These systems consist of multiple channels that are laid out equally along a ceiling in the form of a grid pattern. The grid is made of metal, usually aluminum or steel, and materials like fiberboard or ceiling tiles are then used to cover the ceiling with an updated look. The tracks hold up the new ceiling covering and keep it in place so everything looks nice and level. This is also why grid track systems are useful for those who want to install drop ceilings.
Grid track systems can be expensive (up to $20 per square foot), especially if you have a lot of area to cover. Luckily, they don't require professional installation. Plus, your investment will be worth it in the long run, as popcorn ceilings lower home resale value.
How to install a ceiling grid track system

If you're considering using a grid track system to replace your popcorn ceiling, don't make the mistake of underestimating the task ahead. Make sure you know where your ceiling joists are located, and create a diagram of the room so you can strategize where you'll install and fasten each piece of the grid system.
After attaching the support frame around the walls' perimeter, lay out the grid track system's main runners (known as tees) so they're evenly spaced and the tees are perpendicular to the floor joists. Per the International Building Code (IBC), you'll need to mount a hanger wire every 4 feet. Using a laser level to determine the right crimping length, attach each of the main tees to the relevant hanger wire, then fasten each wire through the hole in the tee. Next, click-lock the cross tees into the main tees throughout the room until the grid is complete. Keep a small cutter on hand to adjust the size of the grid pieces as needed. The process should feel like putting together a large puzzle.
You can then place the individual ceiling panels or tiles. Once you cut them to the required size, take each ceiling panel and lay it on top of each square or rectangle of the grid track system. The runners will hold the ceiling panels in place, so adhesive shouldn't be necessary. As always, familiarize yourself with the material you've selected and pay attention to any information provided by the manufacturer.