Easily Add A Remote To Your Garage Opener Switch With These Steps
We may receive a commission on purchases made from links.
Garage door openers are the unsung heroes of the daily commute. Whether you're heading out for work or school dropoff, the ability to press a button to open and close the garage saves time, steps, and mental space — at least, until you need a new (or another) remote. Untangling how to add a remote leaves some homeowners so frustrated that they buy a new system. But the truth is, adding a remote to your garage door opener is simple with the right steps.
At the core, garage door openers are relatively simple systems. When activated (aka, the remote's button is pressed), a signal is sent to the motor, telling it to turn the bar connected to the door to open or close it. But programming your door opener and the remote itself on the same frequency can feel tricky (and is often a common garage door opener problem).
The good news is that there are multiple options to easily add a remote to your garage door opener. The first choice to make? Whether you want to turn your garage door into a Wi-Fi-enabled smart door or not. There are benefits to both, so it comes down to personal preference. Don't worry; we'll walk you through the pros of each, the best options, and a step-by-step breakdown of each so you can find the right fit.
Make your phone a garage door opener remote with Wi-Fi
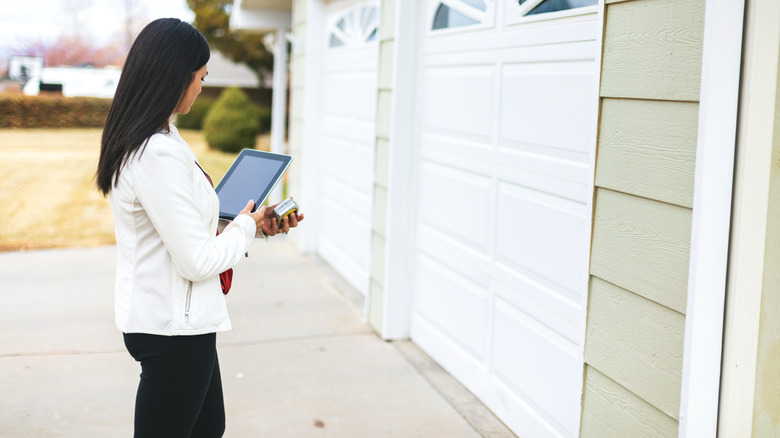
You have your phone with you everywhere already; why not turn it into a garage remote? A Wi-Fi-enabled smart garage door opener hub, like the CHAMBERLAIN Smart Garage Control Wireless Garage Hub, can transform your current device so it opens with a Siri command or closes with the tap of a button, even if you're miles away. There are a few things to consider before buying a Wi-Fi-connected garage opener, namely when your opener was built and the strength of your Wi-Fi signal.
If your garage opener was produced before 1993, it likely will not be compatible with smart garage openers. Check the compatible models list (usually available in the product description or user manual) to be sure. Next, to ensure the hub connects properly, check the Wi-Fi signal strength in your garage. Your phone's Wi-Fi is a good gauge. In your garage, turn your phone to airplane mode, ensure Wi-Fi is on, then check the Wi-Fi bars. For the exact strength, download a Wi-Fi analyzing app, like AirPort Utility (iPhone) or Wi-Fi Signal Strength Meter (Android). Aim anywhere from -50 to -60 dBm. Consider installing a range extender, like TP-Link AC1200 Wi-Fi Extender, if needed.
If your garage opener is compatible and the Wi-Fi signal is good, it's time to install. Instructions may vary depending on your hub, but generally require you to install the hub's app on your phone, link it to your Wi-Fi network and smart garage hub, and attach the hub near your garage opener. Then do a test run with your phone — ahem, new garage opener remote — and you're done.
How to add a garage opener remote without Wi-Fi
Don't want to turn to your phone to open your garage? No problem. There are two ways to add traditional garage opener remotes. Deciding which one to use comes down to whether your garage opener was made before or after 1996. The best way to tell is to check the date on the device.
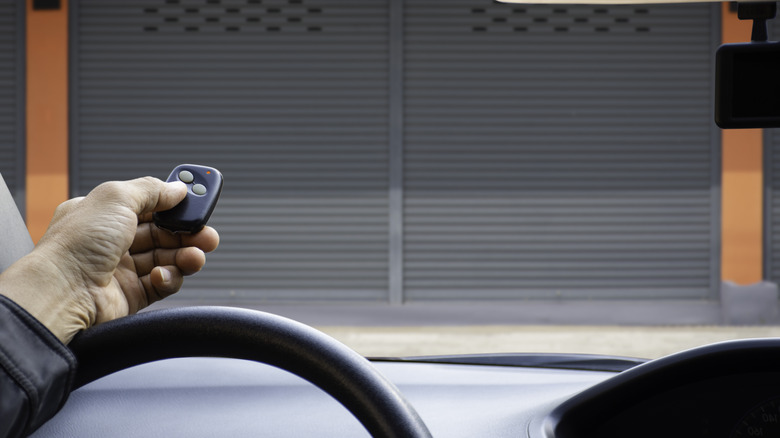
To add a remote to post-1996 devices, look for a button labeled "Train" or "Learn". Note its color. Then, look at your existing remote for either a circle icon or the "Security+" label. These two details are key to getting a compatible remote since not all generic garage door openers are universal. For example, the MeiZhi Garage Door Opener Remote is compatible with door openers with purple, yellow, green, orange, or red buttons. When you're ready to add a remote, press the learning button on the back of the device quickly. The nearby light will turn on. Then press and hold the appropriate button on your new remote and wait for the light to flash to sync.
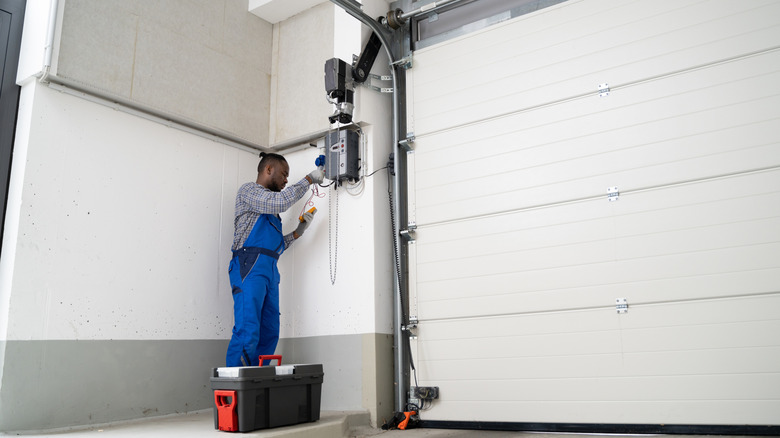
If this method doesn't work or your garage opener is pre-1996, try installing a wireless garage opener receiver, like the Solidremote Wireless RF Remote Control Relay Switch. You'll need an AC adaptor, like the SANSUN 12V 2A Power Supply, some conductor wire, wire strippers, and wire cutters. Unplug the opener and follow the instructions — usually to adjust the dip switch — to program the new remote. Connect the AC adaptor to the AC/DC terminals, then screw the conductor wires to the appropriate door terminals. Mount the unit next to the opener, then connect the conductor wires to the device. Plug everything in and test the remote.


