The Popcorn Ceiling Alternative That Adds A Unique, Citrusy Texture
We may receive a commission on purchases made from links.
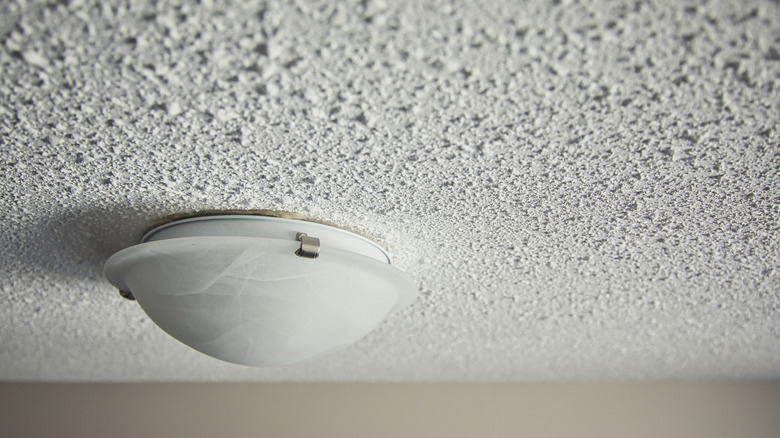
Popcorn ceilings, the once-ubiquitous ceiling texture from the '80s and '90s, are now frequently seen as outdated and undesirable. Almost all homeowners hate their popcorn ceilings, but removing them can be an ordeal. And ceilings with no texture can look too stark and show imperfections in the drywall finish. Orange peel texture is a great alternative. It's a more subtle, sophisticated texture than popcorn but provides more warmth and character than completely smooth ceilings. When you're comparing popcorn vs. orange peel walls, the biggest difference is that popcorn ceilings are more deeply textured while orange peel texture is lighter.
As its name suggests, orange peel texture resembles the dimpled look of the skin of an orange. It works well with all styles and aesthetics, from cottage to modern, and has the added benefit of hiding drywall application flaws. Like popcorn ceilings, you create orange peel ceilings by applying a splatter texture over your drywall. The compound you use to create the texture provides an extra layer of protection for your ceiling. Although your ceilings aren't as prone to dings and damage as your walls, extra protection is never a bad idea. Orange peel is also one of the best ceiling textures that reduce noise in your home.
How to DIY orange peel texture
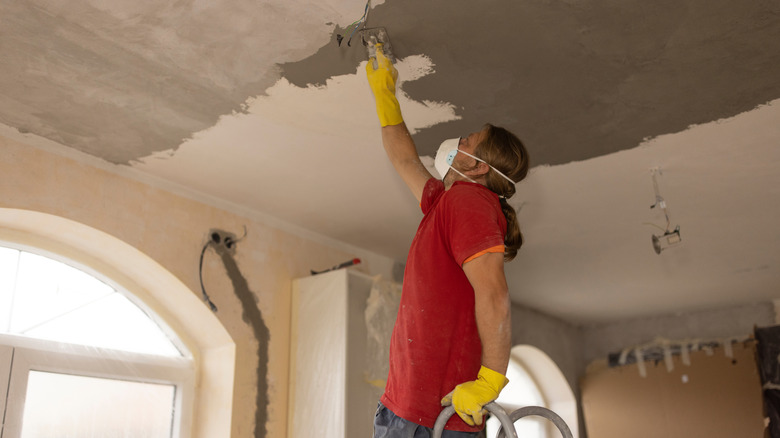
Before you can begin applying orange peel texture to your ceiling, you need to prepare the surface. If you already have smooth ceilings, or if you're applying it to a new build, this will be fairly simple. You just need to make sure your drywall is installed and smoothed as perfectly as possible, paying particular attention to joints and corners. It can be tempting to skimp on quality when you know you'll be applying texture on top of the finish, but don't make this mistake. Orange peel texture will disguise some imperfections, but the smoother your finish is before the application, the better your results will be. Applying texture to drywall is a messy process, so clear out your room and cover your walls and floors with drop cloths. Remove any light fixtures or cover them well.
If you have popcorn or another type of ceiling texture, you'll need to remove it first. After you remove the existing popcorn texture, sand the drywall and clean it well. Use a high-build primer to smooth out the surface and prep it for the texture. For the texture application, you'll need an air compressor and hopper gun. You may be able to rent these from a local hardware store, or you can purchase a hopper spray gun for under $40. Mix a bucket of mud and fill your hopper up to two-thirds full. With your air compressor nozzle set to 100 pounds, apply a uniform coat of texture to your ceiling. If this is your first time doing this, you can practice on a scrap piece of drywall to perfect your technique.