The Low-Maintenance Veggie That Grows Perfectly In Your Kitchen Throughout Winter
We may receive a commission on purchases made from links.
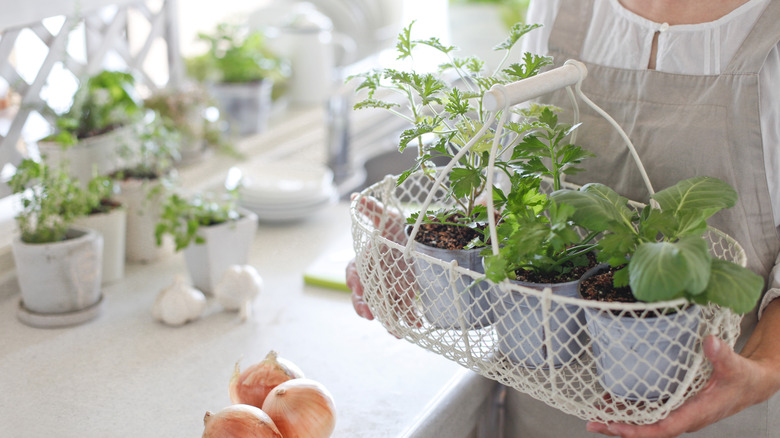
When winter hits, it can be hard to find fresh greens to add vital nutrients to your diet. Your garden is done for the season, and veggies from the store aren't as fresh. And if you've tried growing traditional vegetables in pots in your kitchen, you probably know how hit or miss it can be. In the winter, it can be hard to make sure your indoor plants get enough light. Thankfully, there is a low-maintenance veggie that is easy to grow through winter — sprouts.
Many people grow herbs in their kitchen window garden during winter, but few think of veggies. Some of the easiest sprouts to grow are just baby veggies. The most common are broccoli, alfalfa, radish, beans like mung or adzuki, and clover. Not only are these sprouts full of nutrients, but they add a welcome touch of green to your kitchen in winter. All you need is a jar, a mesh screen, some water, seeds, and light. You can also purchase a sprouting kit, like the SOLIGT Stackable Stainless Steel Seed Sprouting Kit, if you prefer. The other great thing about growing sprouts is that the seeds are relatively cheap and produce a ton of yummy greens.
It is important to mention that raw sprouts may pose a risk to those with weakened immune systems. Raw sprouts, because of the way they are grown, have been known to carry the risk of harmful bacteria. If you don't want to take the chance, it is a good idea to cook your sprouts thoroughly before consuming.
How to easily grow sprouts in your kitchen

Choosing the right seeds is the first step in growing sprouts. For a lowered risk of any food-borne illness, you can buy seeds that are only for sprouting and have been tested for micro-organisms. A great choice for beginners is alfalfa sprouts because they grow especially well using the jar method.
Once you have your supplies, the first thing to do is make sure all your tools and your hands are clean with hot, soapy water. Add a tablespoon of seeds to your jar; cover them with cool, filtered water; and secure a mesh lid or cheesecloth onto the jar. Let the jar sit for at least 10 hours in a safe location in your kitchen (where it won't be disturbed). The next step is to strain the seeds through your mesh and rinse well. Put the seeds back into your jar or sprouting kit after you've rinsed them. Repeat the rinsing process daily, and you should notice sprouts after a few days.
When you start to notice the first tiny set of leaves, your sprouts are ready. You will want to do one last rinse, dab them with a paper towel, and store them in your refrigerator. Before you use your sprouts, give them another good rinse. If they start to wilt or become slimy, you should toss them. If you follow these steps, you will avoid some of the common mistakes people make when growing sprouts.