10 Simple Ways To Upscale Any IKEA Cabinet Or Dresser To Make It Look More High End
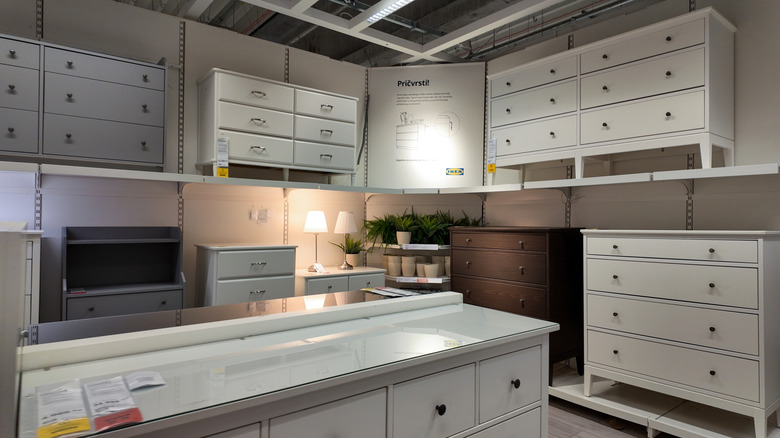
Choosing IKEA furniture for your home is a great idea for a variety of reasons, including cost-effectiveness, a wide product range, and overall functionality. However, with many IKEA dressers and cabinets being made of particleboard and painted in the same colors, they can sometimes end up looking a little cookie-cutter or out of place among other decor and furniture pieces. Luckily, many of IKEA's furniture pieces — even the cheaper options — can be upgraded in different ways to look more expensive and help them blend seamlessly into your space.
No matter your renovation experience, these simple tricks can help upscale your IKEA furniture without the need for lots of specialized tools or knowledge. From painting and changing hardware to adding decorative paper and natural materials, you can quickly and easily give your pieces a new, chic look. And the best part? These methods are fully customizable, meaning you can choose the materials and colors that will help you achieve a look that feels much more suited to your space and design preferences. For example, you can use tiles to make your standard IKEA furniture look stunningly vintage or opt for new brass hardware for a more modern look. So, take a look through these clever design upgrades, and you might just find the perfect tricks you'll want to use to give your furniture a fresh update.
Choose a new paint color
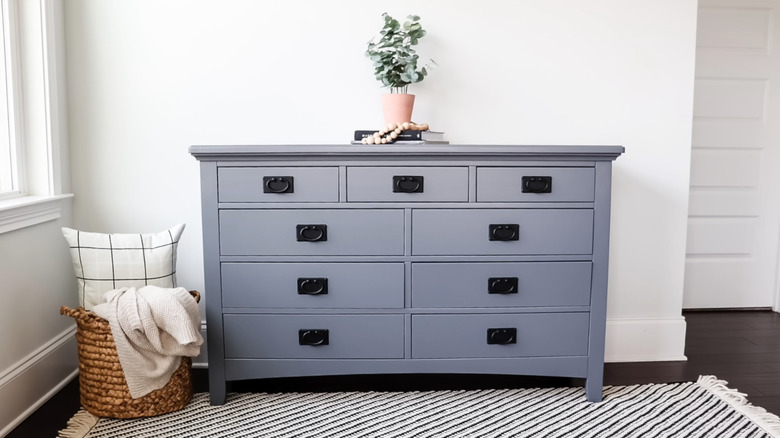
One of the simplest ways to upgrade your IKEA cabinet or dresser is to add a fresh coat of paint. There are literally thousands of paint colors available, meaning you can choose shades that suit your interior design while feeling high-end and modern. First, remove the existing handles and gently sand the surface. Then, simply paint the piece in your chosen color. Two coats should be enough, though you may need more if you're covering a darker shade like black or grey. For a more unique look, why not try out stencils to create a patterned design?
Change or add handles
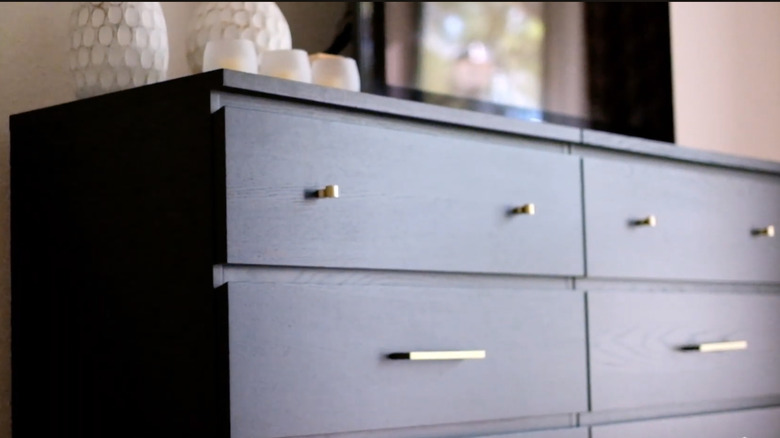
Another popular — and super simple — way to upscale a piece of IKEA furniture is by swapping out the handles. Many items, such as the RAST 6-drawer dresser, come with basic handles made of plain wood or uninteresting metal. By finding your own knobs or pulls, you can choose the color and shape to create a bespoke and high-end feel. If your piece already has handles, simply unscrew them by hand or using a screwdriver and then replace them with the new ones. If the piece doesn't come with handles, you will need to drill new holes and slot your new ones in.
Add trim or molding for dimension
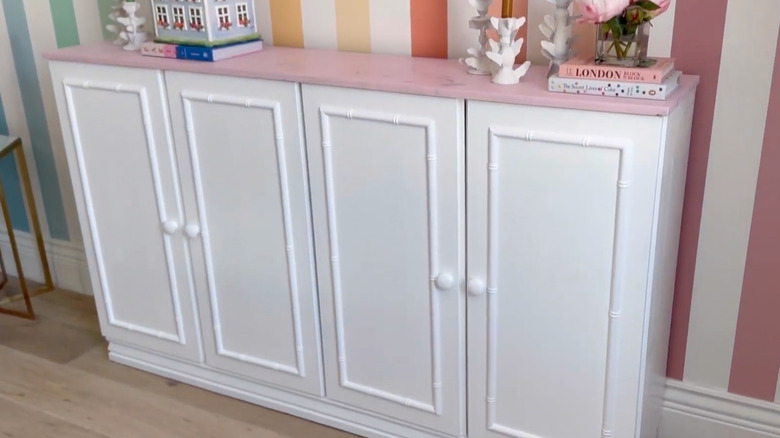
Many IKEA dressers and cabinets can have a flat, one-dimensional look due to their clean lines and boxy shapes. However, your piece doesn't have to stay that way. By adding a few pieces of trim or decorative molding, you can make your furniture look more high-end with details that aren't often found on cheaper items. Simply attach the trim to the piece using furniture glue and then add caulk between the gaps for a seamless look. Opt for a bobbin-style molding for a more trendy, whimsical look or choose a simple straight trim to add dimensionality and interest.
Give doors and drawers an upgrade with wallpaper
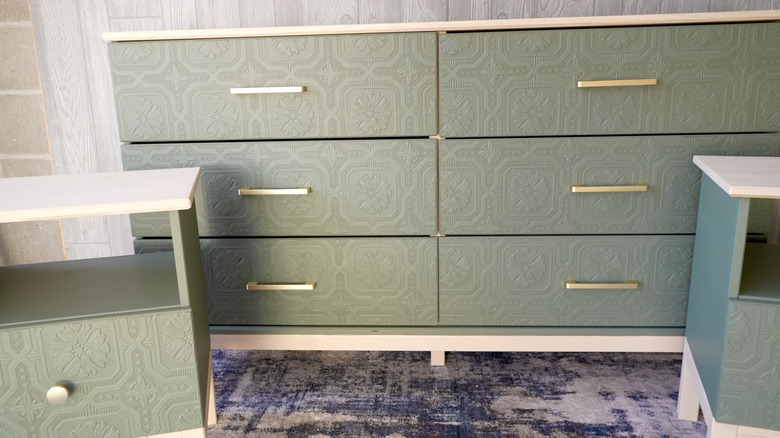
Looking for a more intricate design on your IKEA furniture? Wallpaper is a great way to add visual interest while tying the furniture piece into the colors of your space at the same time. And installing it is super simple. First, measure out the wallpaper and cut it to size. Then use wallpaper paste to attach it to the surface, or choose peel-and-stick wallpaper, which adheres on its own. A tool such as this Zinsser Seam Roller can be very handy for this, as you will likely need to smooth the paper to remove any bubbles or creasing.
Use contact paper for a quick finish
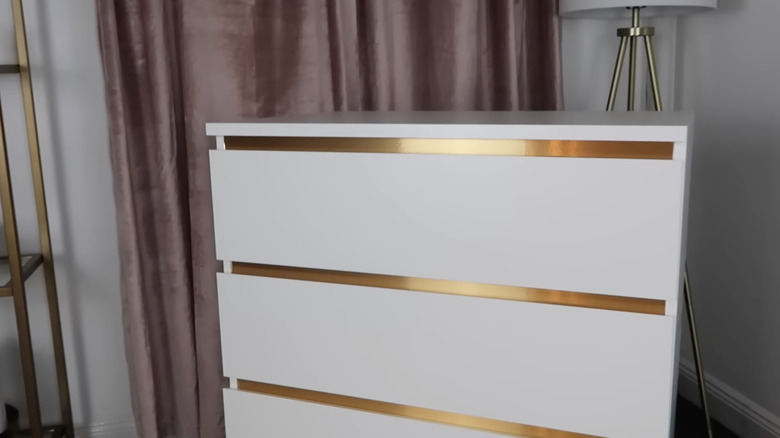
Using contact paper is a great decorating hack that will liven up your space. It can help you add a design like faux marble or gold accents to various parts of your IKEA furniture, including the top, front, and even the inside of the drawers. Similar to peel-and-stick wallpaper, simply clean the item to remove debris, then cut the contact paper to size and stick it onto the surface using a flat edge or roller. To change up the look, you can peel up the paper using a hair dryer or steamer, and then replace it.
Go retro with a tiled top
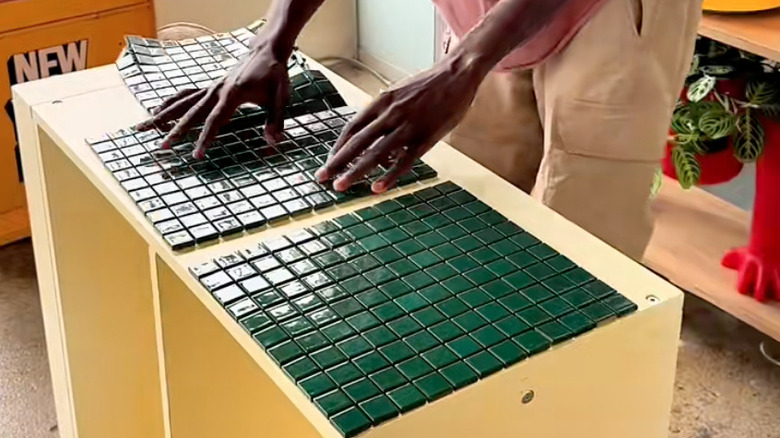
If you've always liked the look of colorful tiles, you may be delighted to know that you can actually use this fun style on your IKEA furniture. Start by cleaning the surface. Then, add craft adhesive to the back of the tile sheets, press them down onto your furniture piece, and spread grout between the tiles. You can also use silicone on the edges of the dresser or cabinet to fully seal it in. This hack is great because it adds a fun, textured effect to the piece, as well as making it super functional due to the water-resistant nature of many tiles.
Make it a built-in

Built-in wardrobes can be costly, so why not transform a few simple IKEA dressers or cabinets into your own dream built-ins instead? While this method does require more use of power tools, it is also incredibly customizable, meaning you can add shelves, trim, and arches to achieve the look you want. Due to the varying shapes and sizes of different rooms, each built-in will require different elements. However, you can keep this project simple by placing a few dressers in an existing closet, adding trim around them, and then painting them all one color to make it look built-in.
Introduce natural materials
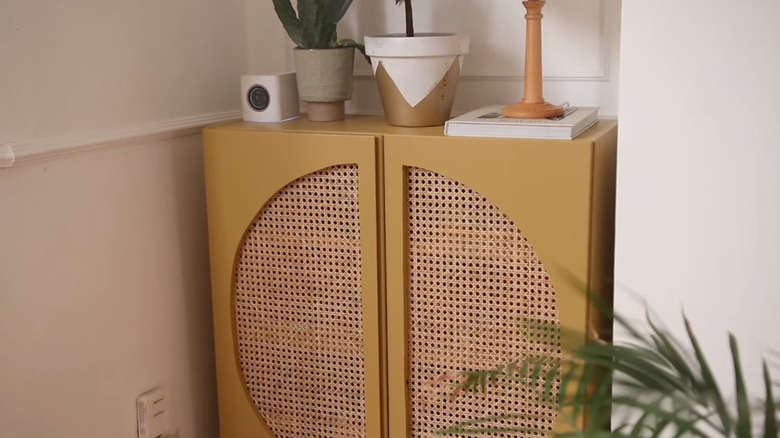
Some people complain that standard IKEA furniture can feel too sterile or generalized, and a great way to combat this is by adding natural materials. One clever idea, for example, is placing cane webbing or rattan on the front of your cabinet or dresser. You can cut out a section of the front and replace it with the natural material for a see-through, trendy look. Or, if you prefer the insides to stay hidden, you can always attach the material to the front without making any cuts to the original piece.
Opt for overlays
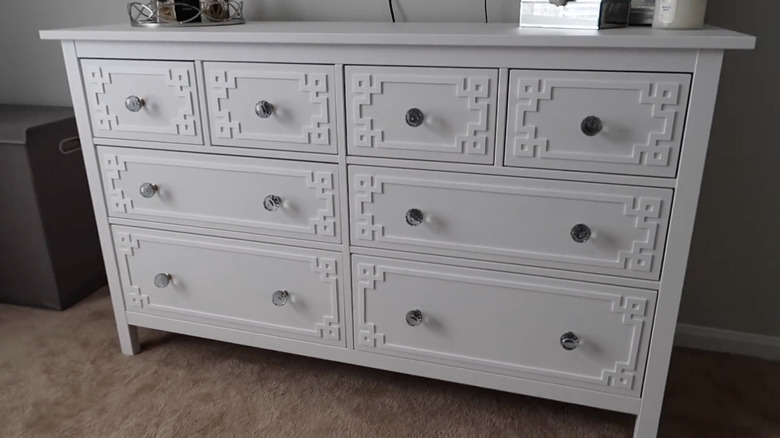
Savvy DIYers who love IKEA hacks will want to know about this must-have product: overlays. Sold by various retailers, an overlay is a decorative piece designed to adorn furniture. So if you'd like to give your IKEA pieces an expensive feel without the need for extra designing or cutting, then overlays might be a great option for you. Choose between a variety of styles, which can give your furniture a geometric, curvy, or nature-inspired look depending on your tastes. You can also make your own faux overlays using peel-and-stick wallpaper or stencils.
Distress for an authentic feel
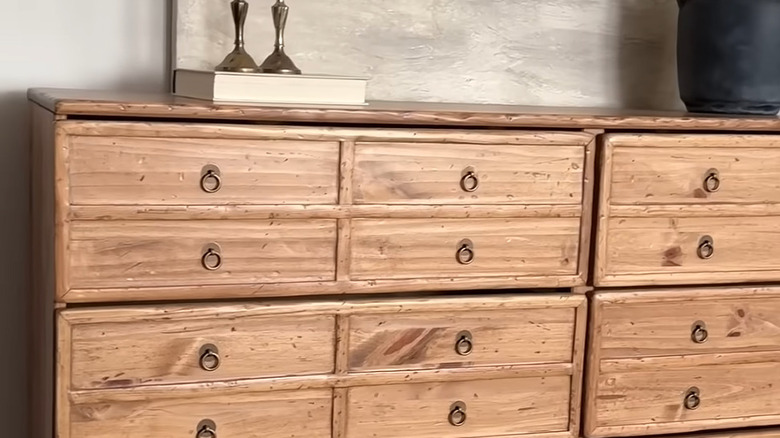
It may seem counterintuitive to add bangs and scratches to furniture that hasn't actually been weathered, but adding some choice distressing to a store-bought piece can actually help it feel authentic and long-lasting. Simply take a hammer or other blunt instrument to add a few dents or use a sander to give the edges a rounded, eroded feel. This hack works great on IKEA's pine pieces, but it can also be used on their common laminate ones to make the finish feel less brand-new and more artfully aged.