The Surprising Container You Can Plant Bulbs In For Gorgeous Spring Blooms
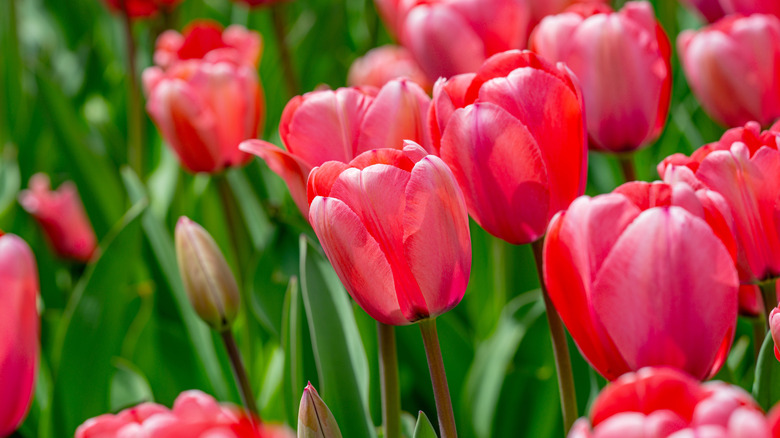
When it comes to planting spring-blooming bulbs in our gardens, most of us immediately think of terracotta pots, planting beds, or window boxes. However, there's a clever, unsung, inexpensive container now being quietly embraced by plant lovers and DIYers that transforms a humble object into a showy bloom station — the plastic milk crate. With just a few simple modifications, a plastic milk crate used for planting offers drainage, mobility, and a defined space to showcase your favorite blooms like daffodils, tulips, and anemones, brightening a setting where a garden bed otherwise may not exist.
So consider a container garden made out of crates to make your autumn bulb planting easier in small spaces, and you should get an array of stunning spring blooms. Because the crate gives you a ready-made square foot or so of container space, you can plant denser displays than in standard pots, and even group crates for mass impact. The key materials you need are the crate itself, a moisture-retaining yet well-draining potting mix, and a lining that prevents soil from leaking out. And for optimal results, using a mix designed for containers (rather than heavy garden soil) which helps protect against soggy roots that could rot over winter.
How to set up your milk crate bulb display
To start, find a clean, sturdy crate to turn into your spring-bloom powerhouse. It's preferable to use one with open sides and enough depth to hold 8–10 inches or more of soil, once lined. Line it with a non-woven landscape fabric or durable mesh. You can secure it with zip ties so that the soil stays in, but excess water can drain freely. Then, part fill the crate with high-quality potting or soilless mix. Plant your bulbs a little closer together than you might outdoors, because containers need fuller visuals. Then top the bulbs with the remaining soil leaving about 2-3 inches free at the top. And beware the biggest mistakes you're making with your container garden and, more generally, the biggest mistakes to avoid when designing an outdoor garden.
Once the bulbs are all tucked in, water the crate thoroughly to settle the soil around the bulbs and eliminate any air pockets. Move the crate to your chosen outdoor spot, ideally somewhere that will get winter chill but not constant sogging. Then, let nature take over as the bulbs root in, stay cold through winter, and emerge into a surprise bouquet in early spring. After blooming, don't immediately throw the plastic crate away. You can allow the foliage to fade naturally and either transplant the bulbs or refresh the soil for the next year. By treating your container garden like a mini-garden bed with a proper setup, you'll get gorgeous spring results without traditional garden square footage.
