Make Massive Halloween Chocolate Bar Decor With A Fun Dollar Tree DIY
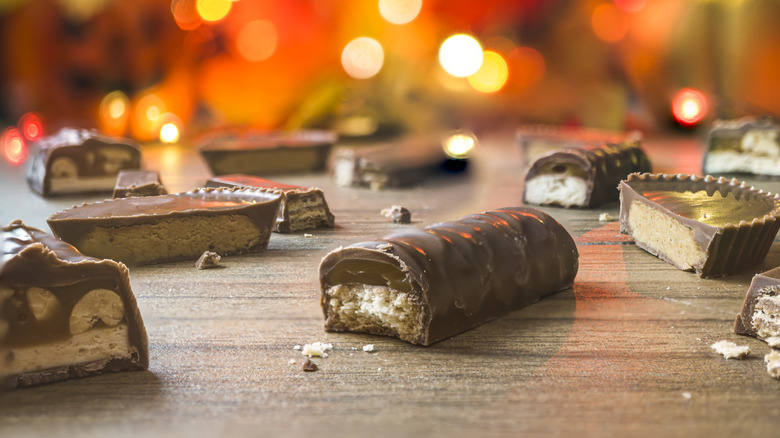
Halloween and candy go together perfectly like peanut butter and chocolate. Yet, it wasn't always that way. Decades ago, homeowners would pass out different kinds of treats to kids — such as fruit, change, and little toys. After the '70s rolled around, sealed candy became the top choice of the spookiest night of the year. If you're a fan of Halloween chocolate, you're going to melt over this Dollar Tree DIY. It involves crafting a candy bar decoration that's so gigantic and realistic-looking, it'd make Willy Wonka jealous.
If you want great Halloween home decor this year, head over to Dollar Tree for a few simple items. The candy bar's main base is made up of three of Dollar Tree's Foam Boards, although two of their Trifold Presentation Boards taped together could work as an alternative. Next, grab a pack of their White Foam Trays as well. You're also going to need supplies like paint, glue, aluminum foil, wrapping paper, and other decorations of your choice. As for the color of paint? Well, that depends on what your favorite kind of chocolate is! You can use creamy white, milk-chocolate brown, or dark brown.
How to put together your massive Halloween chocolate bar decoration
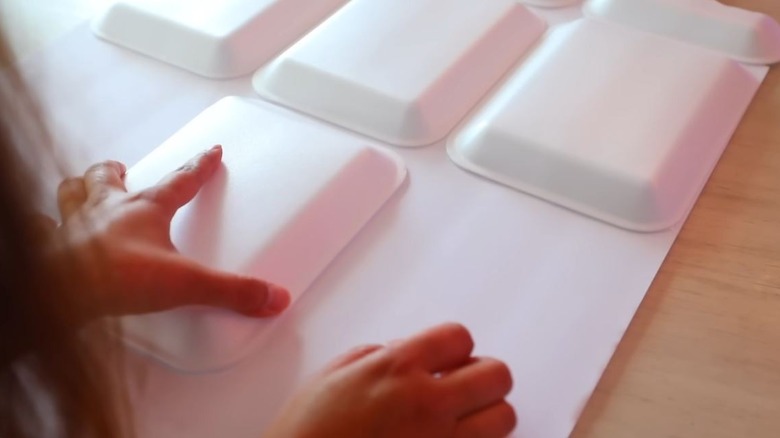
Start by finding yourself a large workspace to lay your boards down. Then, cut off a corner of one of the foam boards to create a giant bite mark. Make the same cut on one of the trays, and glue it down on the board's corner. Fortunately, with this DIY, you won't have to worry about how to get chocolate out of your clothes! Begin gluing the trays to the board in rows, essentially creating the sections commonly found in candy bars. Paint the whole piece any chocolate color you like. It should be looking almost good enough to eat at this point.
Time to make it even bigger. Glue the candy foam board to the edge of another board, so that it's starting to become a massive bar. You can also make the bottom sturdier by gluing the third board over it. Attach rows of trays to the bottom section until the piece is fully covered. You can paint it if you like, but since you'll be adding a candy wrapper, it's completely optional. Now, wrap some aluminum foil around the middle of the bar and secure it with tape. The bottom can then be covered using either a shiny wrapping paper or even one of Dollar Tree's Rectangle Table Covers in stunning gold foil.
Make your giant chocolate bar even sweeter with Halloween embellishments
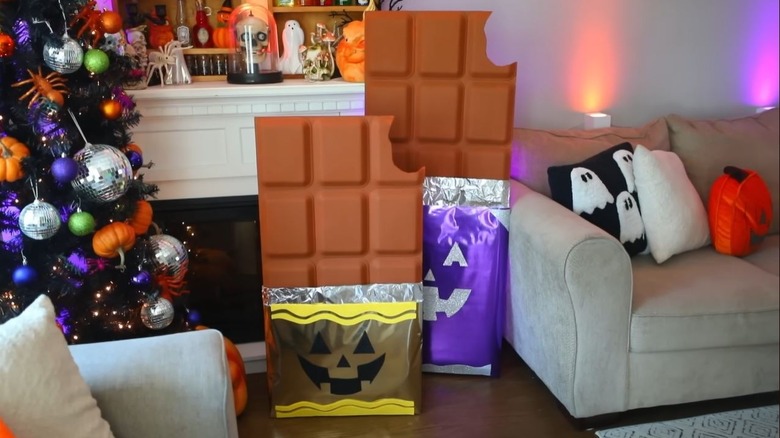
Now that your chocolate candy bar has really come to life, you can decorate it any way you like! If you have a classic kind that brings you back to childhood, you could try and mimic the wrapper. This, of course, might affect the color you use when covering the bottom of the bar. You could also wrap it with ribbon and create a fun Halloween label. Perhaps you can think of your own deliciously frightening name? Or, glue on other iconic decorations like jack-o'-lanterns, witches, and ghosts. If you like sprinkles in your chocolate, make it a reality by attaching colorful shreds of paper.
The last step is to find the perfect place for your giant chocolate bar. It would definitely elevate your porch for Halloween, or keep it as an inside decoration to ensure it stays safe. You could also use it as part of a DIY scene, like with a giant spooky tree monster that could be eating the candy bar. Since it's a budget-friendly project, craft multiple bars, and you'll genuinely feel like a kid in a candy store.