How To Turn The Eyesore Of A Downspout Into An Elegant Landscaping Feature
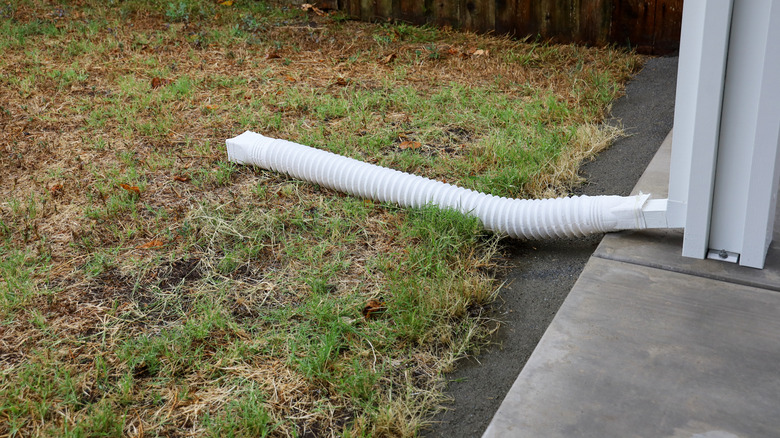
If your downspout is not securely connected to a stormwater drain or has developed a leak, this water leakage can eventually cause foundation cracks, mold, and mildew, all of which can damage your home's structure and potentially even make it unsafe to live in. That's why many homeowners opt for downspout extenders, which sometimes cost only between about $6 and $10, to save hundreds or even thousands of dollars in potential home repairs. These simple plastic tubes connect to the end of your gutter's downspout and can channel rainwater several feet away from your home's foundation. By steering water runoff away from your house, you can also prevent leaks into your home and basement. But as with most utilitarian fixes, these extenders aren't that pretty, creating an eyesore that can quickly ruin the look of any landscaping you've painstakingly cultivated around your home.
However, with a few simple supplies and the best plants you should add to your garden to reduce runoff, you can create a beautiful downspout rain garden that will put the water to good use as well as amplify the aesthetics of your landscaping. A rain garden is the smart solution for excess stormwater flooding and can look absolutely stunning, too. As a bonus, by redirecting the rainwater runoff into a beautiful garden area, you can prevent thousands of gallons of water each year from flowing into storm drains, where it can pick up motor oil, fertilizers, and other pollutants that can end up in local streams and rivers. The best part: All you'll need for this quick and easy DIY is some bricks, gravel, a few water-loving plants, and a shovel.
How to turn that ugly downspout into a gorgeous landscape feature
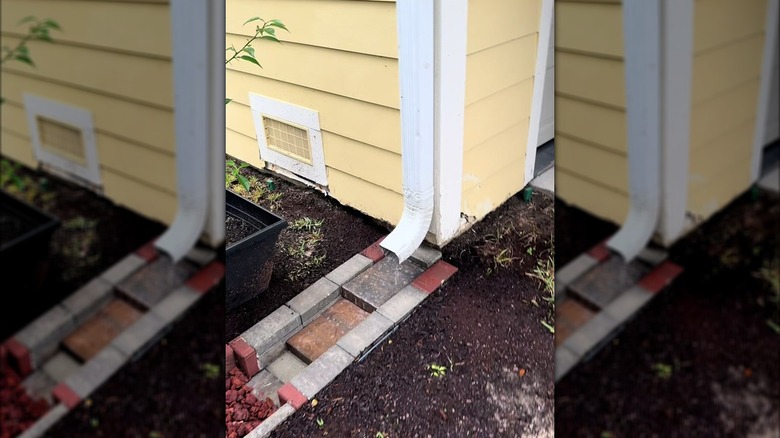
This project can either conceal your current downspout extender, or if you don't have one, allow you to redirect your roof's water even without this tool. To get started, determine where you want to reroute your downspout. It's a good idea to make the water flow at least 4 to 6 feet away from your house, and ideally, up to 10 feet away. Before you start digging, call 811, the free national Before You Dig service, so your utility companies can mark the location of underground lines or pipes to prevent you from accidentally hitting and damaging them.
Next, create a sloped trench lined with bricks (pavers also work) down which the water can travel. To create a downward flow, stack them in a stair-step formation, with the highest step nearest your house and the lowest level being the farthest away. For example, the first one could be three bricks high, the next two, and the last just one. The number of steps you'll need will depend on the distance you'll be channeling the water.
Dig a mini basin lower than the last step for the water to pool into, and add plants suitable for this location. There are plenty of plants that will flood your rain garden with abundance, including swamp sunflowers, royal ferns, and marsh blazing star. Top your planting area with gravel for better drainage, and surround your new creation with bricks to stop the water from flowing out into your yard. You'll discover that with just a few hours of work, you can create a functional and attractive water-redirection system for your home that will produce a gorgeous focal point.