Eliminate Kitchen Countertop Clutter With A Budget-Friendly Dollar Tree DIY
We may receive a commission on purchases made from links.
Keeping your kitchen surfaces — especially the counters — clutter-free can feel like a never-ending battle. Sure, you could splurge on fancy organizers or even a full kitchen remodel to make room for all those odds and ends that somehow end up on your countertops, but who really has the extra cash for that? Luckily, there's a budget Dollar Tree storage DIY that will make the most of the space in your kitchen, allowing you to put more items away — and maybe even finally clear off those countertops!
With this project, you'll construct a handy, three-tiered rack, perfect for storing items like spices, teas, or snacks. You'll be happy to learn that this project doesn't require fancy tools, either. What could be easier than that? Just simply head to your local Dollar Tree and pick up three Crafters Square Wood Trays with Handles. You'll also need two 2- by 16-inch Crafters Square Craft Wood Planks, and some glue, such as Gorilla Glue. After that, it's up to you — you can keep this project simple and leave it as is once it's assembled or paint it. Or, add extra ornamentation with decorative handles, like the Redunest Store Cabinet Pulls, to make this craft your own or match the style of your kitchen. You'll find that this project is a convenient way to declutter your kitchen without going overboard or over your budget.
Craft a DIY Dollar Tree organizer with trays and wood planks
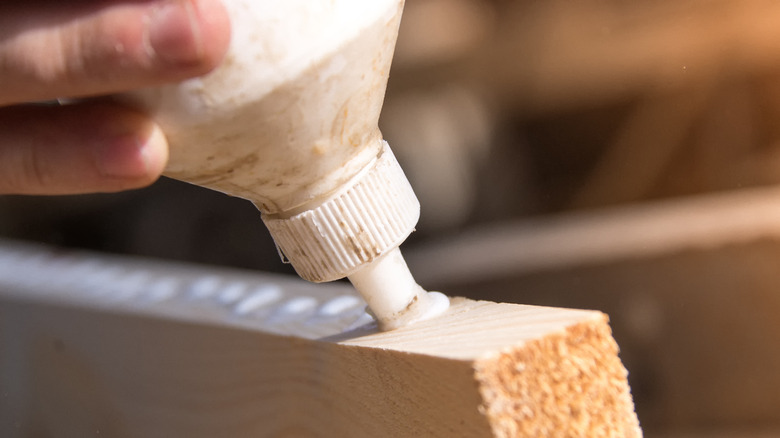
For this project, you just need to glue the five pieces together — or you can tweak it to add your own flavor. First, lay one of the wood planks flat on the table. Add some glue at its base on the side facing up; this is where you'll attach the first of your trays. Stand the tray vertically on one of its ends with a handle on the plank, with the tray's open end facing the longer end of the plank. Add the second plank in the same spot on the tray's other short end. Apply glue just under each of the second tray's handles and wedge it between the two planks at the plank's midpoint; repeat these steps with the third tray. To get a better bond between the wood pieces, balance a light weight, such as a large coffee cup, on the top plank where you want the glue to stick. You could use a level before the glue fully sets to ensure your trays are positioned evenly. Allow the glue to cure for a full 24 hours before moving on to the next step or using the rack.
@family_hack2 Run to Dollar Tree and try this idea to organize your kitchen.☺️😍❤️ #DollarTree#DollarTreeHacks#dollartreediy#dollartreefinds#diy
Once the adhesive is fully set, customize your new spice rack if you like, such as by spray-painting it white or in a colorful hue. Or add Command Utility Hooks to the sides to hold items like measuring cups, spoons, or a small towel or potholder. Fill your new multi-tiered shelf and place it on your countertop or hang it on the wall. You'll be so happy with the results that you'll want to keep your kitchen counters clutter-free with other decorative solutions.