Create Clever Storage For Cutting Boards With A Simple DIY In The Kitchen
We may receive a commission on purchases made from links.
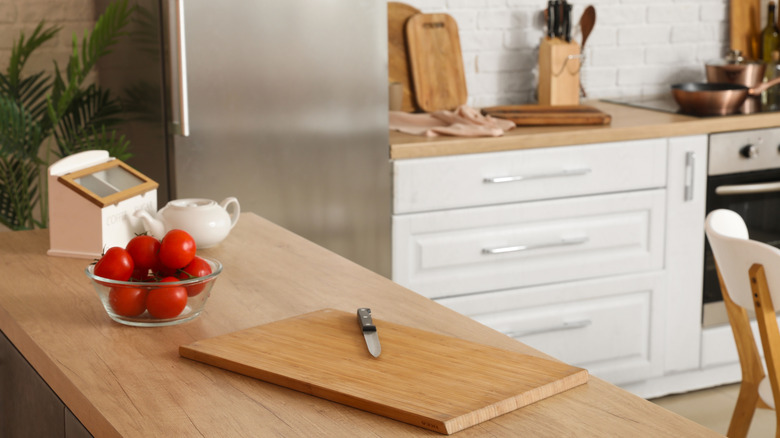
Cooking at home is a great way to save money and indulge in a little self-care, but it's not always the easiest or quickest task. So, when you can't find your cutting board because it's buried under a pile of pots, pans, and other kitchen clutter, your motivation to make a home-cooked meal can dwindle quickly. With good, easily accessible cutting board storage, however, you'll never run into this problem. Luckily, you can easily build a DIY, chic cutting board stand that will keep your kitchen organized, using primarily wood scraps. Even better, by mounting this stand to the side of your kitchen cabinets, your new cutting board storage will take up virtually no space at all.
This DIY, which is essentially a wall-mounted plate rack, is easy to customize to best fit your needs. You can make it small or large, depending on how many cutting boards you're trying to store and how much space you have to work with. In addition to offering easy, visible access to your cutting boards at all times, this holder/shelf is a way for you to create functional kitchen storage that doubles as decor.
How to assemble a wall mounted cutting board holder
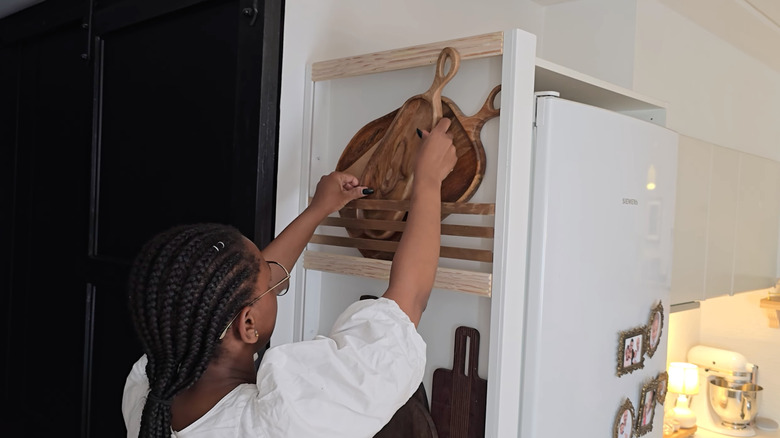
To begin, take four pieces of scrap wood, cut them to size, and attach them using wood glue and brad nails to form a rectangular frame. Make sure you use pieces of wood that are wide enough to accommodate the number of cutting boards you intend to store. When the frame is dry and secure, add two more pieces of wood to the front-facing side of your frame. These pieces of wood will hold your cutting boards in place, but for a more stylish look, you can ditch the wood and attach some long cabinet pulls instead. These 18-inch Amerock Cabinet Pulls are great for bigger frames, or try the 10-inch ZAUYX Vintage Antique Brass Cabinet Pulls for a smaller frame. Wooden dowels would also work well if that's what you had on hand.
Since you will be mounting this cutting board holder to the side of your cabinets or wall, it technically doesn't need a back. However, to elevate the look, you can use brad nails to secure a fluted wood panel to the back of your structure. Finally, pre-drill holes in your wall and in the back of your cutting board holder. Then use a screwdriver to mount your holder to the wall or side of your cabinets. If the weight of your holder and cutting boards allows, you can also try to mount it to the wall using command strips. Once you've placed all your cutting boards in the new holder, remember to look out for signs that it's time to replace them. After all, you don't want dingy, scratched boards on display for everyone to see.