Turn Old Cardboard Into Chic Decor That Doubles As Storage With One Clever DIY
We may receive a commission on purchases made from links.
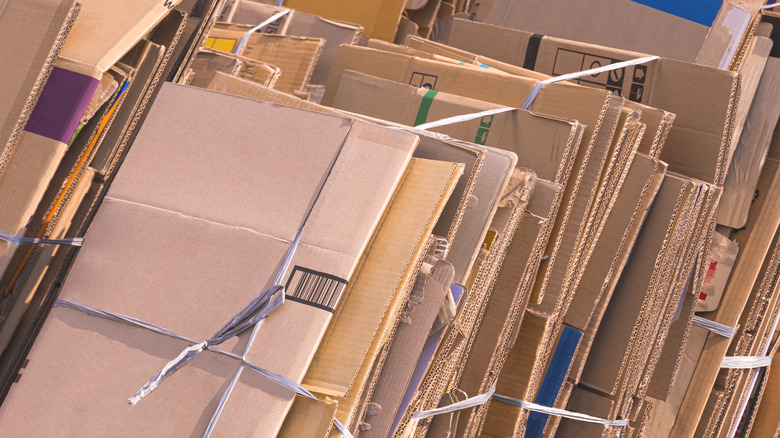
Most used cardboard boxes get relegated into one of two piles. The first is the that's-a-really-good-box-to-keep-for-later pile, and the second is usually the trash (or recycling) pile. What if there was a way to save the second kind of box from the trash heap and turn it into a chic, yet rustic-looking shelf for plants, candles, and other knickknacks instead? It might just be the ultimate example of one man's trash is another man's treasure, or, more specifically, you can repurpose the cardboard box to make it into your treasure with the right tools.
This made-over cardboard craft requires three pieces of cardboard that are slightly bigger than an average dinner plate. In fact, while you're gathering supplies for this, you may as well pull out a dinner plate — you'll need it to create measurements on the cardboard. A pencil, utility knife, and roll of twine allow you to morph the cardboard into the decorative shelf.
The cardboard DIY additionally calls for a UBCGOTT Natural Burlap Fabric Roll, ZQYYQZ 20mm Wood Beads, and VGOODALL Jute Ribbons (or similar items) to give the cardboard a new look. Craft or hot glue adheres everything together. For this particular project, however, you may want to go with a craft glue specifically because you'll be working with materials like cardboard, burlap, ribbon, and wood. You want something that's going to adhere to all of those materials. Finally, you'll need a pair of scissors to cut everything down to size.
Turning the cardboard into chic decor
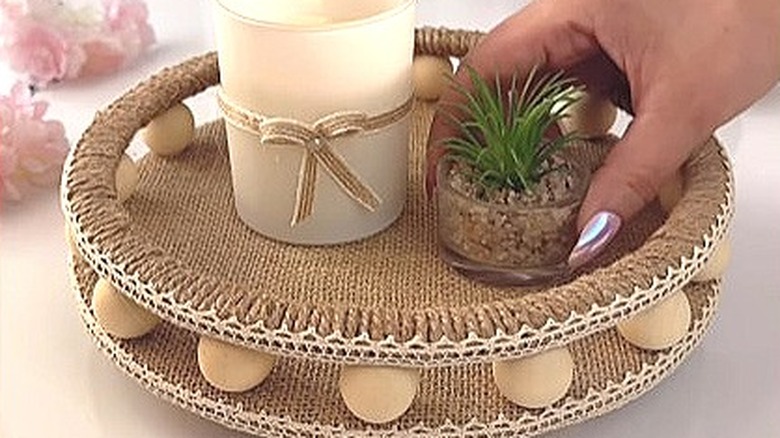
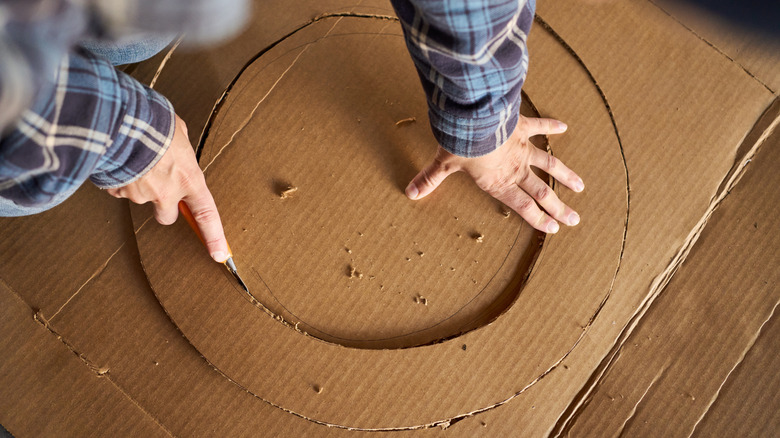
This project has the potential to turn your old cardboard box into the cutest DIY centerpiece. That starts with unbent or unbroken pieces of cardboard to make it sturdy. If you don't have any unbent pieces that fit the parameters of the plate, double up on the cardboard to reinforce the weak spots. Otherwise, your shelf may bend in half once you place items on it. Next, place the dinner plate on top of a piece of cardboard and draw a circle around it with a pencil. Cut three of these cardboard circles.
Cut out a square of burlap that's big enough to cover the whole base plate. Glue this onto the cardboard circle: Place the cardboard on top of the burlap square, and cut triangular tabs around the circumference of the circle. Fold the burlap tabs around the cardboard, and glue them down to the bottom side. Next, draw a circle on another piece of burlap and cut it out. Glue this onto the bottom side of the cardboard. Cover the outside of the cardboard circle with some ribbon to create a polished edge. Glue four beads on the bottom of the piece at even intervals to create feet.
You should have two cardboard circles left. Cut out the interior of both of them to create two cardboard hoops with a ¾-inch to 1-inch border. Glue them together for stability, and then wrap twine all the way around the hoop. Trim off the ends, and cover the outside of the hoop with ribbon. Add about a dozen bead feet to the hoops, and then glue the beads to the solid cardboard circle. Once it's dry, place your knickknacks on the shelf.
Personalizing the round cardboard knickknack shelf
Because you're working with cardboard, which is a flexible and easy-to-work-with material, you have some room to embellish the design on this cardboard shelf. One of the easiest ways to do this is to create more hoop rails for the piece. In other words, instead of having just one hoop, you'll stack two or three hoops (or more) on top of each other to create "floors" on the shelf. Separate each floor (hoop) from the one below it by putting six to 12 beads on the bottom of the hoop and gluing that hoop on top of the one below it.
Another way you can alter the look of this rustic decor piece is by cutting out a half-moon-shaped piece of cardboard and adding it to the cardboard hoop. To do this, cover the half-moon-shaped cardboard with burlap, and then add three beads to the bottom of it around the outside perimeter. You want the beads to line up with the hoop below. Glue the half moon with its feet to the hoop.
This gives you a riser to place more lightweight items and adds height to the shelf. In interior design, introducing differing heights into a space creates visual interest. This principle works on the micro level — the shelf — in the same way as it does on the macro level — a room. The half-moon shape adds visual interest by introducing a variation on the original circular shape as well. It repeats the circular form of the original cardboard base but introduces a straight-edge, making the visuals of the piece more dynamic in the process.