The Affordable DIY Reno That Instantly Elevates Your Home's Lighting
We may receive a commission on purchases made from links.
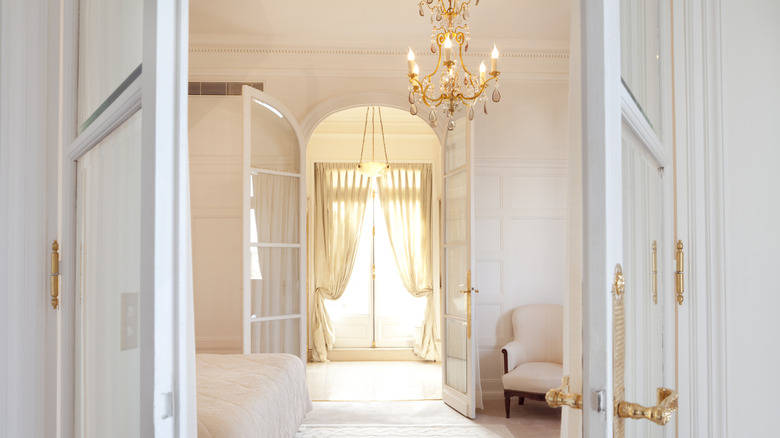
From setting the mood and highlighting architectural details to illuminating kitchen tasks and making rooms feel more inviting, interior designers agree that lighting can completely transform a space. Yet for many of us, swapping out a builder-grade fixture or splurging on a crystal chandelier just isn't in the budget. Upgraded lighting also isn't practical, or even possible, for some renters. Fortunately, ceiling medallions can easily come to the rescue. The affordable architectural accents are simple to install and capable of elevating all types of light fixtures, from simple flush mounts to dramatic pendants.
Ceiling medallions bring a sense of luxury and custom craftsmanship without requiring the major electrical work involved with swapping out fixtures entirely. Typically made from lightweight materials that adhere directly to the ceiling with a little high-strength adhesive and a few nails or screws, installing a ceiling medallion takes less than an hour. Whether you opt for a foam, polyurethane, wood, or composite medallion, you can easily paint them to perfectly match (or contrast against) your existing ceiling color. Both approaches add character, depth, and visual interest for a fraction of the price of adding a high-end chandelier.
An often underrated architectural detail, ceiling medallions made of ornate plasterwork first became popular during the 19th century. They often included intricate floral motifs or geometric patterns, historic designs that are frequently replicated for homeowners today. From classic Victorian patterns to minimalist carved rings, there's a ceiling medallion to suit almost every style of home. Adding one to your ceiling brings timeless elegance and charm despite being a quick and easy upgrade.
Choose the right ceiling medallion for your style and budget
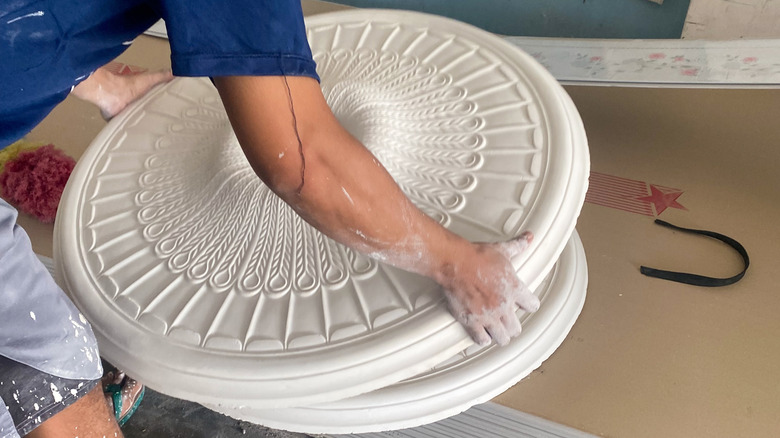
Adding character to your ceiling with a medallion requires careful thinking about scale, style, material, and budget. Getting the size right is crucial, since a tiny medallion attached to a spacious living room ceiling will feel lost, while an oversized medallion in a small bedroom can be totally overwhelming. Choosing the right style is equally important. Ornate medallions look beautiful if your room has crown molding or classical architectural details, but would look all wrong in a modern or minimalist space. To keep this DIY affordable, opt for lightweight polyurethane or foam options, since they are cheaper and easier to handle. Plaster versions do offer exquisite texture, but are more expensive and harder to install. Highly detailed medallions can also quickly increase the overall cost and painting hassle, so matching the design and scale to both your room and budget will ensure maximum visual impact without overspending.
Once you've picked the perfect ceiling medallion for your space, the installation process is surprisingly straightforward. First, turn off the power and remove your light fixture. Next, center the medallion on the ceiling before marking where the fixture's mounting hardware will need to pass through. Most medallions will adhere to the ceiling with a little construction adhesive like Loctite Power Grab Express from Amazon, but heavier versions may need a few finishing nails or even screws to hold them firmly in place. Once your adhesive has fully dried, fill any seams with caulk or paintable filler before painting. Finally, reattach your fixture, turn the power back on, and enjoy your newly elevated room.