How And When To Replace Your Riding Lawn Mower Brakes
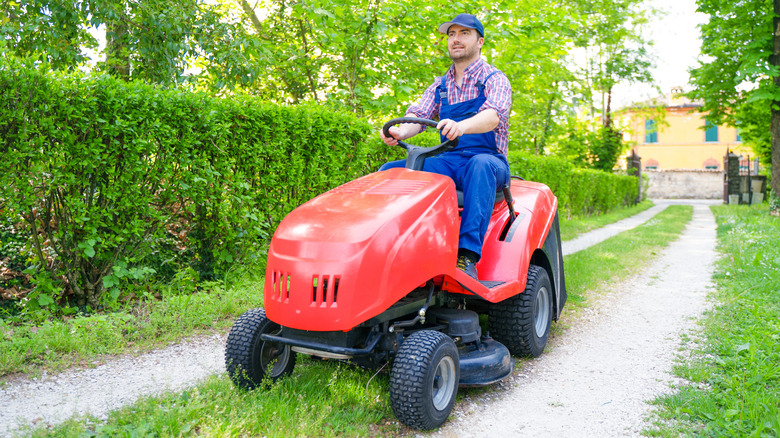
If you have a large yard, a riding lawn mower makes a lot of sense. Mowing frequently can have big benefits, and these machines can save a lot of time and effort. Of course, riding lawn mowers are a bit more complex than walk-behind models, so keeping them in good condition and safe to use requires a little more maintenance.
Most of these tasks can have an impact on how long a riding mower will last, but one is key to your safety: replacing your riding lawn mower brakes. You could pay a shop to do it, but at anywhere from $55 to $170 an hour for labor, plus the cost of collecting and returning your machine, it's not cheap. The brake pads (often called pucks) are usually available for under $10 a pair (you need two per side). So if you know how to replace them yourself, you can save considerably. The process is not complicated, and we'll look at the details in a moment.
The other question is when to replace your riding lawn mower brakes, and really it's the same as for any vehicle. They may start squealing or grinding, or you might feel vibrations. They could be spongy, the pedal could travel a long way before you slow, or the mower could pull to one side. Any change from normal brake function needs to be investigated, and often it's worn pads that are at fault.
A step-by-step guide to replacing riding lawn mower brakes
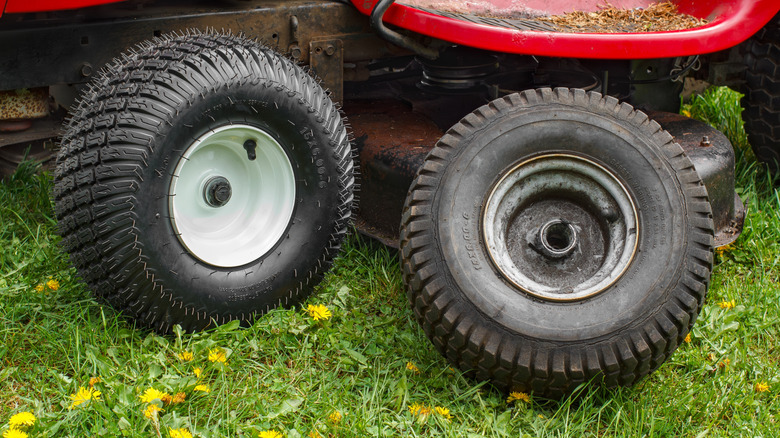
You will need a floor jack, a flat blade screwdriver, and a socket wrench with a socket the correct size for your machine. First, park somewhere firm and level. Turn off the ignition and remove the key. Chock the front wheels, and then raise the rear of the machine with the jack. Though it's not necessary, you could take photos of each step as you disassemble the wheel and brake so you have a reference for putting it back together.
Remove the plastic dust cover from the center of the wheel. The wheel itself is held on with an e-clip that can be levered off with the screwdriver. Take off the washer behind it, and pull off the wheel. Clean any dust or dirt from each part as you go. The brake assembly is usually held by two bolts. These need to be removed, although the spring can stay in place. Replace the brake pad on the rear of this piece, and then remove the round brake rotor (it should just pull off) and replace the inner pad. All that's left to do is carefully reassemble, change the pads on the other side, and test the brakes before you mow again.
There are several useful videos online that cover the process, and you may find one for your machine. However, that's not absolutely vital, as all riding mowers are similar. For the best cutting performance, you may also want to check out how and when to change your riding mower blades.