Easily Fill Cracks In Your Concrete Driveway With One Quick, Affordable Solution
There's nothing quite like the feeling of pulling up to a neat, well-maintained home. However, a cracked concrete driveway can quickly spoil that curb appeal.
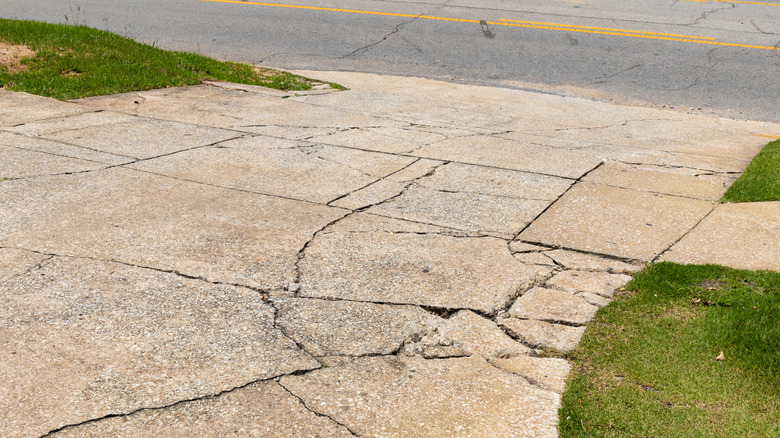
Unfortunately, these fissures are more than just a minor aesthetic annoyance. Small cracks might seem harmless, but they're actually an open invitation for bigger, more expensive problems down the road. Any unrepaired cracks allow water to seep beneath the concrete slab, which is a huge concern, especially in climates with freeze-thaw cycles. As the water freezes, it expands, pushing apart the concrete and turning a minor split into a massive, uneven chasm.
Ignoring these splits means welcoming other issues beyond an uneven driveway; you will likely be battling weeds and grass pushing through, making your driveway look perpetually unkempt. Worse, deeper cracks can pose a serious trip hazard for family and guests, opening you up to liability issues. As the cracks grow larger and potentially even multiply, you may even be looking at bigger repairs. (In fact, here's how much it'll cost you to repair a cracked driveway.)
The good news is that you don't need an enormous demolition crew or a fat wallet to fill cracks in concrete and banish these blemishes. All you need to do is grab some concrete crack sealant, available for about $10 at your local hardware store. This affordable lifesaver of a product is all you need to protect your driveway from the elements, preserve its appearance, and protect your wallet.
How to use concrete crack sealant to fix your driveway

So what exactly is concrete crack sealant? Put simply, it's a flexible, durable material (usually made of self-leveling latex, silicone, or polyurethane blend) that is specifically formulated to bind to concrete. Unlike rigid concrete patch mixes, this type of sealant stays pliable, allowing it to move with your driveway as it naturally expands and contracts with temperature changes or movement. This flexibility is the key here, ensuring the seal holds tight and stopping any water or gunk from ever getting into the crack. When choosing a product, look for a self-leveling formula since it makes application a breeze and will naturally sink and settle to create a smooth, flush surface.
The application process is fast and straightforward, turning a daunting repair into a weekend afternoon project. First, prepare the area. Thoroughly clean out any cracks with a wire brush to remove all loose dirt and debris. There's even a specific tool for removing weeds from driveway cracks. The area must be clean and dry for the sealant to properly bond. For cracks deeper than half an inch, use a foam backer rod for it to adhere to. Finally, using a caulking gun or the product's self-dispensing bottle, slowly and steadily apply a bead of sealant, without overfilling the crack as the product cures and shrinks. If it isn't self-leveling, smooth the bead with a gloved, wet finger or a sealant tool for a professional-looking finish. Check the label for the required drying time, and plan ahead for your car needs accordingly. And just like that, your driveway is protected and its curb appeal is restored, all with minimal effort and cost.