Replace Your Flimsy Paper Star Decor With More Durable And Versatile Fabric Stars
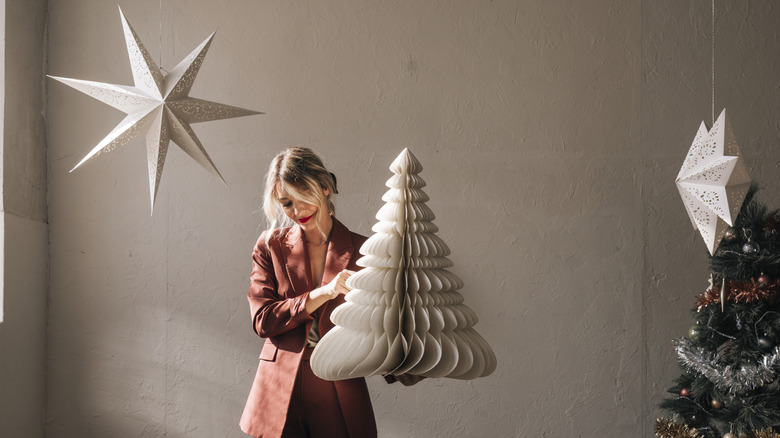
While you can certainly find plenty of Christmas decorations for sale in just about any store, you don't have to spend a ton of money to make your home feel merry and bright. In fact, making your own holiday decor is a great way to spend time with family and create memories — along with some super cute and personalized decor. Though there are tutorials for just about anything you wish to make, one of the most common Christmas crafts is making paper stars — especially those made with decorative paper or bags. But if you are going to spend the time crafting, you may want to consider an option that will hold up for more than just one season.
Instead of just using paper, you can cover your stars with fabric, which not only opens up a world of colors and textures to explore, but it also makes the stars themselves more durable, which will help them to last for seasons to come. If you already have stars that you are happy with, check out some of these other DIY Christmas decorations that you can make with household items.
How to cover your stars with the fabric of your choice
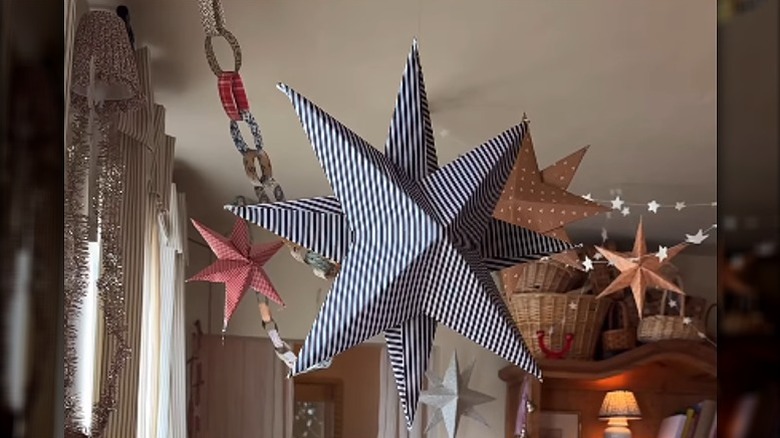
When it comes to covering a paper star with fabric, it's a pretty easy job. All you really need is the star, your fabric of choice, and some sort of adhesive. Mod Podge or a spray adhesive will work best as they won't dry instantly, and they help create a smooth, bubble and wrinkle-free surface, unlike something like hot glue, which is much more likely to show through or leave behind a stringy mess. As far as choosing your fabric, there are a few things you will want to consider. The first is your pattern — smaller, busier patterns make your job a bit easier since you can't really notice when the pattern doesn't directly line up. If you are working with stripes, checks, or something of that nature, you will have to be much more careful with aligning the pattern so that it looks intentional and not haphazard. This will most likely require you to use more fabric as you will need to use specific portions of it, meaning you can't use up your scraps as easily as you could with something less directional.
You will also want to consider the weight and thickness of your fabric. This is mostly an issue if you are covering a star with a light inside, as you will want to be sure that you are not completely blocking the light from showing through. To test this, hold the fabric up flush to the star before attaching and turn on the light to determine if it is translucent enough for your liking.
You can either buy your star shapes ready-made or make your own
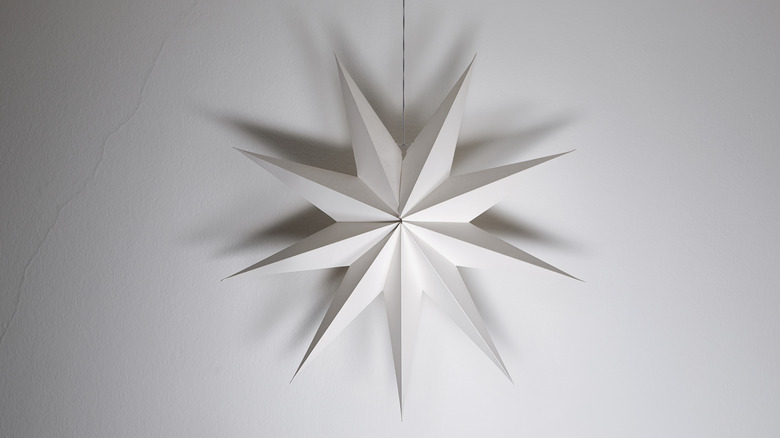
If you aren't someone who is particularly crafty, you are in luck — you can find these paper stars just about anywhere, so you don't have to worry about actually making the base if you don't want to. There are tons of options on Amazon, or some unique shapes at IKEA, like this STRALA lamp shade. You'll find that this is just another way to upgrade IKEA's holiday lanterns. When selecting your paper stars to cover, you have the option of choosing between a lit version or something without an electrical component. So long as your fabric isn't too thick, it can be fun to choose a star lamp that has cutouts to cover up, as this will create a more subtle light pattern that will still show through, but won't add significant brightness to the room, keeping the lighting ambient and cozy.
Should you choose to make your own stars, you can either use something like cardstock and go for more of an origami method, or opt to reuse some old boxes with this DIY for cardboard Christmas stars. The larger you decide to go with your stars, the more sturdy you will want your materials to be. You will also want to aim on the heftier side if you plan to keep them outside — and don't forget to use some sort of sealant, like Mod Podge, wax, or acrylic spray to make them water-resistant.