The Easy Maintenance Task That Extends The Life Of Your Radiator
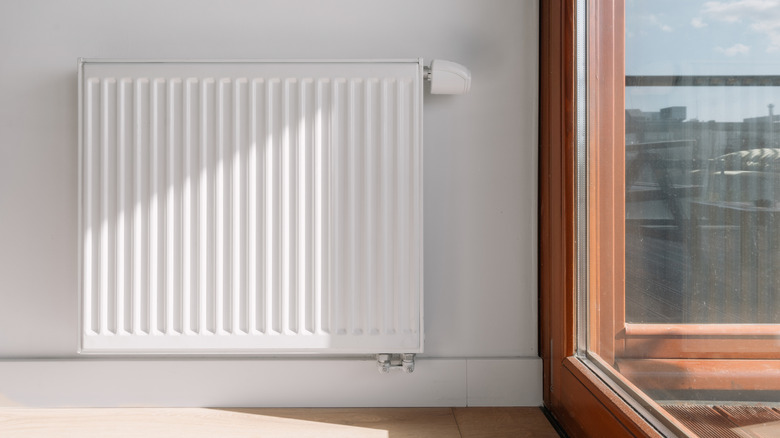
On bitter cold mornings, few sounds are more disheartening than a radiator banging loudly, or worse, barely managing to make a quiet hum. Dragging yourself out of a warm bed to crank up the thermostat, finding a cold spot, and mentally calculating how much getting your radiator repaired is likely to set you back can ruin your day. Whether you've got an old-fashioned or modern model, radiators are a powerful way to heat up your home until they start to accumulate sludge, a gritty mix of corroded minerals and old coolant. Over time, this sludge can cause uneven warming and even damage your entire heating system, which makes flushing your radiator one easy maintenance task you should do regularly.
There's really nothing you can do to prevent radiator sludge from forming. Over time, metal pipes naturally corrode as coolant breaks down, creating a thick buildup that forces your boiler to work harder. Draining and flushing the sludge out keeps water flowing freely throughout the system. Along with restoring heat distribution, it can drastically extend the life of both your radiator and boiler. And, along with improving efficiency to avoid sky-high heating bills, remembering to clean your radiator annually can also prevent expensive repairs down the road. Even if your radiator seems to be working fine, sludge can silently reduce its efficiency over time. Performing this maintenance task also gives you a chance to inspect your heating system for early signs of corrosion, leaks, or weak connections that may otherwise go unnoticed until it's too late.
Removing radiator sludge is a messy job
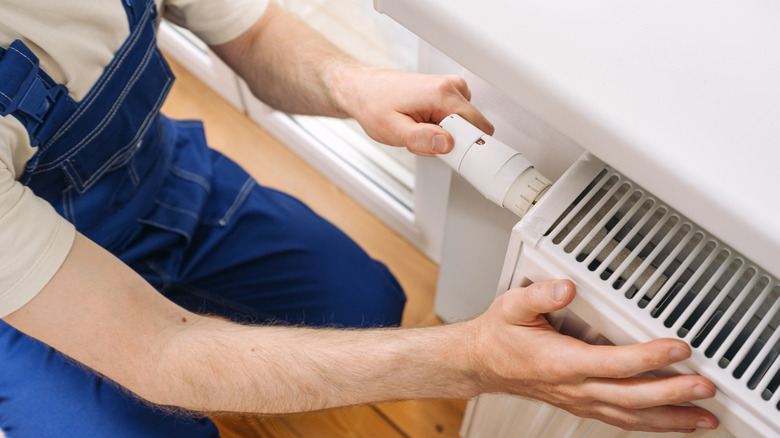
Flushing your radiator to clear out the crud might sound like an unpleasant chore, but it's necessary if you want to keep your home warm all winter. Start by turning off your boiler and letting the radiator cool completely before touching it. While you wait, protect your floors by laying down plenty of old towels underneath the valves. This is where dirty black sludge will pour out when you drain the water. To do that, close both of the valves before twisting the thermostatic radiator valve (TRV) clockwise and loosening the nut that attaches it to the radiator itself.
With a bucket nearby, use a radiator bleed key to release any air pressure. Water will start to pour out, carrying sludge that's been gumming up your system along with it. Once both valves are empty, remove the radiator from the wall so you can flush it out completely. It's a messy job, and one you'll want to do outside! Using a hose with strong pressure, pour clean water into the valve inlet until it runs clear. You may want to tap it with a rubber mallet to knock any persistent sludge loose during this process. Finally, reconnect your radiator and reset the pressure.
Taking your time and consulting a tutorial video or two makes this a manageable DIY task. But if your radiator is cold, constantly breaking down, or making weird noises, it's smart to call a licensed plumber or heating technician for help. An expert will be able to flush the system thoroughly, all without drenching you or your living room in sludge.