How To Fix And Tighten Loose Pruning Shears
Pruning shears are an important and often underappreciated tool for gardening. You use them to perform tasks like removing dead or damaged branches and shaping shrubs and trees, which helps encourage new growth so you can grow a healthy garden. But in order to do that, your pruning shears need to be working right. If your shears feel loose or aren't making the clean cuts they once did, don't fret: They may just need to be tightened, a task that's as simple as it is quick.
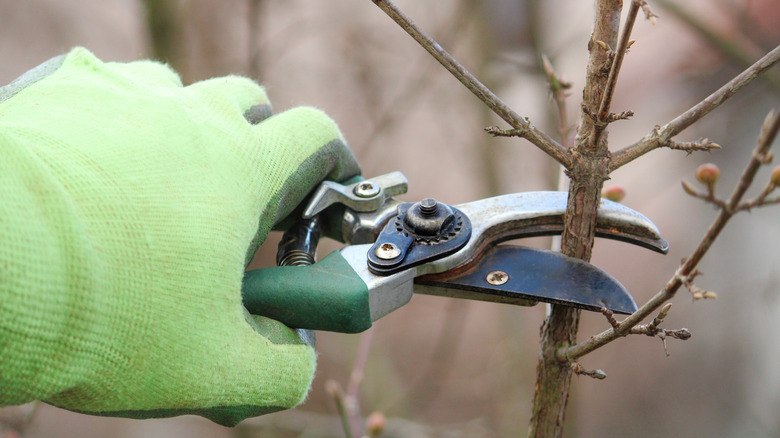
A pair of pruning shears should feel easy to use, making smooth, clean cuts while always feeling properly tensioned across the full squeeze. So what happens when you try to use loose shears? To put it simply, they will be much harder to use, wobbly and potentially even uncomfortable. When the central bolt at the pivot point loosens, it stops the shear blades from properly meeting and cleanly passing each other. Plus, you'll be stuck with tired, sore hands after an afternoon of trying to clean up your garden.
Using loose shears adds up to more than just frustration; it can actually end up hurting your plants. Instead of a clean slice that the plant can heal quickly, loose shears make uneven cuts, potentially crushing, splintering, or tearing plant stems. Bad cuts often affect a larger surface area of the plant's tissue, too, potentially scarring and making it more vulnerable to disease and other problems. You may eventually feel like the shears no longer work and toss them out, but they likely just need a tune-up.
A step-by-step guide to properly tightening your pruners

Fortunately, fixing and tightening loose pruning shears requires only a few minutes of your time and some basic tools (plus WD-40 to make your shears work better). First, clean your shears. Brush off any debris, then give them a quick wash with a stiff brush (like an old toothbrush) and soapy water to remove any dirt or sap. If there is lingering sap, use a small amount of rubbing alcohol to remove it. Once you dry them off, give them a quick test; getting rid of that gunk may be all they need to cut smoothly again.
If that didn't do the trick, it's time to tighten the pivot bolt. Grab a wrench or pliers, and refer to your owner's manual if your pruners are heavy-duty or professional-grade, as they may require specialized wrenches. Next, carefully hold the shears with your wrench or pliers, and gently turn the bolt clockwise to tighten it. The name of the game here is being gentle, not brutish, so take things slowly, going roughly a quarter-turn at a time. We recommend testing the shears after each turn to see if they have regained their smooth movement and solid tension, and continuing a quarter-turn at a time until they do.
Once you've got your shears repaired, it's time to lubricate the pivot point. Apply WD-40 or a drop of light machine oil, and squeeze the handles a few times to ensure it's coated. This helps to protect the pivot point from rust and keep it working smoothly. You can even follow this up by sharpening your shears, keeping them fully ready for many gardening projects to come.