How To Easily Install A Pull Out Trash Drawer In Your Kitchen
We may receive a commission on purchases made from links.
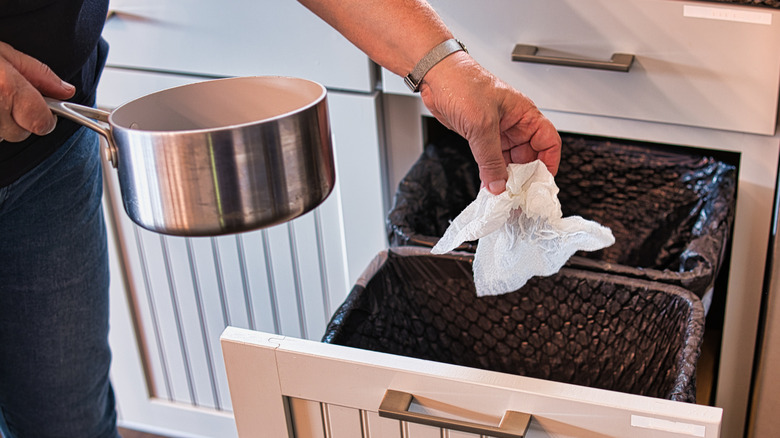
Your kitchen trash can get in the way when you need to sweep and mop the floor. It can also be an eyesore, which causes people to stick them in wicker baskets and devise other clever hiding solutions. To address the issue of unsightly and inconveniently placed garbage cans, consider utilizing currently unused cabinet space to accommodate a pull-out trash can. Your kitchen cabinet might already have a pull-out drawer that can fit a trash can — one used for pots and pans. If not, most cabinets have ample space under the sink that can accommodate this project. Once you move some of those old rags and disinfectant bottles, you'll have all the space you need (just be sure to account for the plumbing prior to installation). A TikTok account called pinchplateparty offers a tutorial on how to install these pull-out drawers.
However, before you begin, you should select the appropriate pull-out device. On the low end, a Youeon Pull-Out Trash Can costs about $28 and holds one can. On the high end, the Rev-A-Shelf Pullout costs about $200. Reviews suggest that the price difference between the two products is due to the second option being more durable and able to hold a second can.
Once you've picked out the right product, you just need a power drill and a little bit of time. Since pull-out drawer kits come with the screws you need, there's no need to purchase extra hardware. This project involves screwing the sliding base assembly (the mount for the device) to the floor of your cabinet and attaching the wire cage, which will hold the trash can, to that mount. It's relatively straightforward, but there are a few key details and tips to consider.
The process of installing a pull out trash drawer
Start the job by screwing two blocks into the floor of your cabinet. This is necessary because the wooden panel at the bottom of your cabinet might not be thick enough to firmly hold the screws that will hold down your sliding base assembly. Place a ¾-inch-thick wooden slat along the edge of the cabinet floor and screw it down. Then measure the distance between the screw holes on your sliding base assembly and screw down the second block of wood at an equal distance. Be careful not to drive the screws too tightly, as this may crack the wood. Next, you can screw your sliding base assembly to the blocks.
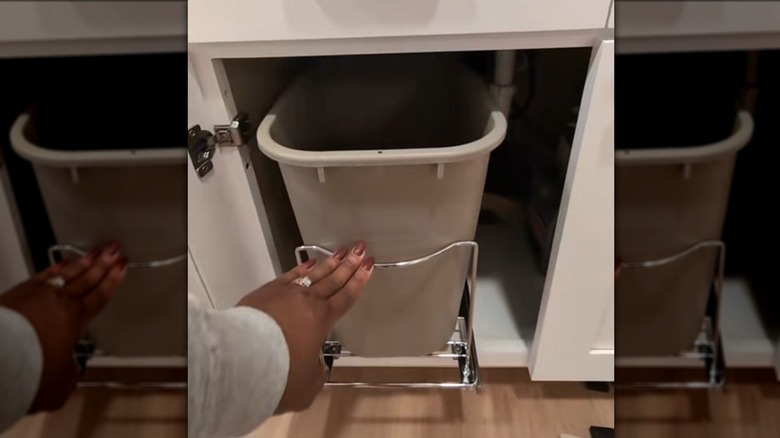
The final step is pretty straightforward. Locate holes on the metal cage (which will hold your trash can) that align with the holes on the sliding base assembly. Once you line up those holes, screw the two components together. The screws need to be firm but not too tight, as this can cause the metal to bend. The last step is to place your kitchen trash can in the cage and test to make sure that it slides smoothly. If you like the idea of keeping a trash can under the cabinet but aren't interested in installing this device, IKEA sells tilt cabinets that will hide your trash cans.