How To DIY A Simple Cornucopia Decoration For Thanksgiving
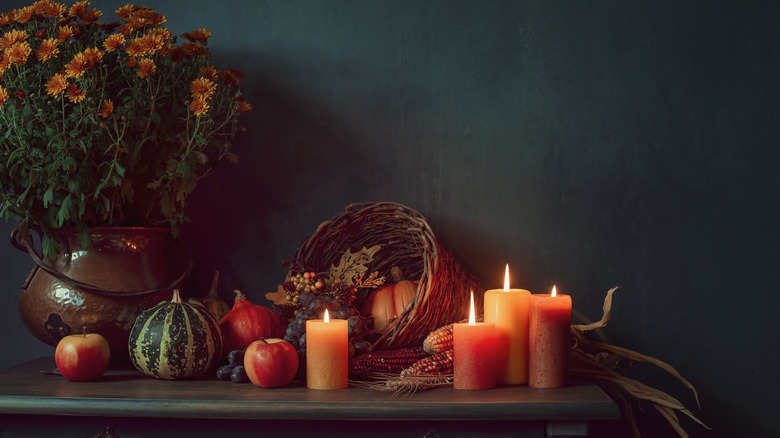
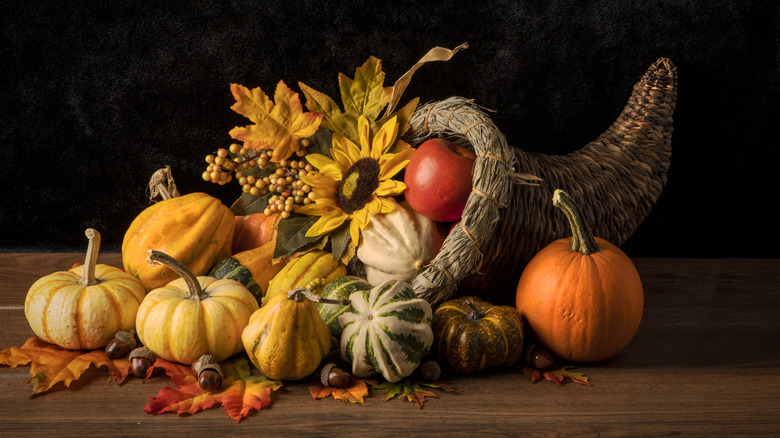
Many elevated Thanksgiving table decorations are often elaborate and complicated to make, and during the fall holidays, there's almost always a soon-to-be-made one on your crafter's to-do list. However, sometimes there's an argument for putting together simple paper decorations, ones that remind us of our school days. Those were times when we proudly twisted and cut construction paper into hand-shaped turkeys and simple cornucopias, with a little help from Elmer's white glue. Who says we have to outgrow those just because we stop crafting with Elmer's glue? Simple paper cornucopias may not be your go-to for a formal Thanksgiving table, but they'd certainly be cute as centerpieces for a casual holiday brunch.
The simplest version of this project uses plain 8.5-inch by 11-inch brown paper. You can find that in abundance for affordable prices at stores like Walmart or Dollar Tree. If you'd like the craft to be a little bigger, swap out the construction paper for some Shinok 15-inch by 20-inch Brown Kraft Paper Sheets. At 200 sheets for just over $25, it's an economical switcheroo. The craft paper can also be used for other projects, like homemade gift wrap, so it's worth considering.
To turn the paper into a cornucopia, you'll also need a pair of scissors and a glue gun. You might possibly require a measuring tape and a pencil. Finally, you need to stuff the basket of plenty. Thanksgiving cornucopias are usually filled with pumpkins, apples, and other harvest fruits. You don't need to use real items for this, unless you want to. Something from the Ghrdopy Plastic Pumpkins and Acorns for Autumn Decorating Kit works, too.
DIYing the paper cornucopia for Thanksgiving
If you want to make a fairly sizable cornucopia, use the 15-inch by 20-inch paper. Otherwise, the smaller size paper is fine. Fold the paper in half, longways. Cut a triangle-shaped piece out of the folded paper. The top of the triangle should be on the fold, with the wide ends being on the ends of the paper. If you don't feel confident cutting this out freehand, measure out the triangle with the measuring tape or ruler and then draw the triangle on the paper before you cut.
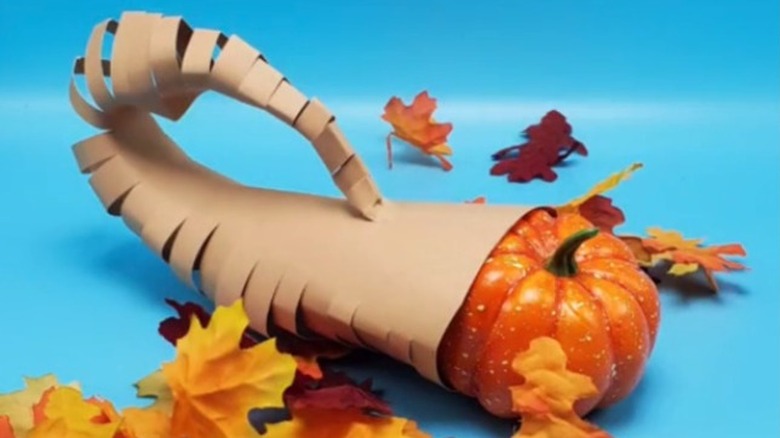
Next, cut horizontal slits, about a half an inch apart, all the way down the folded side of the paper, ensuring not to cut through the whole width of the triangle. Once your slits are cut, fold the paper in the opposite direction of the original middle fold. Start rolling the sides of the paper inward. You'll end up with a cone with slits in it when you're done. Glue the long edges together with the hot glue gun to close the cone. Roll the cone over so that the slits are on the bottom, and then, pull the "tail" of the cornucopia backwards. Glue the tail on the back of the horn. The finished product will look a bit like a scorpion's tail.
The cornucopia will look a bit plain on the bare table, unless you put something underneath it. You can decorate some of the brown paper with leaf decorations or stenciled Thanksgiving sentiments. Or lay it on a harvest-themed placemat or tray. Finally, fill it with its seasonal plenty and place it on your table with the extra artificial leaves and seasonal fruits flanking its sides.
Other ideas for the simple cornucopia
The idea for this is really simple — no embellishments, just cut paper and some stuffing. However, for those who want a bit more bling, albeit a rustic decor piece of bling, you do have at least one upgrade option for this. If you look at most horns of plenty, you'll notice they have a sort of lip on the opening of the basket. It's possible to create the lip of the basket by gluing some Wdmxszdq Store Burlap Leaf Ribbon around the mouth of it (or any ribbon of a kind and color of your choice). Just cut a piece of the ribbon so that it's long enough to fit around the mouth of the basket and glue it onto the lip of the cornucopia. Then, fill it as usual.
This craft would also make cute party favors for a kid-themed party around the harvest holiday. To make it kid-friendly, you'll skip the artificial decorations and fill it instead with some RBBZ Party Thanksgiving Candy. You'll use these in lieu of gift bags or totes for your kids' party, so you'll need to make enough of the cornucopias to have one "party bag" cornucopia for each child who'll attend the shindig.
If you're worried about the candy falling out in the car on the way home, cover the top with some GWHOLE Clear Cellophane Wrap. Wrap a ribbon around the edges of the plastic to keep everything in place. Finally, use the wrapped cornucopias as party decorations until it's time to give them to the departing guests at the end of the evening.