This Kitchen Island Mural Looks Like Custom Tile — And The Result Is Truly Unique
We may receive a commission on purchases made from links.
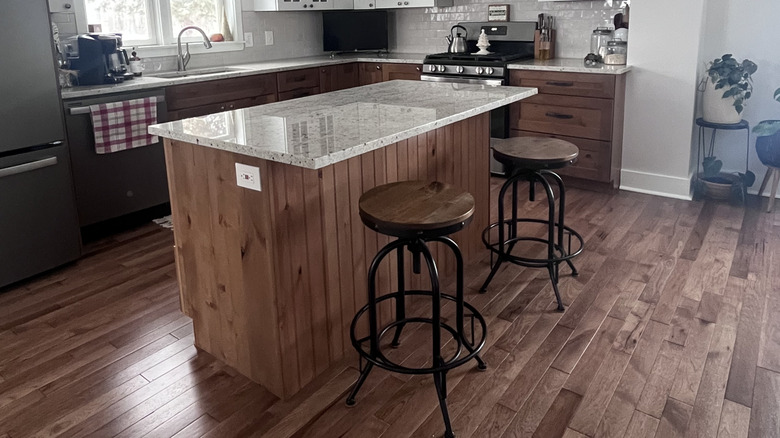
You probably already know that kitchen islands can transform a home by adding functionality and style. A kitchen island can also have a real impact on your home's resale value, making it more coveted and, therefore, worth more. With that in mind, it makes sense to either add one to your space or take good care of the one you already have. However, as your needs and tastes evolve, you may want to change up the look of your island. Or perhaps it's become a tad outdated and needs some TLC. In either case, numerous DIY solutions are available, most of which don't involve too much time or money and are suitable for various skill levels. Arguably chief among them is using stencils, plaster, and acrylic paint to create a show-stopping 3D mural.
This DIY is for adventurous crafters since it combines several solutions to arrive at a unique result: painting the island, using stencils to add a whimsical design, and getting creative with texture. It looks like pricey custom tile, but costs way less and can easily be tweaked to suit any color palette or aesthetic. Before you get started, you'll need to choose a pre-made acrylic stencil you like in a repeating pattern, like this nature-inspired GSS Designs Stone Stencil or this Benecreat Geometric Art Deco Stencil. Alternatively, measure your island's walls, find a free pattern online — sites like Freepik or Resene — and have it printed to the right size at a laser cutting shop.
How to use plaster and paint to transform your kitchen island
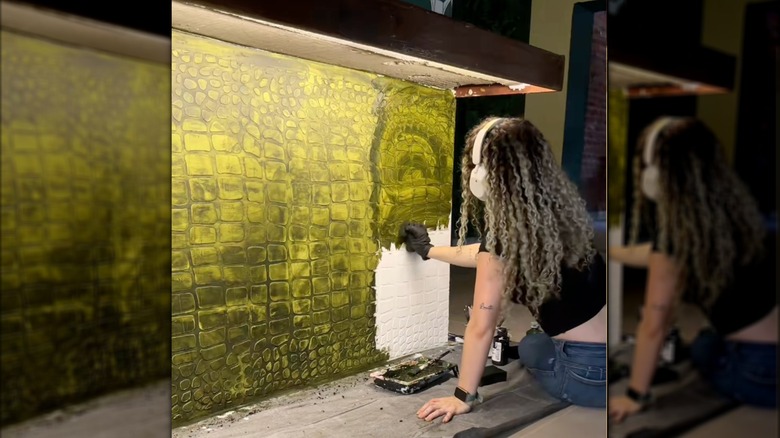
There are plenty of innovative ways to spice up your kitchen island, but this has to be one of the most unique. Start by cleaning the sides of the kitchen island with warm water and mild soap to remove any grease and grime, then allow the surface to dry completely. After laying down a tarp to protect the floor around the island, it's time to get creative. Attach the stencil to the island with painter's tape, ensuring it's aligned with the counter and perfectly flat. Using a metal trowel, apply white plaster, moving in long horizontal and vertical strokes to ensure every part of the stencil is fully coated. Finally, run a skimming blade across the surface from top to bottom to ensure a smooth finish and even thickness.
@adryframe_art Skin #mural #painting #homedecor
Once you've finished plastering the wall, gently remove the stencil by peeling it from a top corner, being careful not to smudge the wet plaster. Repeat until the entire island wall is covered and allow the surface to dry completely. Now, it's time to paint the decoration. The acrylic hues you choose will depend on the aesthetic you're trying to achieve and your existing kitchen design palette. For example, if you went with an Art Deco stencil pattern, you could pair a jewel tone like plum or a rustic antique rose with metallic gold highlights. Apply the paint with a sponge to add texture. While it may be tempting to simply add paint to the plaster to tint it and save time, it won't create the same visual effect. Then add highlights to the areas without plaster using a paintbrush.