How To DIY An Ice Lantern For Gorgeous, Winter Decor

Adding winter pieces to your outdoor decor setup is an easy way to make your home's exterior feel more like a polished space during what can be a bleak season. Whether you're sprucing up your entryway that will greet family and friends, or opting for showstopping yard pieces, decorating during the colder months is a great opportunity to brighten up your environment. However, when you consider the cost of purchasing new decor each year or having to repair existing items damaged by weather, it can start to seem unattainable over time. Instead, why not get creative and DIY your own ice lantern to illuminate your outdoor space for the holidays?
If you're unfamiliar with ice lanterns, these are a great DIY Christmas decoration you can make from repurposed household items. Essentially, ice lanterns, sometimes called ice luminaries, are hollow pieces of ice designed to illuminate when a candle or light source is placed inside. This is a broad overview of these DIY lanterns, as there are numerous ways one can approach this type of project. For example, some choose to use buckets for larger ice lanterns while others prefer the delicate look of using balloons for smaller decor.
How to make a DIY ice lantern to use as winter decor
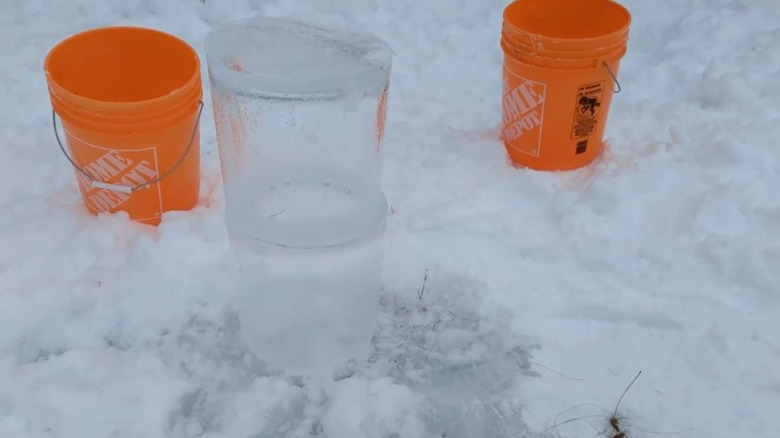
Creating DIY ice lanterns can make your yard feel like a winter fantasy, no matter which approach you take. One traditional way to build an ice lantern is to use a utility bucket as the mold. In addition to the bucket, you'll also need a smaller piece, like a coffee canister or planter pot, that can sit inside the bucket. Fill the section between the bucket and the interior piece with water and place it outside, at least overnight, to freeze. Once frozen, tip upside down and run water over the bucket to loosen the ice. Remove the interior piece, and now you have a hollow structure ready to light up and decorate.
If you want to simplify the above even more, there's another method you can try that requires just the main bucket and ice. All you need to do is fill the bucket up with ice, leaving a bit of room at the top. Place outside to freeze until there are a few inches of solid ice around the edges. Once ready, turn upside down, run lukewarm water over the bucket, and remove. Place upright and use a tool to break through the top layer of ice. Beneath it should be water. Pour this out, clean the edges, and your lantern is ready to illuminate.
Unique ways to customize a DIY ice lantern
Looking for holiday front porch decor ideas that go outside the box? Ice lanterns on their own are a stunning addition, but the way you customize them is what truly sets them apart. For example, instead of using an old bucket, opt for something unique. If you're someone who lives in a warmer climate, try using a sand castle beach bucket as the mold and freezing it in the freezer. You may only get a few days' use, but you can use different molds to change up the look each time.
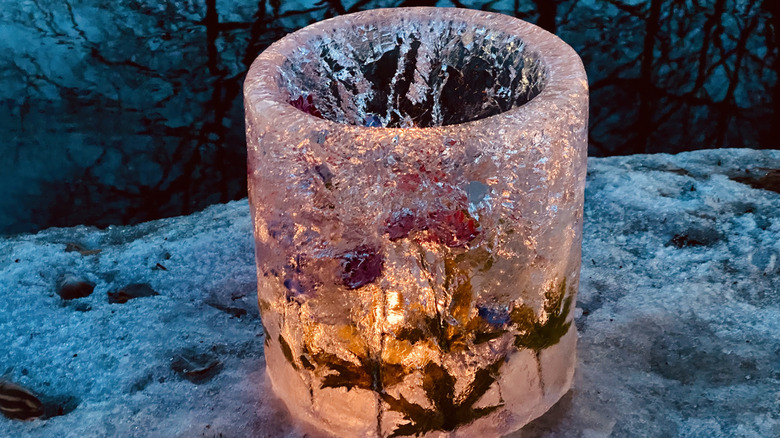
Another way to make these pieces look even more festive is to decorate the interior of the ice with foliage. Pick out your favorite pieces, such as berries or pinecones, and place them between the bucket and interior before filling with water. You may need to be strategic with the placement of some items if you're coordinating with items like berries that float.