The Budget-Friendly Winter Craft To Help You Save Money On Your Spring Garden
We may receive a commission on purchases made from links.
You may not realize it yet, but your winter garden is actually stocked up with loads of useful materials that can be repurposed in a variety of ways to save you money. While it may seem like winter strips away most of our favorite gardening tasks, it thankfully reveals at least one material that is perfect for some cold-weather activity before spring arrives — sticks. Using the sticks, twigs, and vines which have fallen off or been pruned away from various bushes and trees, you can create garden trellis structures that'll upgrade your gardening game this coming spring. Trellises are a good idea not only to allow your plants enough space to spread out, but also because vertical-growing plants are less likely to be attacked by crawling pests when less of the plant is accessible along the ground.
All that you need for this simple but incredibly useful DIY are some sticks and a material of your choice to bind them together, such as twine, wire, or zip ties. It is then a good idea to think about the kinds of trellises you are likely to need in your garden when the warmer weather returns. Flat trellises — typically laid out in an arch or grid shape — are perfect for climbing plants that you want to grow up an existing wall or building. Alternatively, tripod and A-frame trellises stand on their own, making them a great addition to garden beds to give ample room for peas, melons, squash, and more to grow. So, why not try this essential part of winter garden clean up that will not only reduce the clutter of sticks and branches but will also prepare your garden to start up as soon as winter has finished?
How to craft trellises using garden sticks

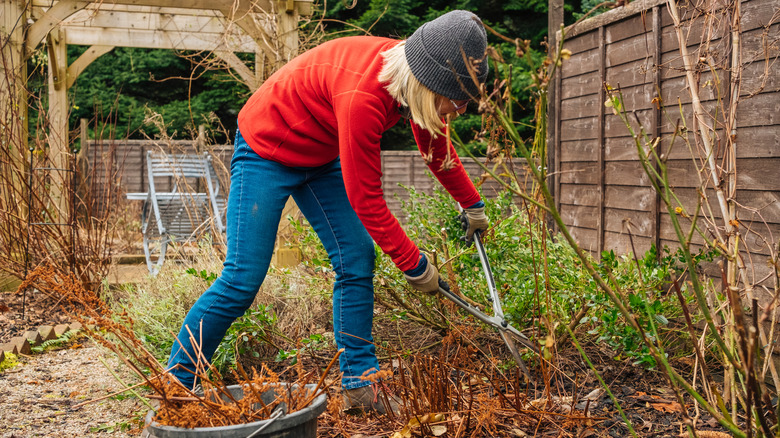
The first step of this wintertime DIY is collecting large sticks and vines. Look for ones that have fallen naturally or combine this with your task of pruning bushes during winter dormancy and collect the offcuts as you go. Don't worry if they are uneven as a little bit of lopsidedness is great for adding rustic charm. Trim off all the horizontal side branches and cut the bottom ends at an angle to make it easier to poke into the soil. Keep in mind that the ground will likely be more solid or even frozen in winter, so you may need a tool such as this stainless steel hand garden trowel to create a hole.
To form a tripod trellis, stake the large sticks in a triangle and tie their tops together with twine or string. For a flat trellis, lay branches out in a grid and tie the intersections together. Secure two flat trellises at a 45-degree angle toward each other to create an A-frame. Weave supple vines or young twigs on top and below each other — kind of like the lattice on a pie — though they should still be tied where they cross over for a stronger structure overall.
Remember to be intentional about where you place your trellises and consider where the sun will be in spring and summer so that they don't block other plants from getting sunlight. In addition, it is a good idea to decide which plants you will want to grow on which structures and add supports accordingly. For example, squash and melons will generally be much heavier than peas and beans, so they will likely need thicker branches for a more stable base.