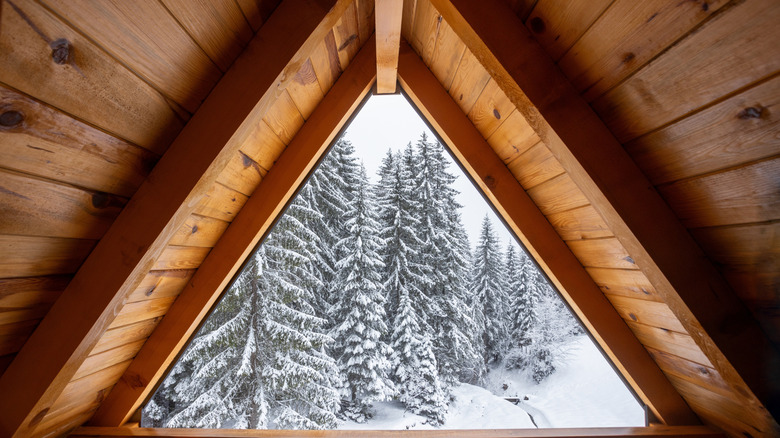
Prepare Your Attic For Cold Winter Weather With These Maintenance Tips
When the cold winter winds start to blow, every bit of heat is precious. As logic would have it, we tend to use more energy over the winter, which can make costs soar. If your home has an attic, it's crucial to give it a checkup each year since it plays an important role in holding in the warmth our hard-working electric or gas systems generate. To prepare your attic for the chilly and blustery weather in the winter, thoroughly examine where heat may be escaping or cold air coming in, plug in the cracks or holes, then add insulating material as needed, making sure any moisture or condensation is also addressed.
Once you've checked in on your attic, you can choose between a variety of insulation types according to your budget, as well as figure out whether to do it yourself or work with a contractor. There is a caveat to keep in mind for safety, however. If you're in an old home that hasn't had asbestos testing yet, you'll need a professional to assess the situation first.
Beyond the relief of lower energy bills, a well-maintained and properly insulated attic can extend the useful life of your heating and cooling systems. It's also the environmentally responsible choice, since good insulation curbs how much you need to use the heat and the amount of greenhouse gases that are released. And when the attic is well insulated, it also prevents physical roof damage that can happen when escaped heat melts built-up snow and ice on the roof. Your winter attic tune-up is one way to prevent these buildups, called ice dams, in the future.
Take stock of your attic insulation needs and seal cracks
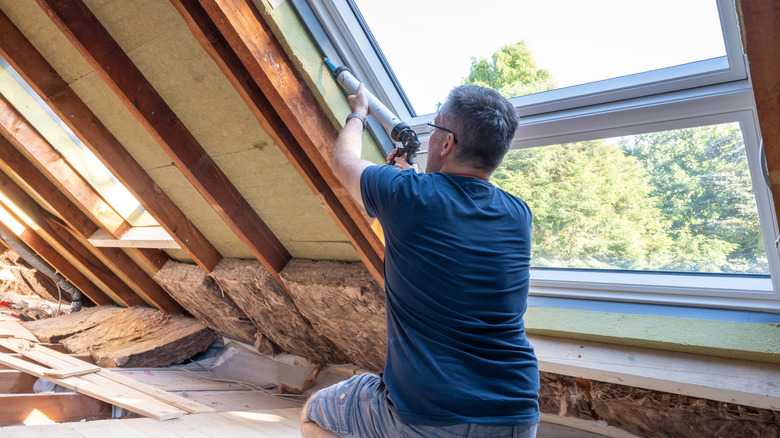
The first part of winter attic maintenance involves closely inspecting your attic's condition. Noticing more drafts, especially coming from the ceiling, can be a clue that your attic needs some drafts sealed or more insulation before you even get up there to check it out. When you're inspecting, keep an eye out for cracks or open spaces in the attic wall, like visible gaps around vents or pipes. You can spot some air leaks by having the lights on in rooms below and noticing where you see light shine into the attic. Also, look for places where existing insulation has flattened or compressed over time. That means the material has become less effective and will need to be replaced.
Depending on where you live and the age of your home, it's highly possible you should add more ahead of the deep winter, but how much? This depends in part on local climate conditions. The insulating action of different materials is measured in R values, which increase with the amount of heat resistance they provide. A value of R-38 is recommended for the southern United States, while in northern states, insulation should have a value of R-49. Such values may be printed on your sheets or rolls of insulation, known as batts.
The International Energy Conservation Code also offers formulas to calculate how much of this is accounted for by the material you already have and for finding out how much more is required to keep heat from escaping your attic. Before you actually install more of the insulation, or even change it out for one with a higher R value, start small by plugging up any cracks where air is leaking from. This can be a DIY job using caulk, weather stripping, or even a natural alternative to expanding foam people love.
Add to or replace installation to lock in warmth
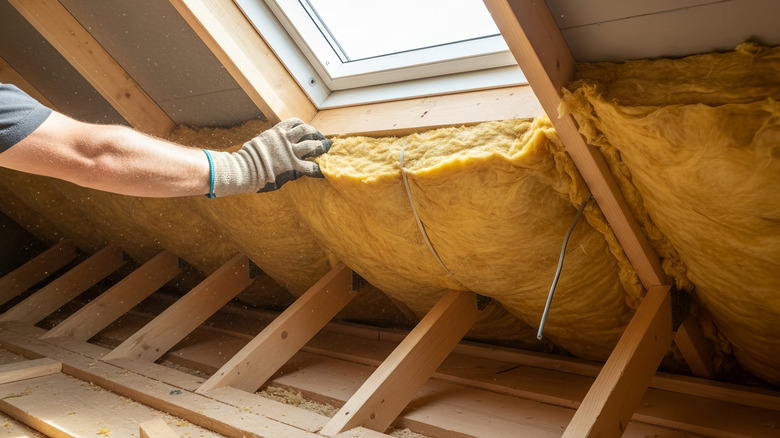
When it comes to your attic's insulation, you have choices when considering the best ways to insulate your attic in the winter. It may be easiest to add more of the type of insulation that's already in place, but you can also take the opportunity to upgrade the material. Many homes have batts made of fiberglass, natural or synthetic fibers, mineral wool, or other natural or synthetic fibers, and you can add more layers as a DIY project. Loose-fill, typically made of cellulose or similar material as batts, is another type of insulation you can sometimes add more to by yourself, but you should call a technician if it was installed before 1990 due to the chance it may contain asbestos. If you want to turn the winter maintenance project into an upgrade, it may be worth considering spray foam, which gets into hard-to-reach places and offers a high R value. This insulation type made of polyurethane or other materials is best applied by a professional due to the niche equipment it requires and the safety concerns it can pose, so think twice before trying a DIY spray foam insulation kit.
If you find moist spots while you're adding to the insulation, stop! You'll have to take this insulation out and inspect the part of the attic that got wet for any damage. Even if there's nothing wrong with the structure, you may be dealing with early stages of condensation. The work you've already done to stop air leaks should help, but spaced around vents and fans might need more attention. Once the area is dry and these spaces are sealed, you can replace the soggy material with clean, dry insulation.