How To Fluff An Artificial Christmas Tree So That It Looks Like The Real Thing
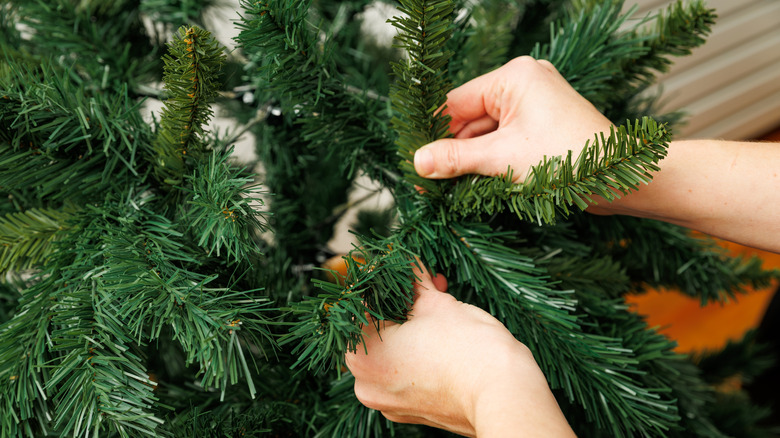
When you take your artificial Christmas tree out of the box, you'll probably notice the branches are pretty compressed and not exactly flattering. While it's pretty obvious you'll need to spend some time pulling the branches apart to make the faux Christmas tree look real (and fuller), there are actually a few techniques that make the fluffing process easier and much more efficient. Before you get started, grab a pair of heavy-duty gloves, something like gardening gloves that are thorn- and tear-resistant, to protect your hands from the prickly tips of the branches and the bendable metal inside them.
Now, the key to fluffing your tree so it looks full and realistic is to start at the bottom and work your way up, focusing on one section at a time. Because if you start in the middle and fluff randomly, you'll lose track of where you've already been and end up wasting time going over the same branches again and again. You can either set up the bottom and middle sections at the same time or work on each separately before adding the next. Either way works, as long as the top stays off for now. From here, there are just a few key things you'll want to pay attention to so you're fluffing everything the right way.
Step-by-step guide to fluffing your artificial Christmas tree so it looks full and lush
Once you have the base of the tree set up, or you've put together the bottom and middle sections, take a look at the types of tips your faux tree has. Are they upswept or downswept, meaning they point up or down? Do some point straight out in the middle? Whatever direction the branch tips extend naturally (which you should also be able to see in manufacturer photos of your tree) is the direction you want to pull all of them. And don't forget to reach back and grab the tips hiding toward the back of each branch. Pulling those up or down, depending on which way they extend, helps eliminate gaps and gives your Christmas tree that fuller, more realistic look.
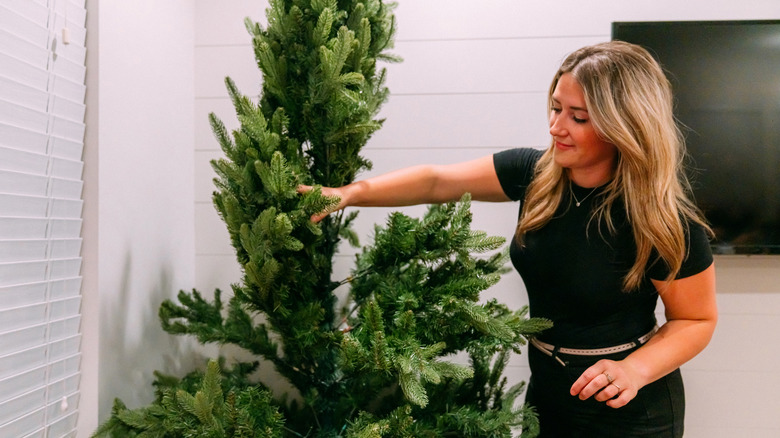
You can also try the star method if your branches allow it, where you pull each tip on each branch to form the shape of a star, so they're essentially facing all directions. This helps fill out each section, leaving no empty spots. Once you finish going around the bottom of the tree and fluffing it out, whether that means pulling the ends upswept, downswept, straight out, or forming that star shape, it's time to move up to the middle.
After the middle section is done, fluff the top piece completely before adding it to the almost-finished tree. This saves you the trouble of climbing, stretching, or trying to reach those awkward upper branches we all know are tough to get close to. Once the full tree is assembled, take a step back and assess it to make sure you didn't miss any spots. If all looks good, let the decorating begin!