3 Tips For Hotter Radiators That Heat Up Faster During Winter

We may receive a commission on purchases made from links.
When the outside temperature starts to drop, few things are better than curling up in your favorite warm spot indoors. However, if your radiator is slow to start, you may find that even the coziest areas of your home lean chilly. Alarmingly, cool indoor air is linked to increased health risks, especially in those with chronic respiratory conditions or infections. A broken or poorly performing radiator isn't a problem you'll want to neglect. Fortunately, not all instances of slow-heating radiators require expensive, time-consuming repairs. You might just need to bleed, deep clean, or clear the airways of the appliance.
There are a lot of radiator problems that require professional assistance. Messing around with home heating equipment when you don't know what you're doing can be dangerous. However, there are also several DIY ways to boost your radiator's performance. Simple maintenance tasks, such as removing obstructions from your radiator, releasing trapped air, or cleaning the appliance, are generally easy. Of course, even when performing routine maintenance or just using a radiator, keep crucial safety tips in mind. Improper practices can lead to burns or fires.
Remove anything blocking your radiator's airflow
Sometimes, your radiator is struggling to heat up your home because the airflow is blocked. If you feel like your radiator isn't running optimally, it can be helpful to remove any nearby decorations or furniture that may be reducing the amount of airflow to your radiator. Unlike other heat sources, radiators rely on steam to produce warmth. Water is heated in a boiler and then the steam, which is produced as a result of the boiling process, is fed through pipes to your radiator. Convection — the result of the cold air coming into contact with the radiator — moves the warm air around the room. What does all this have to do with obstructed airflow?
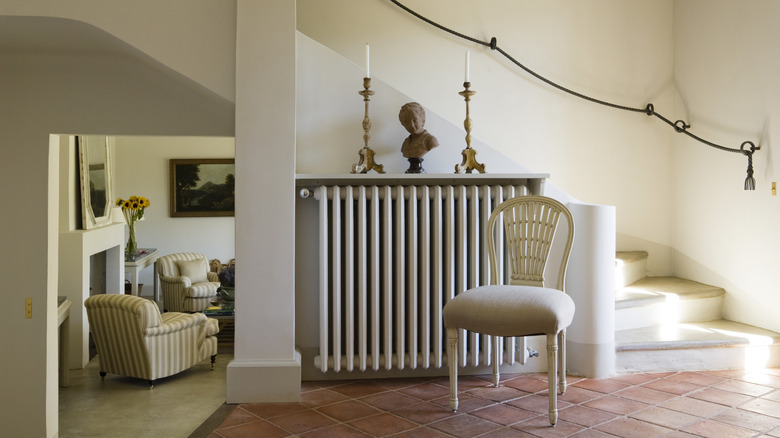
In order for a radiator to work efficiently, cold air needs to come into contact with the bottom of the appliance. Then, after the air is heated, it rises to make room for more cold air. Anything blocking the flow of air will obstruct this process. This is especially true of any objects near the bottom of your radiator, since hot air rises while cold air stays lower to the floor. You may want to postpone a radiator makeover that will upgrade your space until you have retired the system. Oh, and there's also the risk of fire when objects come into close contact with radiators.
Get rid of excess air in your radiator
One of the top reasons you should be bleeding your radiator is to restore warmth to your home. While the technique may sound drastic, it's actually a simple process. You release the excess air trapped inside your radiator that's stopping it from effectively heating up the room. It's an easy task that anyone experienced with DIY maintenance can tackle. Before you bleed your radiator, read the manual provided by the manufacturer, just in case your specific model has any quirks. Always follow the instructions for your system. Next, gather the tools you'll need.
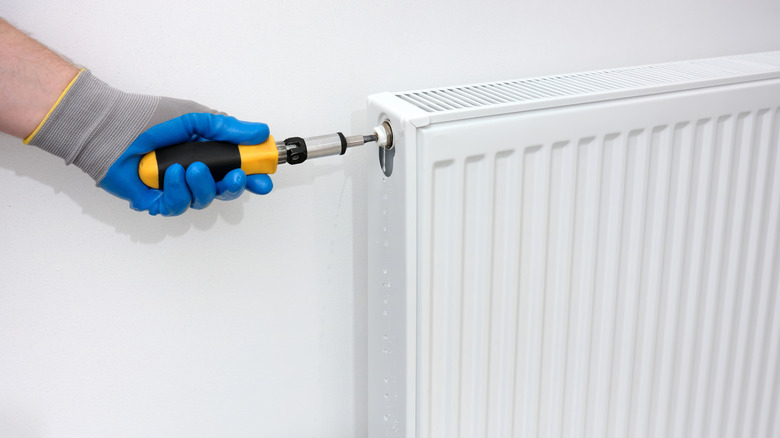
Most importantly, you'll need a radiator key, which is designed to open the bleed valve and can often be substituted with a screwdriver. Get a bucket or rag to collect any water that may leak during the process, gloves, and a flashlight. Turn off your heating system and position the bucket or rag under the bleed valve on the malfunctioning radiator. Insert the key into the valve and turn it until you hear hissing. Once the air has escaped, close the valve, repressurize your boiler if needed, and turn your system back on. You can perform this task any time your radiator is showing signs of a problem, like heating slowing or unusual noises, and also for general maintenance.
Give your radiator a deep clean
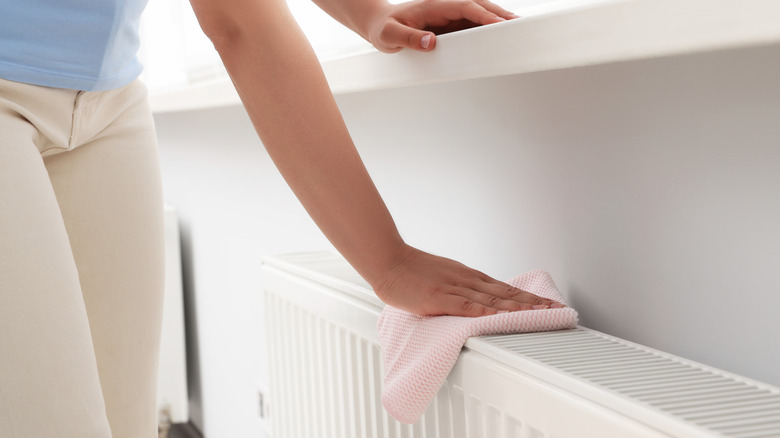
Like other flat surfaces in your home, radiators can collect dust. Often, radiators aren't included in the cleaning checklist. In the same way that any objects placed in front of your radiator can block airflow, a thick layer of dust on the outside of the fixture can trap heat, preventing it from cycling throughout the room efficiently. Fortunately, this is an easy task that you can complete in just a couple minutes with the right tools. Tips to successfully clean a radiator of dust include laying down a towel to catch falling debris and brushing between each fin with a Jonbyi Microfiber Gap Duster. Turn the heating system off and give your radiator plenty of time to cool down before you get started. You don't want to accidentally burn yourself while cleaning.
Sometimes, however, your radiator may need a deeper clean — one that focuses on the internal workings rather than the outside. When rust and dirt build up inside your radiator, it can mix together to create a sort of sludge. It may trickle out as brown water when you bleed your radiator. This sludge can cause the boiler to work harder, resulting in a radiator that heats more slowly. If you want a toasty home once again, it needs to be removed. Unfortunately, unlike other tasks on this list, removing sludge is a challenging and messy process. While it's possible to DIY this task, it may be better to hire a heating professional.