How To DIY Built-In Shoe Storage For Your Closet

Sometimes the number of shoes you own doesn't equal the amount of storage. Your closet ends up being more like a shoe hurricane rather than a neatly organized space. However, you're not alone, and there's a way to fix and optimize your closet storage to accommodate all of your shoes. You might think about creating clever shoe storage with a Dollar Tree find. But you can DIY a more custom and eye-catching built-in shoe storage spot in your closet with a few simple essentials, including plywood, screws, and a nail gun.
There are many genius storage solutions for a small closet. However, built-in shoe storage can offer many benefits over the flimsy racks you might buy at a store. One of the best parts is that you can customize your built-in to not only maximize your closet space, but also complement your home's aesthetic. You can also set up your space to accommodate specific shoe types, such as boots, high heels, or sneakers, for a lovely, organized, tailored look. To achieve this DIY, you'll need to buy some plywood boards. You may also want to get some drawer hardware as part of your storage, like this pair of Baidice ball bearing drawer slides. Equip yourself with a nail gun, drill, and wood screws.
The steps to take when creating your very own built-in shoe storage
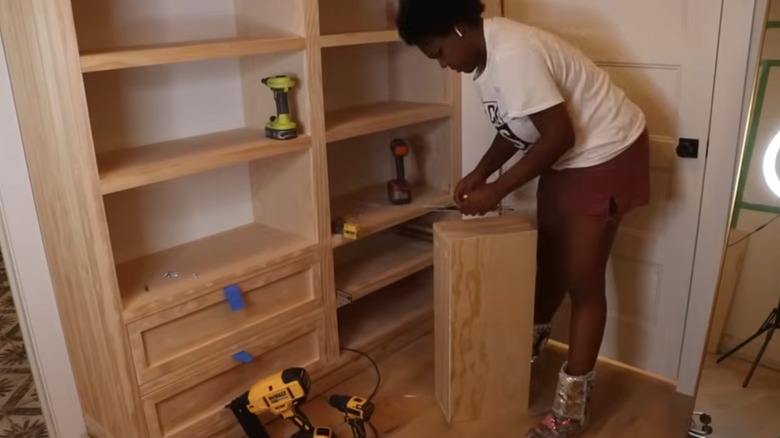
The most crucial step to take before you start cutting is measuring everything. Ashley, from Handmade Haven with Ashley, suggests creating a mock-up where your built-in will go on the wall, using some masking tape or frog tape. Next, remove the baseboards from the wall by scoring the caulk with a box cutter and using the back of a hammer to pull them off. You can install the plywood right up against the wall this way. Use ¾-inch plywood to avoid your DIY woodwork looking cheap. Build the bottom part of the frame first so you can stack your built-ins on it. You should carefully measure and cut each box frame to hold shoes, and if you have the space at the bottom, an extra spot for storage drawers with drawer slides for things like belts, ties, or scarves.
Once you've measured and cut your frame, you can attach your boards together, using clamps to keep them in place when drilling screws and nailing itto the wall. Use some caulk to fill in any small gaps or spaces, like this Loctite PL Premium Polyurethane Construction Adhesive. Add trim for a more decorative look, then sand and paint the built-ins for a clean, modern finish.
If this project goes beyond your DIY skill level, a simple trick to fake the look of built-ins is to use several bookshelves instead. Add trim across the top and bottom and paint them to look like one seamless piece. You can easily adjust the heights of the shelves to fit different types of shoes.