Turn An Old Tree Stump Into A Useful Landscaping Feature
We may receive a commission on purchases made from links.
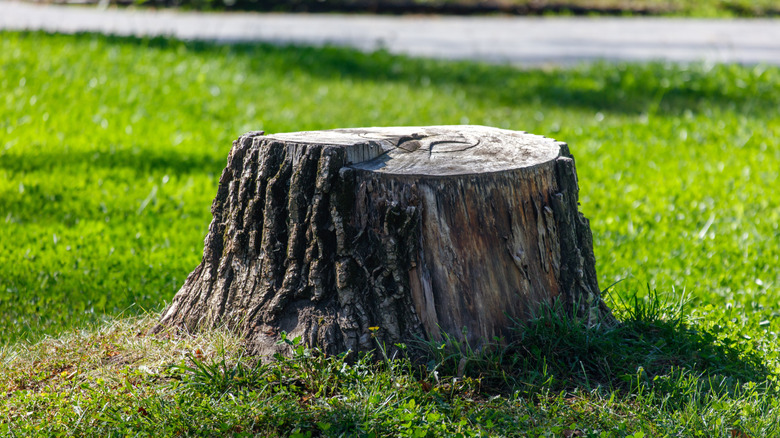
Trees are a beautiful sight in any outdoor environment, but once they're cut down or fall over on their own, the stump that remains can be a real eyesore. But that doesn't have to be your predicament, because there are many ways to repurpose an old tree stump and transform it into something useful in your landscaping. One creative solution is to create walkways. If you pull up a dead tree trunk and cut it into slices, you can use them to create stepping "stones" that can be arranged on an outdoor path across your front yard, back yard, or garden.
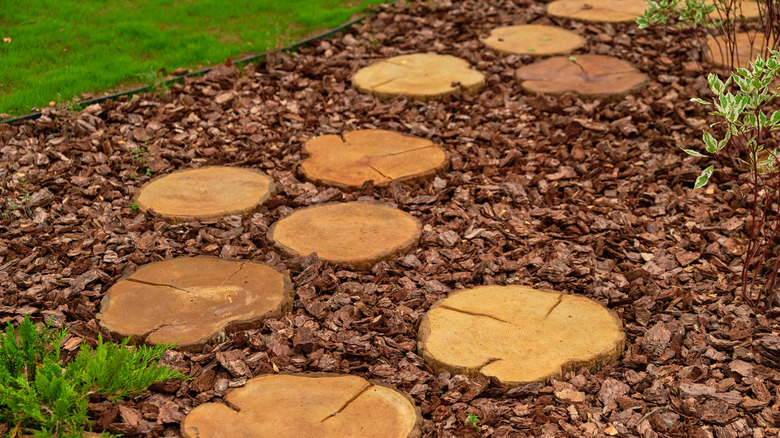
The natural rustic look of these stump cuttings will add a unique touch to an otherwise unassuming footpath and instantly elevate your landscape. During the rainy seasons, you won't need to worry about walking on muddy ground, since the log tiles will offer little islands to step on. What's more, since that tree stump is freely available to you, it's definitely a budget-friendly DIY garden path idea that's worth trying. You'll also find that creating this rustic tree stump path isn't too complicated, so you can DIY the whole thing with some basic lawn tools like a chainsaw and a shovel or garden hoe. You can set the slabs directly into the ground or incorporate gravel, edging, or other path materials if desired.
Useful tips for creating a rustic tree stump path
If you want your DIY tree stump path to turn out really professional-looking and work as efficiently as it should, there are a few things you'll want to pay attention to. First, as you cut the stump, make the slices as evenly thick as possible so they'll be easier to level out on the path. Aim for slices at least 2 to 3 inches thick, but anything thicker will give you extra stability and durability. A large tree may require a chainsaw, but smaller stumps could be cut on a miter saw.
Next, apply a sealant like Cedarcide Cedarshield on all of the slices to protect the wood from the elements and help it last longer. With the stump tiles ready, you can mark out the area on the ground where your path will pass, use a garden hoe or shovel to dig out the soil within that area, and put in any edging. Make sure to level out the base of the path as much as you can so your wood pieces will lie flat to avoid tripping accidents.
The fun part is arranging the slices on the path. You can space them out whichever way you like to create a nice pattern while leaving some space in between for gravel or mulch if desired. If you choose to add gravel in between the slabs to stabilize them, go for small gravel for this project. If you're confident about your masonry skills, you can even use concrete for this part for a longer-lasting build, but gravel or mulch will work just fine to finish your beautiful tree stump path.