How To Install A Countertop Trash Chute For Easy Kitchen Cleanup
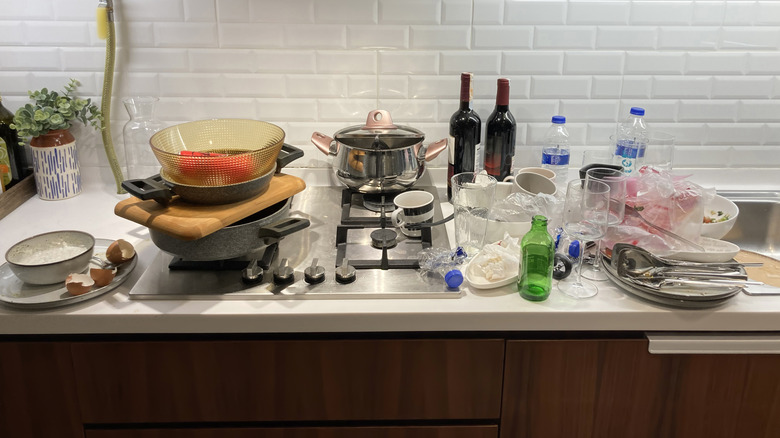
With so much time spent in the kitchen, it is not surprising that it can easily become a mess. You use the space to cook and eat, and it is often the home of at least one junk drawer and a growing collection of mail and other daily items. All of this means that it isn't uncommon for garbage to pile up on the counters. For dishes and random items, you may benefit from just a simple organization tip that'll keep your kitchen counters clutter-free. But if your piles tend to be of random debris, it may be time to try a DIY solution to your problems. One project that could make a major difference is to drill a hole in your countertop to install a trash chute.
With a chute on your countertop right next to prep areas or cooking spaces where food scraps, debris, and bits of garbage gather, keeping up with the list of things in your kitchen you should be cleaning everyday will be much easier. Plus, the installation process is relatively simple and can be quite affordable, though you should be certain of your decision, as it involves cutting into your counters. If you are ready to make the upgrade on your laminate or butcher block countertops, you need a jigsaw, a drill, a tape measure, masking tape, silicone sealant, and a countertop trash chute with a matching lid. There are round, square, and rectangular chutes in a variety of different depths. If your countertops are thicker than the standard 1 ¼ or 1 ½ inches, make sure your chute is long enough to extend past the bottom and into the cabinet underneath.
How to install a countertop trash chute
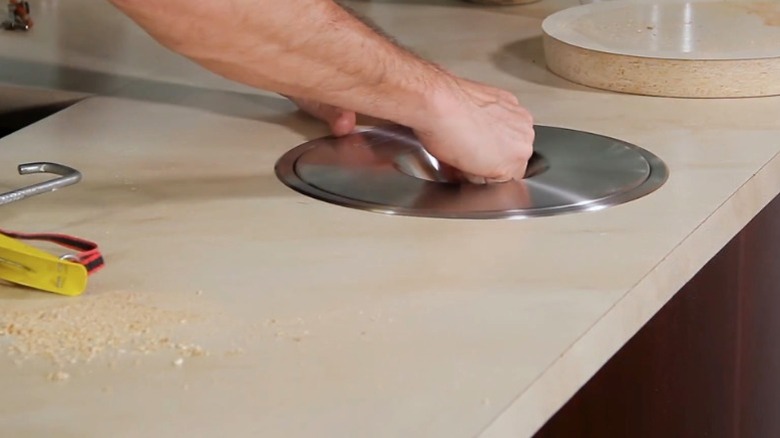
Chutes range in price from about $30 to over $100, depending on size and whether it has an attached lid. If you already have the basic tools, this and a silicone sealant, which often costs under $10, are all you need to buy, making this a budget-friendly DIY. If the countertop is laminate or butcher block (stone countertops require different tools in a more challenging process), the process is straightforward. When you have your materials, choose a spot and mark the location on the countertop. Pick a space with a clear cabinet area underneath where you can place a trash bin. Use the tape measure to determine your center point, and consult your chute's directions for the required opening size. Use a compass to draw the circle on the countertop for round chutes, or sketch the shape using a straight edge for rectangular chutes. Lay masking tape over the shape, and redraw the lines on the tape to reduce chipping as you cut. Drill a pilot hole for the jigsaw to enter, either along the circumference of the circle or in each corner of your rectangle. Cut slowly on your lines to avoid damaging the surrounding countertop.
When the hole is done, place the chute frame inside to check the fit. If the chute fits, remove it and apply the silicone sealant around the edge where it will sit on the counter. You may wonder if a silicone countertop protector is worth the purchase, and it absolutely is, because it will create a durable grip on the chute and prevent debris from getting caught underneath. Wipe away excess sealant, finish assembling according to your product's directions, and enjoy your new chute.