Roomba Not Charging? Here's How You Can Troubleshoot It
We may receive a commission on purchases made from links.
Once you buy a robot vacuum, like Roomba, you mentally tick the "sweeping and mopping my floors" chore off your list forever. Things take a turn for the better if you invest in one of the highest-rated budget robot vacuums, since they can deal with both dry and wet messes like a pro. A few models can even clear out your pet's shed hair without getting stuck. And to ensure your floors keep sparkling, you just need to keep their battery charged when it gets low — most units clean between one and two hours after a single feeding session. However, your hands-off cleaning routine will come to a halt if your Roomba refuses to charge even when docked into the charging station.
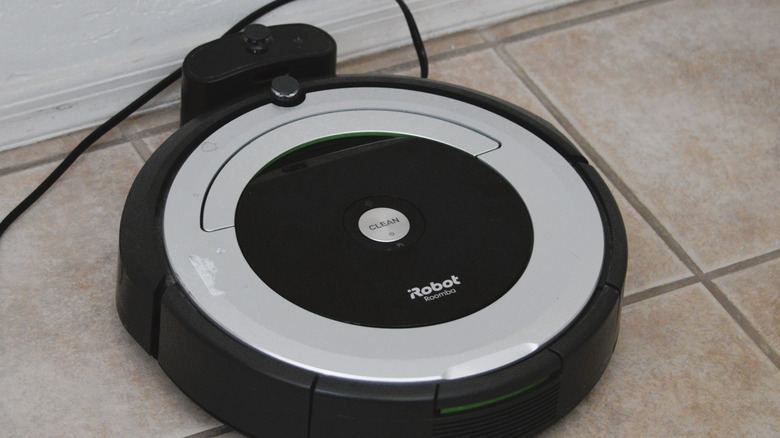
But instead of getting worried or ordering a new one if it's been a few years, troubleshoot your robot cleaner. Start by checking whether the station is plugged into a functioning power outlet. A loose connection will also cause interruptions. In case these fixes don't solve your problem and the dock turns on when plugged in, determine whether the metal contact points on your Roomba and the dock are aligned with each other. If you insert the robot manually (like for the 200/2000 series), be sure to maintain a distance of at least 1 cm to ½ inch between the bumper and the dock. Since you can't see if the charging points align with each other, keep adjusting the robot till it gives off a beep-like sound and the lights come on. In case there's no light even after multiple tries, clean your Roomba thoroughly or reboot it manually.
How to clean your Roomba so it starts charging again
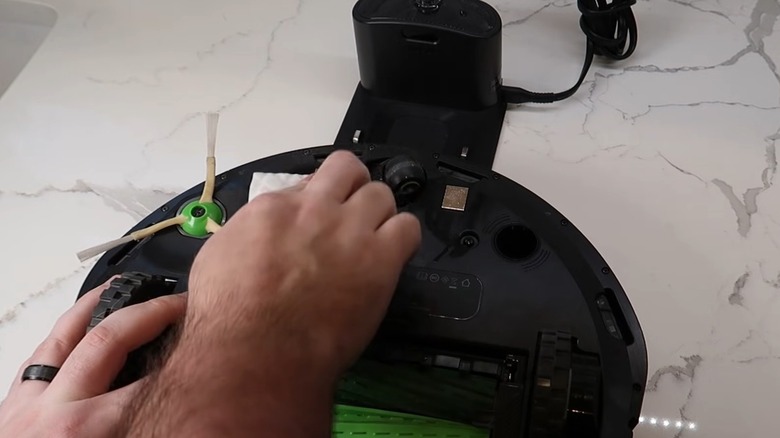
Since the two metal charging points are vital to your Roomba charging, remove the robot from the docking station and turn it over. You should notice two flat silver-colored rectangles — the charging points. In case you own an AutoWash or AutoFill dock, look for a button where the wheels are supposed to go to uncover the points. Now, dampen (shouldn't be soaking wet) a melamine foam, like Mr. Clean's Magic Eraser Original Cleaning Pads. You can also use a microfiber cloth, but it shouldn't sport any dust. Once you have the cleaning medium, gently wipe the contacts to dislodge the dirt and debris hindering your robot's charging sessions. Go over the points on the base, too, to loosen any gunk accumulated there as well. This should help your Roomba start charging again. That being said, remember this step will only work if the contact points haven't turned green or copper. If they sport either hue, it's time to have them replaced.
However, if the points are still silver and your device doesn't start charging after you clean them, see if the brush is tangled with hair or other loose particles. Once again, flip over the robot and pull down the tab located on the right end of the cleaning head. Pull out the brushes and take out any unwanted items stuck to their ends. While at it, detach the brush bearings as well to clean them out. After you're done, put everything back in its rightful spot. Finally, pluck out the front caster wheel and clean under and around it before slotting it back.
How to reboot your Roomba so it begins charging again
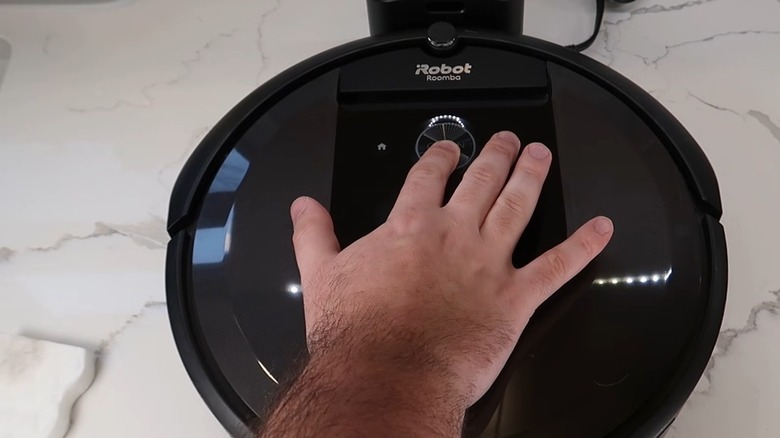
Although cleaning the contacts and dislodging dirt and hair from the brush and caster wheel should help you get the most out of your Roomba, sometimes this might not be enough. Under those circumstances, try rebooting your robot vacuum. All you have to do is lift the device off its charging station and place it on another flat surface. Next, press the POWER button for about 30 seconds before letting it go. Now, move the cleaner back to the base; don't delay this for more than four minutes. This should encourage the robot to reboot (it may take anywhere between 30 and 90 seconds) and start charging again.
In case rebooting doesn't work either, reinstall the battery in your Roomba. Turn the device over and grab a Phillips-head screwdriver. Check the screw before you get the tool, since different models will require a different size screwdriver. In case it's confusing, invest in a kit like Nszetz's Mini Precision Screwdriver Set to have multiple sizes handy. Gently peel off the cover and take out the battery prior to putting it back as you found it. This simple action will force the device to reboot, eliminating any errors preventing it from charging. Tighten the screws back in place and put the robot back in the charging dock. The LED lights on your Roomba should turn on now, and the device should start charging. But if this step doesn't work as well, reach out to the manufacturer (iRobot) to resolve the issue.