Always Keep Your Pistachio Shells: The Beautiful DIY Flowers You Can Make With Them

We may receive a commission on purchases made from links.
It seems that miniatures are having quite a day! Since the Pandemic drove everyone indoors, crafters, who love all things mini, have painstakingly collected all manner of unlikely odds and ends, which eventually become the raw materials for their Lilliputian-sized treasures. Take the lowly pistachio shell. To most, it's just the leftovers from their favorite snack. However, for the miniature-making crafter, those half-shells are just the thing they need to make a flower box filled with tulips for a cozy book nook or dollhouse.
If you count yourself among modern miniature-makers and want to try this crafty DIY trend, you'll need to put aside six shells for each miniature tulip you'll make for your tiny garden box. These tiny tulips have three petals, plus three petal-like structures, which are actually known as sepals. The number of flowers you need depends on how big the flower bed is going to be. However, a good number to aim for is between 12 and 15. Given that no two shells are exactly alike in size and shape, the number of shells it takes to make the tulips may vary a bit, too. You'll use Eyxformula long wooden cotton swabs to make the flower stems, and masking tape plus PAXCOO green floral wire to make the leaves.
If you have a tiny box, something that perfume or a cord to a computer came in, you can use that to make the flower box. If you don't have those, put aside some pieces of scrap cardboard for the same purpose. Your project also needs scissors, craft foam, floral clay, assorted colors of acrylic paint, paint brushes, flat craft sticks, a ruler, and a glue gun.
How to make miniature tulips from pistachio shells

The stems on the Q-Tips may be too long for your garden box as is. Use your scissors to trim them down. For example, make the swabs 3 inches long from the cotton tip to the end. The swab needs to stay on the stick, as it forms the foundation on which you'll build the tulip. Next, add some glue to the cotton swab and stick three shells evenly around it. Add a dollop of glue to the inside of three more shells and glue these on top of the shells that are already stuck to the swab to create the layers of each tulip.
Make as many tulips as your miniature planter box needs. Paint the heads pink and the stems green. If you'd like to add some realism to the tulips, paint dabs of white along the edges of the petals. To make the leaves, cut a 3 to 4-inch piece of masking tape and fold it in half around the end of the floral wire. Cut the wire about an inch below the tape, and then cut a leaf shape out of the tape, leaving the wire "stem." Paint the leaf green. Make about 12 of these.
Create a garden box from either a small box you already have or from pieces of scrap cardboard that you glue into the shape of a box. Make a wooden wall around the box with some EWVVSS wood popsicle sticks. Fill the box with craft foam topped with floral clay. Paint the clay brown. Finally, plant the flowers and the leaves in the clay and dress the box with a bow.
Adding to the miniature tulips' cuteness factor
If you'd like to save yourself some labor, swap out the made-from-scratch flower box and replace it with a ready-made Cregugua square wood box. This is a fun option if you want to make multiple garden boxes to sit in front of a dollhouse. It also allows you to give the boxes a more uniform look. If the boxes will sit in front of a miniature home, it'd also be a nice touch to paint the house numbers, street name, or the family name on the front of them. Or if you have the skill, mold miniature numbers out of modeling clay and paint them to match the rest of your tiny home or book nook's decor.
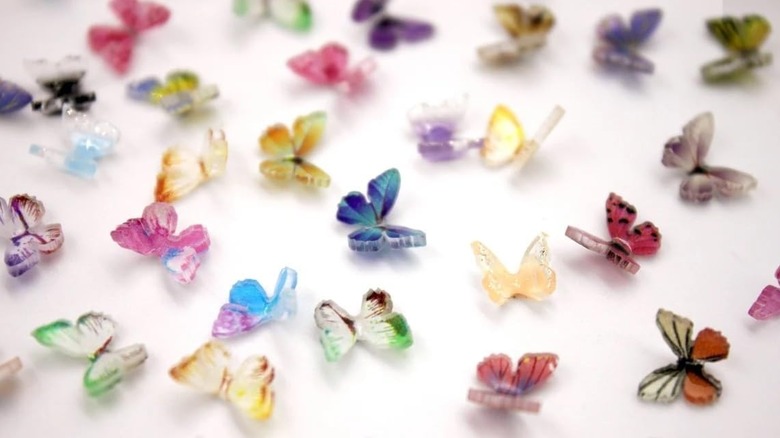
Peachcor micro resin butterflies glued to the repurposed pistachio shell tulips create another sweet touch. Choose butterflies whose colors contrast with the flowers' hues to make them stand out. Nestle little animal friends, like rabbits or squirrels, to keep the miniature butterflies company in their garden box home. Finally, you might like to explore how to DIY the cutest mini shelf for your new floral creation to rest on.