Deep Clean Your Dirty Air Vent Covers In 3 Simple Steps
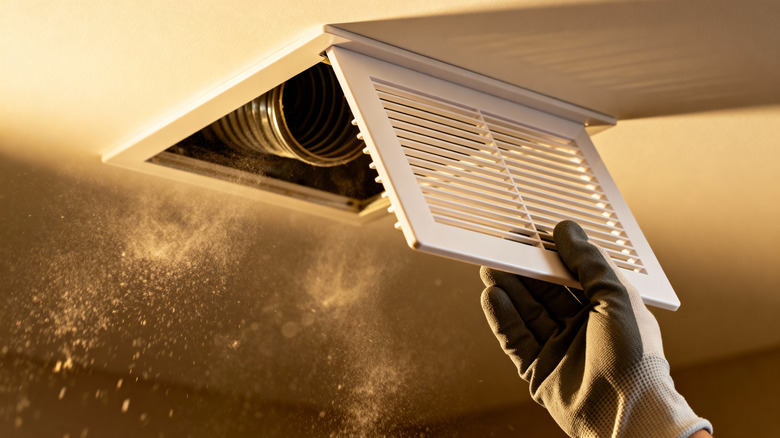
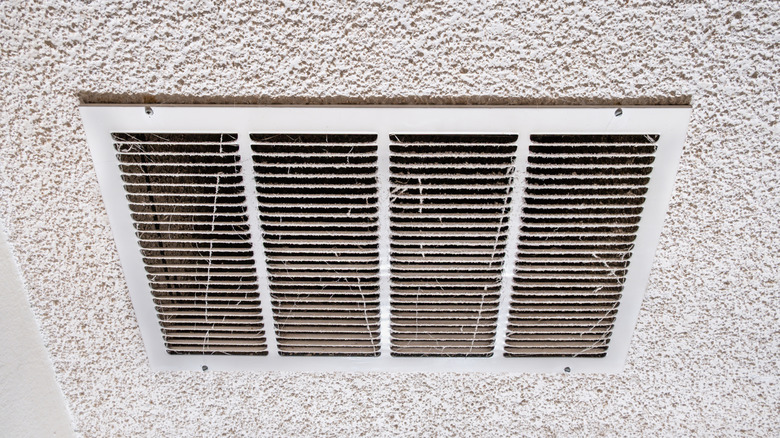
When cleaning, you probably have a list of tasks you check off regularly, like sweeping the floors, scrubbing the toilets, and wiping the countertops. But since they often go unseen until they build up a thick layer of dust, you're probably overlooking your air vent covers. Unfortunately, dirty air vent covers don't just look unsightly, but they could also spread dust particles throughout your home and reduce airflow, triggering your HVAC system to work harder. You can keep your vents clean with simple changes to your routine, like sweeping the floors more often and regularly changing your air filters. But even under the best circumstances, you should deep clean your air vents about once or twice a year to remove any lingering buildup or film. The good news? It's a pretty easy process that takes only three steps: vacuuming, washing in warm soapy water, and drying.
While cleaning the vents is simple enough, if there's significant dust buildup or the vents are consistently dirty even after regular cleaning, it's wise to investigate the root cause. The reason could be as simple as an ill-fitting filter or a leaky duct. If you change the filter and the problem persists, a professional HVAC inspection can likely identify the issue.
The best way to clean dirty air vent covers
For this project, you'll need a vacuum with a brush attachment, a bucket of water, dish soap, a screwdriver, a microfiber cloth, and a soft-bristled scrub brush. If possible, use a vacuum with a HEPA filter, as this is the sort of vacuum you need if you have dust allergies. HEPA filters excel at trapping even the tiniest particles, preventing them from recirculating through the air. To get started, turn off the HVAC system, and don't turn it on until you're finished cleaning your covers and have them reinstalled.
Use a stepladder as needed to access vents, and thoroughly vacuum the dust from them, using the brush attachment to loosen and remove as much buildup as possible. With the covers vacuumed, remove them with a screwdriver. Fill a large bucket or sink basin (or your tub, for large covers) with hot, soapy water. We recommend using dish soap, as it contains surfactants that lift dirt and grime while remaining mild enough to be safe for most surfaces, including vent covers. Wash the vents in your soapy water, wiping away grease, dust, and dirt with your cloth. If there are bits of stubborn grime or dust that won't come out, use an old toothbrush or a small, soft-bristled cleaning brush to gently scrub these problem areas.
Finally, rinse and dry each vent cover thoroughly. If you have several vent covers and only one bucket, work in groups, deep cleaning just a few covers at a time. Once the vent covers are fully dry, use your screwdriver to reinstall them. Turn your HVAC system back on. To stay on top of vent cleaning, add this task to your twice-yearly deep cleaning checklist to make every room in your house sparkle.