6 Affordable Ways To Fix Small Cracks In Concrete (And 5 Mistakes To Avoid)
We may receive a commission on purchases made from links.
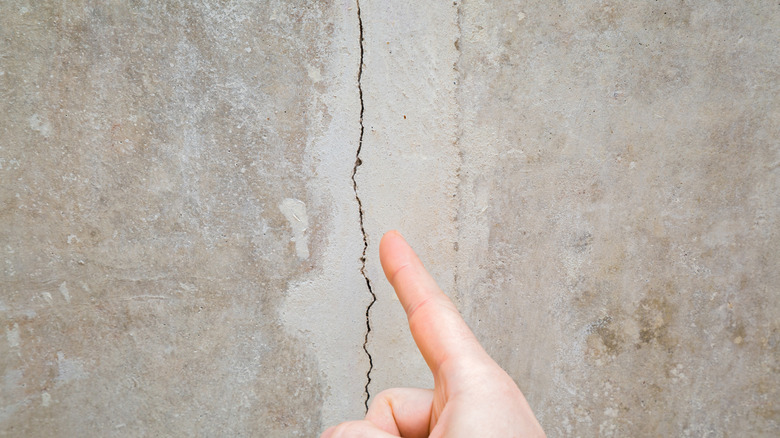
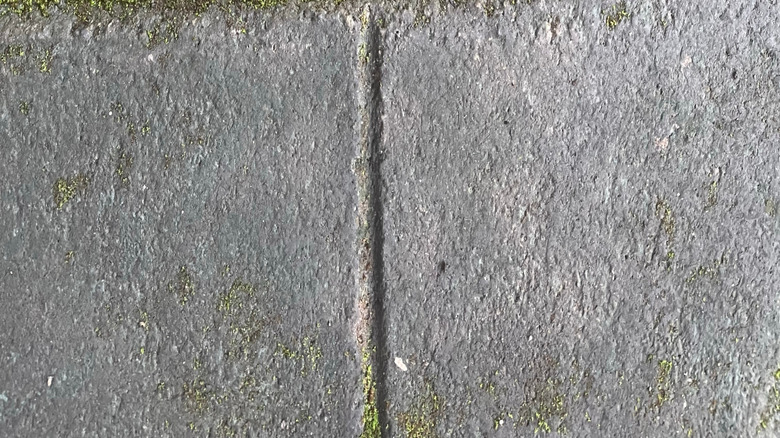
Regardless of whether you've just bought a home, renovated one, or built it from scratch, a small crack in your concrete wall or flooring can make the space look neglected and can become quite the eyesore. While you may be tempted to call in the experts for any of these fractures you come across, with a little know-how and some elbow grease, you can fix the problem yourself. Not all concrete cracks are reason for serious concern. As the material settles after a new build or refurbishment, small cracks are to be expected as it cures, adjusts, and shrinks. When it comes to more established homes, it's normal for temperature changes, movement of moisture, or just everyday wear and tear to result in cracks forming in your concrete.
While that crack may irritate you, it's not only about what you see. If you're looking to sell your home, cracks in your concrete could be one of the factors that could reduce your home's value and deter interested buyers. So, instead of learning to live with these blemishes in your home, it's best to tackle each one as you come across it. Whether it's cracks in your concrete driveway, flooring, or the walls around your home, most of these fixes are uncomplicated and affordable. From concrete patching to elastomeric paint, here's what you need to know about fixing cracks in your concrete driveways, walls, and floors.
Concrete patching: cost effective and simple
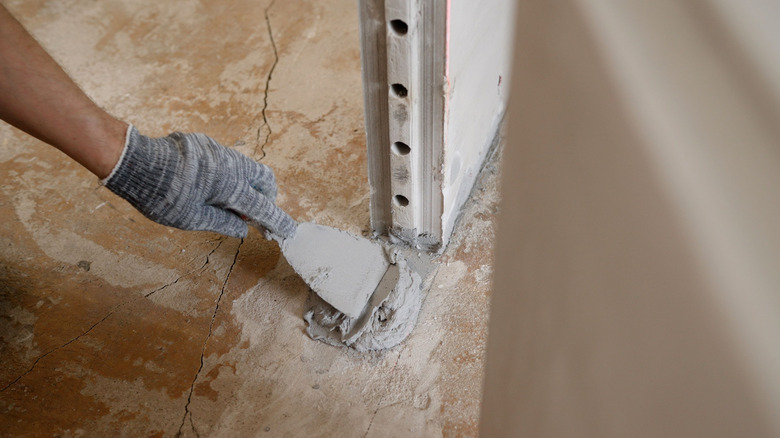
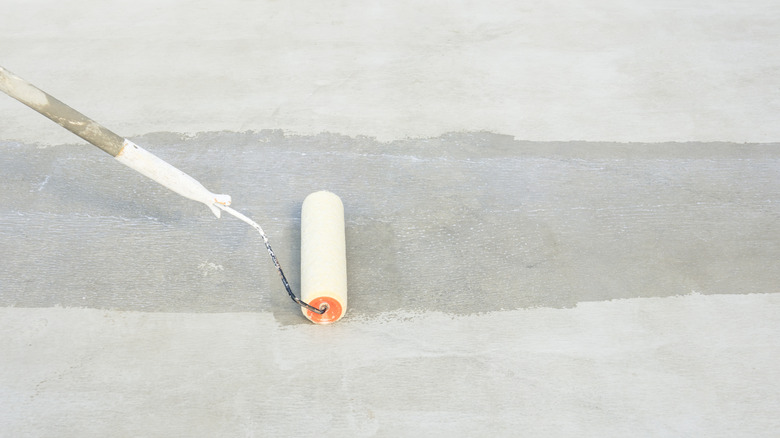
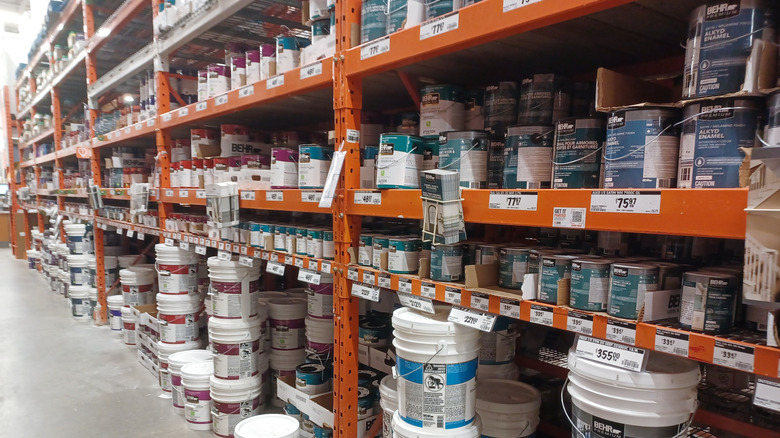
If you're looking for one of the simplest and most affordable ways to fix cracks in your concrete, concrete patching is a great solution. This method uses materials that bond to damaged concrete in a small area, in this case a crack, and as the name suggests, you're patching it up as you would a flat tire. Concrete patching creates a strong bond with a smooth surface, which will significantly improve the aesthetic of the concrete blemish. The material most often used with concrete patching is a mortar, usually a cement‑based patching compound made from Portland cement and fine sand. Other mortars for this type of job include those made from epoxy and polymer concrete. For small cracks you'll be just fine with a cement‑based product or you could opt for a cement paint.
To repair a concrete crack using the concrete patching method, start by choosing a day that is warm and sunny. Then, make sure that the crack is clean and that there is no lingering moisture. For the cleaning, you can use a vacuum to get all the loose little bits of concrete out and then blow out all the dust with pressurized air. Using a concrete patching kit, which you can get from your local home improvement store or any major retailer, mix up the materials by following the packaging instructions. Then, brush on a thin layer and use a straightedge to make sure the concrete patching is even with the surface. All that's left is to wait for the material to dry, as per the instructions.
Self-leveling concrete caulk: great for thin driveway cracks
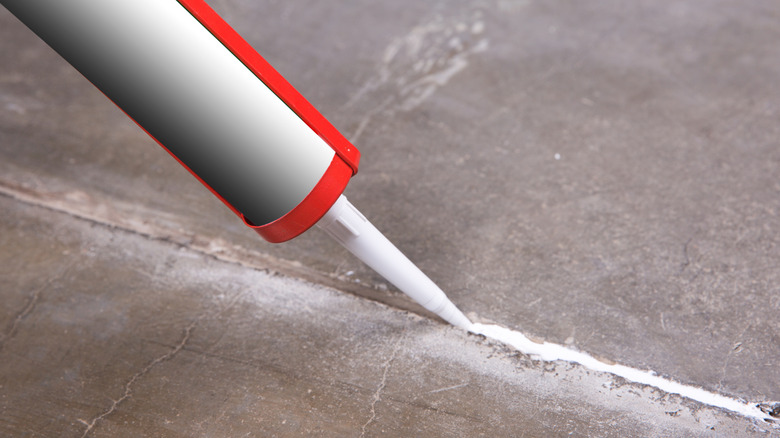
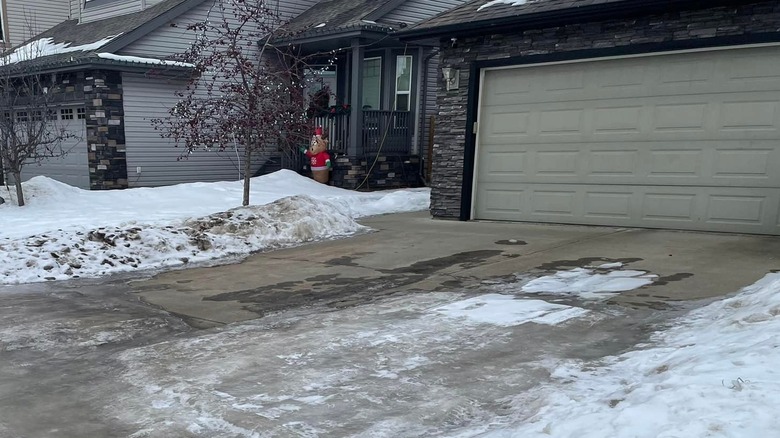
Your driveway is a common area for cracks to occur, with exposure to the elements and the weight of cars driving or parking on them daily. It's also a large area of concrete, with driveways most often made of single slabs. The constant weight, combined with the environmental stresses of contraction and expansion, causes these cracks to creep across the space. While all major cracks warrant calling in the experts, for minor driveway fractures, there is a handy material that will fill cracks in a concrete driveway. It's called self-leveling concrete caulk (also known as self-leveling sealant) and is widely available across the U.S.
What's great about this product is that its liquid-like make-up allows it to flow into narrow gaps and into expansion joints, automatically becoming smooth as it self-levels. It's also hardy against extreme weather conditions, expanding and contracting as the temperature changes. This means that it won't crack as other sealants exposed to the elements might. To fix a crack with a self-leveling concrete caulk, use a caulking gun and apply the filler at an angle of 45 degrees. As you use a controlled squeeze on the trigger, follow the length of the crack as you fill the space. Once you're done, you'll need to smooth the surface and remove excess filler. You can use a trowel or putty knife for this. The last step is to simply wait for the filler to cure. Stick to the instructions of the caulk you are using.
Epoxy injection: high-strength bonding for non-moving cracks
For a stronger approach to sealing a concrete crack, using the epoxy injection method is a great option to restore the concrete to its original strength and integrity. While there is a little more prep than using caulk or a patching kit, it's still an affordable crack repair option. The modus operandi here involves injecting a high-strength epoxy resin into the crack, which seals the space that has opened up and forms a firm bond to either side of the concrete split. Through a pumping system, the resin is applied with a low to medium pressure, where it's injected into the deepest parts of the crack where many other sealants won't reach.
What type of concrete crack best suits epoxy injection? This method is best used on vertical and horizontal cracks, and, as epoxy has a low viscosity, it's perfectly suited for even the smallest of fractures. You can either rent an epoxy injection machine, or you can purchase a repair pack like the HXOGYUB Concrete Foundation Crack Repair Kit from Amazon that comes with an automatic injector. Before you start, make sure that you clean the crack properly and only start once all moisture is gone. You'll also need to blow out any dust that may have settled in the crack, for which compressed air is best. Then, follow the instructions for the machine or kit that you are using. Once you're done, you'll have a strong concrete repair that will last the ages.
Polyurethane chemical grout injection: for wet cracks
Sometimes you'll find a concrete crack in your home with actively leaking water that can't simply be dried out. Here, you'll need a product and method that reacts with water to form a solid bond. One approach that we recommend is to use a polyurethane chemical grout, which is injected into the fracture under low pressure as a liquid, which then expands into a foam. Unlike epoxy, which doesn't cure properly when in contact with water, a polyurethane chemical grout is specifically designed to react with water, where it expands and solidifies to form a watertight seal. It's a great option for concrete cracks in your basement, foundation, or retaining walls where moisture is a constant. This is another concrete crack repair method that offers a flexible and waterproof barrier with the polyurethane curing to be slightly elastic.
To use this product at home, you can opt for a specialized polyurethane chemical grout injection system, but these can be costly. Rather, get your hands on a simple DIY concrete repair option like the Red Devil Foam & Fill Kit from Amazon, which retails for around $12. Once you've cleaned the crack, shake up the can, apply the foam smoothly, aiming to fill the crack by only about a third. This allows the product to expand without wastage. Before the foam sets completely, wipe it off with a clean cloth so the seal is flush with the concrete. If it sets above where you need it to, use a utility knife to cut the excess off.
Backer rod and sealant: for deep cracks

If you consider yourself the handy-person of the house, you can try the backer rod and sealant method for any concrete cracks around your home that fall outside of the hairline category. While this product is used for large cracks, it is also suited to the smaller cracks that you may find in your concrete. A backer rod is essentially a long, round piece of foam most often made of polyurethane that comes in two forms — closed cell rods and open cell rods. For cracks in concrete within the home (those not exposed to the elements), you'll want to use the open cell option, which is compressible and specifically designed to allow air to pass through for faster curing of the sealant. It'll also allow water to pass through, which is why they shouldn't be used outdoors. Once inserted, a sealant is then applied on top of the backer rod.
Backer rods are ideal for deep cracks, as once they are inserted, they fill the crack and allow you to control the amount of sealant you use. As they expand inside the space, there's no need to go right down into the depth of the crack. As for the sealant to use with an open cell backer rod, you can use any hot-pour and cold-applied sealant, including polyurethane and caulk. You can get backer rods and suitable sealants from most home improvement stores across the U.S. Let the packaging of the backer rod guide you for the sealant.
Elastomeric paint: designed to cover hairline cracks
If you're battling against very fine cracks in your home, elastomeric paint is a paint product for concrete walls and floors that need quick and easy repair work. This paint is designed to keep the elements out, so it works for both interior and exterior concrete cracks. An added benefit is that it won't crack or peel, making it suited to climates that experience a lot of temperature swings. What about wind-driven rain and exposure to high levels of UV? It'll hold up to those factors as well. While this product is used as waterproofing on roofing, it's handy to use for those thin cracks around your property as well. This paint-like material, which is an advanced polymer, cures to form a flexible membrane that can stretch as the concrete expands and contracts, providing a barrier against the elements.
You can use this product on any hairline cracks, whether that be your driveway, walls, or flooring. As with many crack sealant products, it's important that the fracture is clean and does not contain any moisture before the product is applied. Elastomeric paint mostly comes in three forms: acrylic, silicone, and urethane. Any of these can be used on concrete, but you will have to choose the right color to suit the concrete that you are looking to repair. If you're looking for a clear option on a budget, you could go for the Sherwin Williams SherMax Elastomeric Sealant.
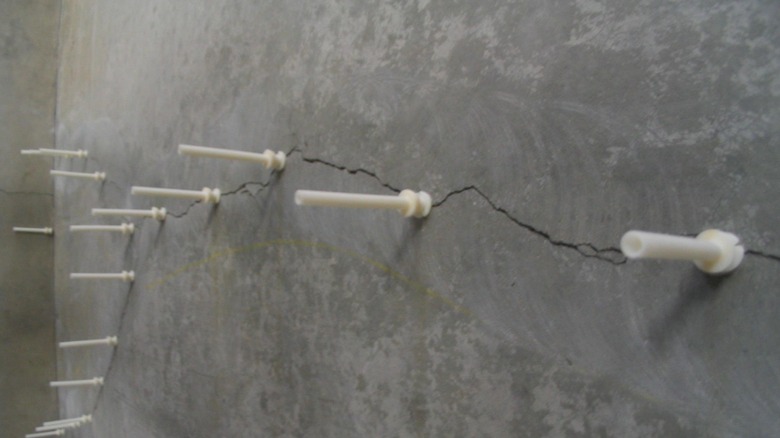
Mistake to avoid: not understanding the different types of cracks
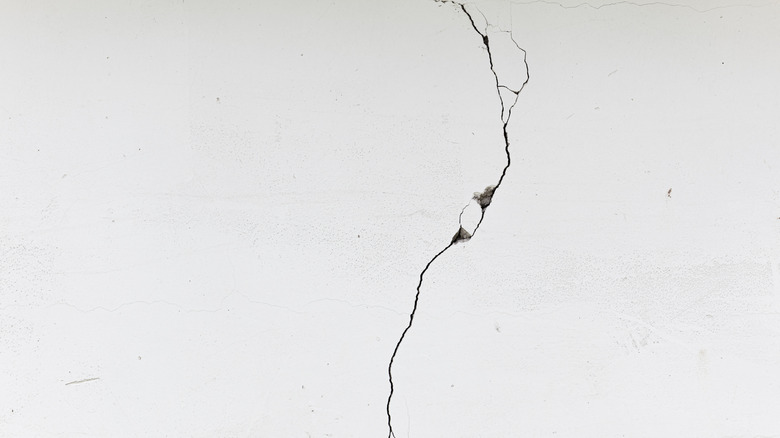
As with any concrete crack repair job, there are certain mistakes that you need to avoid. First up, it's important that you understand what type of crack you are dealing with before you head out to purchase a concrete crack repair product. For example, hairline cracks are most often cosmetic and caused by shrinkage as the concrete cures. Here you'll want to choose a product like elastomeric paint for interior cracks or concrete caulk for your driveway. It's important to watch them, though, as they can worsen over time. Settlement cracks, on the other hand, usually happen because the ground beneath the concrete has shifted slightly or due to temperature fluctuations. Products that provide flexibility are best suited for these cracks. If you have moisture in or around the crack, for example with a retaining wall, then you need to choose a product that provides both flexibility and waterproofing.
Then you have structural cracks. These are the serious ones that you'll need to look out for, which are most often caused by foundation movements, overloading, poor design, or corrosion of reinforcements (like steel). These differ from settlement cracks in that they are usually larger and continue to grow over time. If you suspect you have a structural crack, it's best to call in the professionals who have the tools and know-how to investigate the root cause. You can't simply repair a structural crack — there is usually an underlying issue that needs to be addressed. Understanding what had caused the cracks is an important first step.
Mistake to avoid: not preparing the area before repairing

It doesn't matter what has caused the crack in your concrete or if it is indoor or outdoor; not preparing the area before you attempt to repair it can cause a great deal of frustration. For materials that don't cure properly when exposed to moisture, any water left in the crack will result in a poor seal that will need to be reset in a matter of time. Even if the crack was dry when you last checked it, overnight dew could have crept in. It's the same with dust — these small particles will stop the sealant from bonding correctly with the concrete, which means that the next time there's a temperature fluctuation or a bit of pressure applied to the concrete, the repair will shift, crack, chip, or simply deteriorate. Once you've vacuumed the larger bits out of the crack, use pressurized air to blow out the dust.
If you don't have a vacuum and an air compressor, you can still clean out the crack with a stiff-bristled broom. A wire brush is a good tool to get rid of the larger pieces of debris that are not entirely loose. If you're working on a crack on the driveway where oil has seeped in, it's important you clean it out completely. Use a degreaser with water and use a broom to get right into the crack. Once done, clean it again with water to remove whatever remains of the cleaning solution, and let it dry completely before you start.
Mistake to avoid: trying to repair cracks foundation cracks over ¼ inch in width
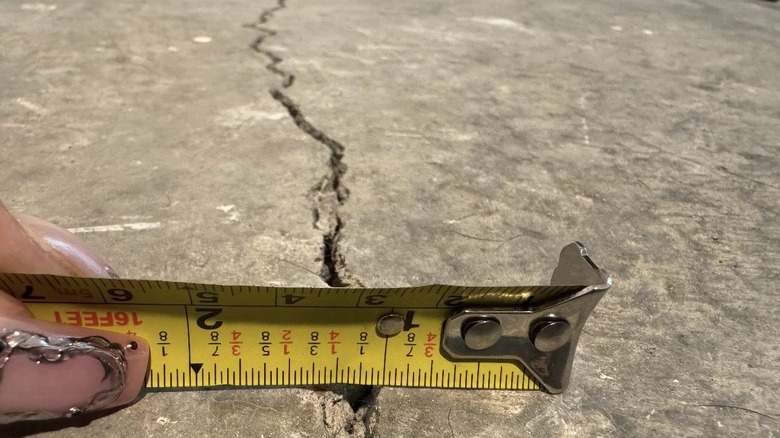
While we have no doubt about your DIY capabilities, there are times when it's best to rely on the professionals for home improvement projects. If you come across a foundation crack with a width wider than ¼ inch, there's a good chance that it will require professional repair. Often cracks of this size indicate that there is a bigger problem that needs to be investigated, and to do so will require expertise and the right tools. If you try to fix these concrete cracks yourself, you may be ignoring something deeper that could lead to significant damage.
This is especially true if the crack was, at first, smaller than ¼ inch, but has since grown in width. An expanding crack is a serious reason for concern, and it's not one you want to ignore. Even if you do seal the crack yourself and everything looks in order, you could be in for an expensive fix down the line when things get worse. If you've repaired a hairline crack that has only gotten worse, call up your local building contractor to take a closer look.
Mistake to avoid: using the wrong product
While attempting to fix large cracks yourself could be a recipe for disaster, it's the same with choosing the wrong material or a subpar product. This is one of the most common mistakes that DIY enthusiasts make, so be sure to do your homework on which product is best suited for the crack you are dealing with and which ones stand the test of time. Be wary of cheap products online that promise the ultimate in concrete crack repair at ridiculously low prices. If you're unsure, take a look at some of the online reviews to see what other people are saying about their experience with the product.
You can also ask your local home improvement store about the products they recommend. Just be careful that they are not trying to push a product that they are incentivized to sell. Choosing the wrong product could mean having to call in the professionals to remove it and fix the crack correctly, which can be costly. It's better to go with a tried-and-tested concrete repair product the first time. Also make sure that you are using indoor products for cracks inside your home and outdoor products for areas like your exterior walls and driveway.
Mistake to avoid: not considering temperature conditions
The thing about concrete is that it expands and contracts due to environmental conditions like extreme heat and cold. It's not only the reading on the thermometer you need to take a look at, as moisture plays a part as well. Concrete is a porous material, and when moisture seeps in, it expands. If you live in a really cold climate, this moisture can freeze, creating even more expansion.
For external cracks that are exposed to the elements, it's best to go with a flexible material like elastomeric paint or a polyurethane chemical grout that adapts to the expansion and contraction of the concrete without cracking or breaking its bond. You also need to choose a product that isn't chemically sensitive to temperatures. It's the same with the application process. It's best to use a concrete crack repair product when it's warmer, as this will speed up the curing process. If you don't consider the temperature conditions, a repair that looks fine on day one may crack, peel, or separate once seasonal temperatures set in. Always choose products that are suited to your specific climate.