How To DIY A Solar-Powered Irrigation System For A More Hydrated Garden
We may receive a commission on purchases made from links.
Solar power is a sustainable energy source that has many uses in both homes and gardens, including self-watering solutions for your garden. With all the new technologies, batteries, and solar generators out there, it can be overwhelming to consider installing a solar-powered DIY project, especially when professionals recommend using licensed technicians for installing solar panels. However, professional help is only required when dealing with a solar system that uses an inverter, like solar for an RV, an electric car, or a home. For smaller applications like an irrigation system, you won't need all the bells and whistles. All you need is a solar irrigation kit, which you can purchase preassembled, or you can purchase tubing, drips, and a solar pump separately.
Putting in this outdoor feature that will make any gardener's life easier is a breeze. To install a DIY solar-powered irrigation system, you will need to start by sizing out your space, determining the amount of irrigation needed, and prepping materials to fit your layout. Once you know exactly how things are going to fit together, you can start assembling the system. When everything is ready, the solar pump should do all the work for you.
Map out your irrigation layout and prepare materials
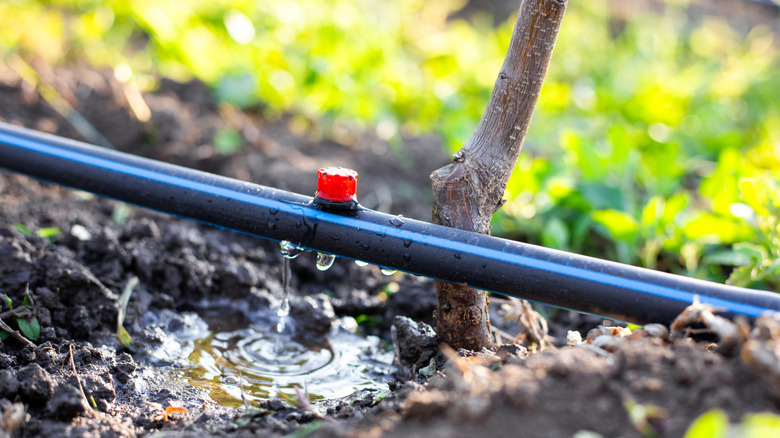
Part of bringing eco-conscious design into your home is limiting waste. Before you purchase your materials, you will want to map out the entire irrigation layout to ensure you have enough tubing to reach every plant. Start with the water source. Measure the distance between the water source and the planting area. Then, measure the distance between each plant. This will tell you where you will need to place the drips, as well as the total length of tubing needed to complete the project (the total sum of all the measurements).
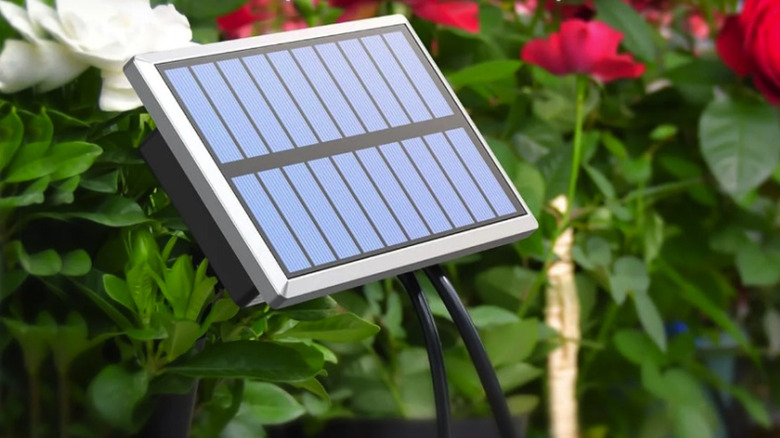
Once you know how much tubing and how many drips you need, purchase the necessary materials. A kit can cost anywhere from $20 to $70 or more on Amazon, depending on your size needs. You will need scissors or a sharp cutting tool that will work on the tubing. You can attempt to cut all the tubing to size according to your previous measurements; however, it is more accurate to work through the layout in the same pattern as the design. Start by attaching the tubing to the unfilled (or shut off) water source. Run the tubing to the first plant, and make a cut. This is where you will attach the drips. Repeat for each plant. Once the entire system is connected securely with no potential for leaks, attach the solar pump to the system according to the instructions in the kit. Place the solar charger in a location that will get plenty of sun during the day.