How To Repurpose An Old Kitchen Crock Into A Utensil Storage Solution
We may receive a commission on purchases made from links.
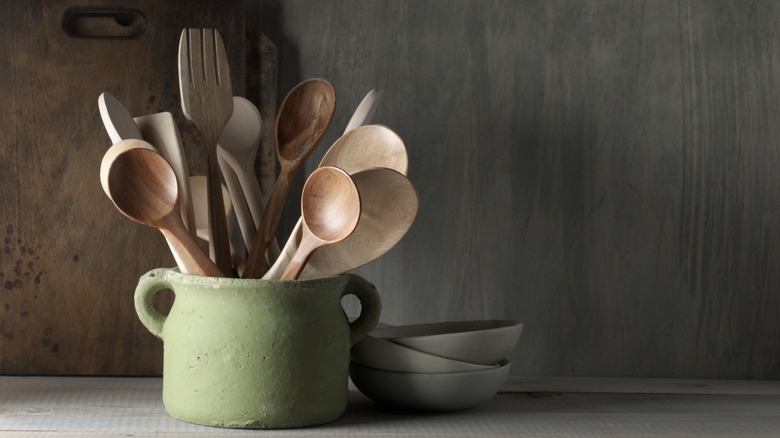
If you've been in the DIY world for a while, you've undoubtedly learned that an item like an old utensil crock isn't destined for the trash bin just because it's looking a bit dated or plain. Enter the textured paint technique of your choice. Repurposing a utensil crock for your countertop in this way gives it an old, vintage look that makes it an eye-catching addition to your kitchen. It also creates additional storage space for your most-used kitchen utensils, which frees up your drawer space for other less-frequently-used items.
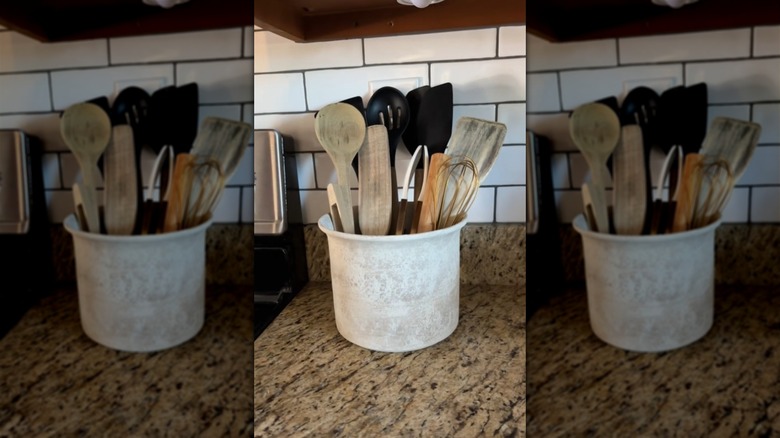
Brand-new, off-the-shelf countertop utensil holders can run upwards of $30 or more. This DIY gives you the opportunity to give a second life to an old heirloom utensil crock that you already have or found for a song. If you don't have a crock already, there are some parameters to keep in mind as you try to source one (aside from price). The heights of most crocks range from about 6 inches to 8 inches. They're not too tall and narrow, and their width commiserates with the height. This ensures that it won't topple over once you put a barbecue fork in it or pull a spatula out.
To age the crock, you need a couple of different materials and tools. You can use chalk paint combined with baking soda and even salt. Joint compound, rubber gloves, and some paper towels are some other options for texturing. Or a combination of all of the above. Finally, you'll need some sandpaper, glass cleaner, paint brushes, and some tack cloth to put the finishing touches on the crock and complete the perfect accessory for your rustic kitchen.
Texturing a utensil crock with baking soda and chalk paint
Unless you're working with a plain terracotta pot, your old utensil crock is likely to already have a glaze on it. To make the textured paint stick to the crock, you need to sand the piece a bit to get rid of the glazing. You'll need to wipe down the utensil holder with some glass cleaner first, and then sand it after that. The process will leave some dusty debris, which is a job for something like the S&F STEAD & FAST Painters Tack Cloth. Give the utensil crock a good rub down with the tack cloth once the sanding is done to rid it of any leftover dust. Once that's done, get some chalk paint, such as the Waverly Inspirations Chalk Paint. Add some baking soda to it. The best ratio is 2:1, with baking soda and paint, respectively. If you'd like a little more texture, you can also add some table salt to the mix.
When the time has come to paint, you have a couple of options as far as how to apply the brush strokes. You can do a straight, methodical brush-on, exactly as if you were applying paint to a wall. It's okay to see some rows of streaks where the brush bristles left their mark. This creates a concrete look. Or you can dab the paint onto the sides of the utensil crock, bouncing your brush all over the sides in a random pattern. Once the paint dries, organize your utensils inside the crock and place it at the side of your stove.
Adding texture with joint compound
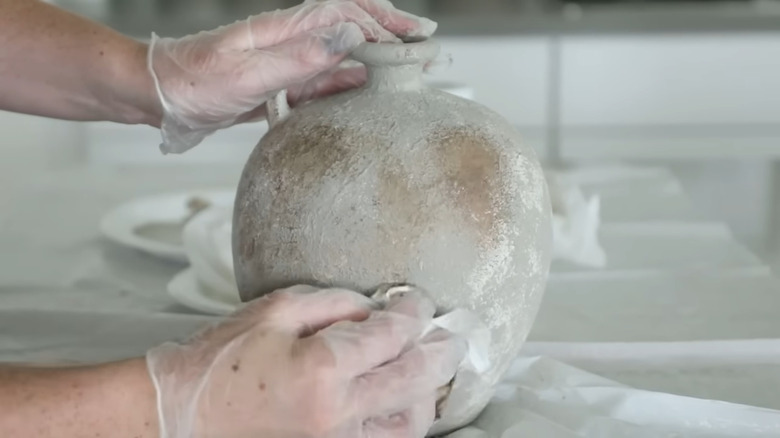
Texturing with the joint compound doesn't come from brushing the paint on. You'll apply some joint compound like DAP DryDex 32 oz Pink/White Lightweight Joint Compound Putty with gloved hands. It may require a bit of sanding before you apply the joint compound. Pat it on, allowing bits of texture to create a raised look on the surface of the crock. The joint compound goes on pink. When it turns white, it's dry and ready for paint. Colors like terra cotta and beige will make for an authentically rustic look, whereas a combination of blue and cream is true to an antique stoneware aesthetic.
Apply chalk paint with a wet paper towel, laying it down with a patting motion. The paper towel will contribute to the texture because bits of it will be left behind as you continue to pat the paint onto the side of the crock. For a more traditional look like European stoneware, apply in even strokes with a brush. You can mix colors, which creates more visual texture and interest. In the event that the paint starts to look clumpy during application, just wet the paper towels down a bit and pat the chalk paint with it to blend the paint a bit. Continue doing this until the edges on the paint blend a bit. Finally, the finished product may benefit from a coating or two of finish, like Aleene's Matte Spray Finish, to seal the paint.