Say Goodbye To Pallets: DIY Tile Headboards Are Here To Stay
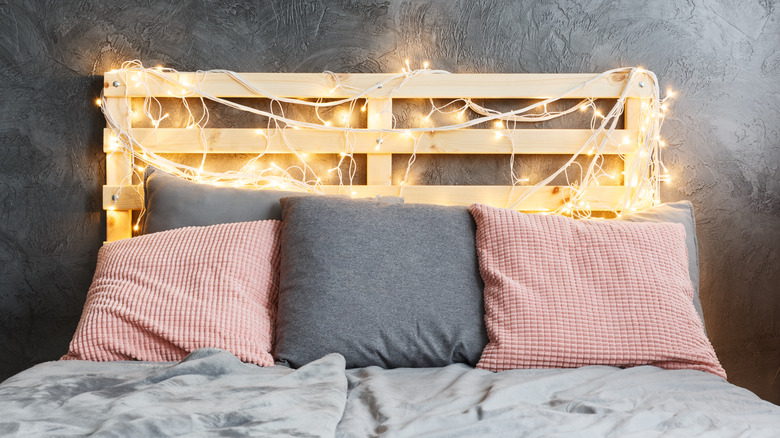
There are many easy ways to create a DIY headboard that upgrades your bedroom. From upcycling an old bookcase to repurposing old doors, there are seemingly endless objects that have been reimagined to spruce up the often-forgotten space behind the bed. But now, creators are leaning into something a little more elevated: the tiled headboard. This DIY may be slightly more complex, but it pays off with a finish that feels fresher and more refined than the rustic charm of wooden pallets. While they have had their moment and will undoubtedly continue to, the casual aesthetic of wooden pallets can sometimes feel tired, making tile a sleek alternative.
As bedroom design shifts toward more personalized backdrops, the DIY headboard seems to be gaining traction. It's the perfect focal point for creativity thanks to a growing appreciation for bold, statement headboards and the tactile, textural appeal of tile. "There is a real appetite for tactile surfaces and artisanal finishes, and people are starting to use tiles as decorative elements rather than just protective ones," says Grazzie Wilson, head of creative at UK-based tile and stone company Ca' Pietra (via Livingetc). There's no single way to achieve that textural effect. From Moroccan zellige to checkerboard ceramics, DIYers online prove just how customizable and achievable the look can be. The key is sourcing the right materials, understanding your tile of choice, and landing on a method that suits your space.
How to DIY a tiled headboard
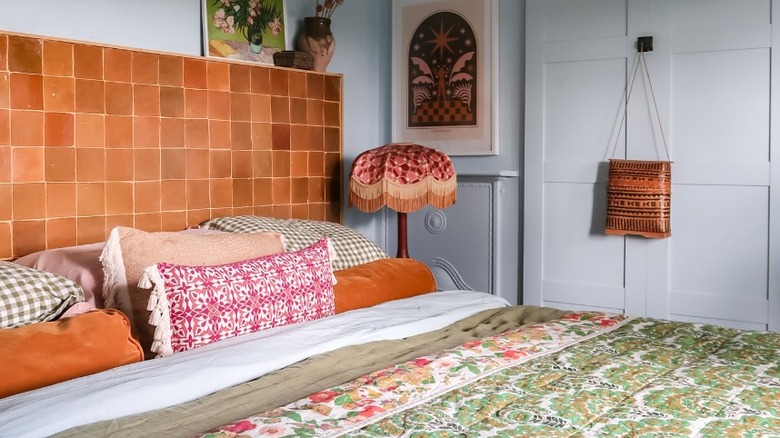
While the tiled headboard trend feels luxe, the DIY is surprisingly doable. Start with a simple MDF panel, building a box-like frame before priming the surface to make it tile-ready. If you're not building from scratch, another option is to tile directly onto the wall. Just place your bed frame in front, and the tile functions as a backdrop. Something like Moroccan zellige works either way, giving a handcrafted finish. When cut to the same size, the tiles should butt up neatly, making installation fairly straightforward, and because there is variation between each tile, the headboard will be one-of-a-kind. Just be sure to use the right adhesive. A fast-acting adhesive works better than standard tile adhesive when you're working with MDF, as it avoids adding excess moisture.
The next step is grouting, which is where the headboard really takes shape. A contrasting grout shade can help define each tile for ultimate textural appeal, while wiping and buffing after application enhances the natural sheen, especially with finishes like zellige. One of the best things about this DIY is its flexibility: whether you're mounting tiles onto an MDF panel or applying them directly to the wall, the technique adapts to your space and skill level. And if ceramics aren't your style, the same framing method works with timber tiles for a softer, more organic look. Once your surface is set, tackle the rest of the room, starting by styling the bed like a designer. Think layered linens and accent pillows, or whatever suits your new tiled headboard.